
 How-To
Hyper-V Restore on AhsayOBM
Restoring a Hyper-V Guest VM
There are three major types of restore options, mainly:
- Run Direct Restore
- Non-Run Direct Restore
- Granular Restore
Run Direct Restore
| Run Direct Restore |
|---|
| Type 1 - Original Hyper-V Host |
|
| Type 2 - Different (Standby) Hyper-V Host |
Run Direct restore guest VM to a standby Hyper-V host is supported. This restore option allows you to restore your backed up guest VM to another Hyper-V host, for example, if your original Hyper-V host is down and you need to restore your production guest VMs to a standby Hyper-V host.
|
Non-Run Direct Restore
| Non-Run Direct Restore |
|---|
| Type 1 - Original Hyper-V Host |
|
| Type 2 - Different (Standby) Hyper-V Host |
| Restore of a Guest VM to a different (Standby) Hyper-V Host - This restore option allows you to restore your backed up guest VM to another Hyper-V host, for example: if your original Hyper-V host is down and you need to restore your production guest VM’s to a standby Hyper-V host. |
| Type 3 - Individual Virtual Disk Restore |
| Restore of an Individual Virtual Disk to Original/Different Guest VM - The Restore raw file feature is used to the restore of an individual virtual disk to the original or a different guest VM. |
Granular Restore
| Granular Restore |
|---|
AhsayOBM makes use of Granular Restore technology to enable a file level restore from a virtual disk file (VHD) of guest VM backup possible. It is particularly useful if you only need to restore individual file(s) from a guest VM, which would normally take a long time to restore and then boot up before you can gain access to the files on the virtual disks. Granular restore gives you a fast and convenient way to recover individual files on a guest VM. For more details about Granular Restore, refer to the Granular Restore section. |
Restore of a guest VM to a different (standby) allows you to restore your backed up guest VM to another Hyper-V host, for example if your original Hyper-V host is down and you need to restore your production guest VM’s to a standby Hyper-V host.
Restoring a Hyper-V Guest VM
In the AhsayOBM main interface, click the Restore icon.
Select the backup set, destination and restore mode.
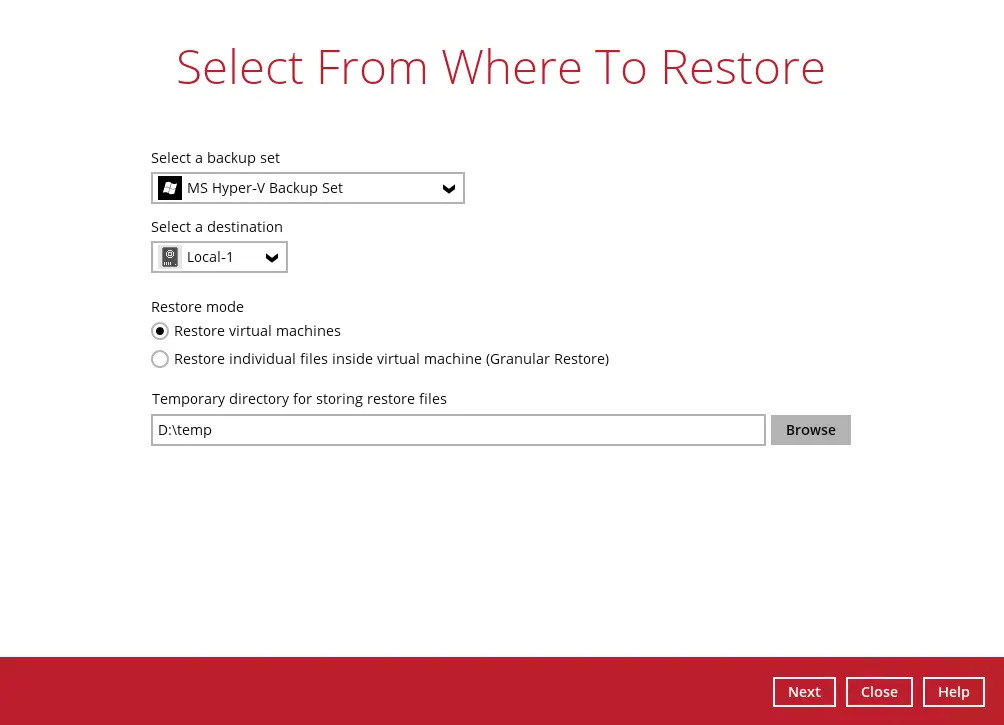
- For Non-Run Direct, Run Direct and Individual Virtual Disk Restore, select Restore virtual machines.
- While for Granular Restore, select Restore individual files inside virtual machine (Granular Restore).
You may change the path under “Temporary directory for storing restore files” by clicking the Browse button. This will allow you to select the directory that will be used to store the temporary files.
If the Temporary Directory has been set to anywhere within a Cluster Storage, users will encounter this error message.

Users will have to change the Temporary Directory to a local directory in order for the Restore process to continue.
Click Next to proceed.
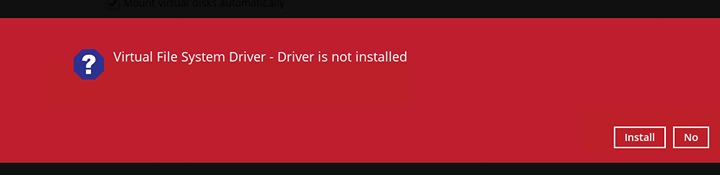
FOR GRANULAR RESTORE ONLY: The following screen will only be displayed if Granular Restore is performed on the machine for the first time. Make sure you click Yes to confirm mounting of the virtual disk on this machine. Clicking No will exit the restore process.
Select to restore the Hyper-V guest from a specific backup job then select the files or folders that you would like to restore. Click Next to proceed.
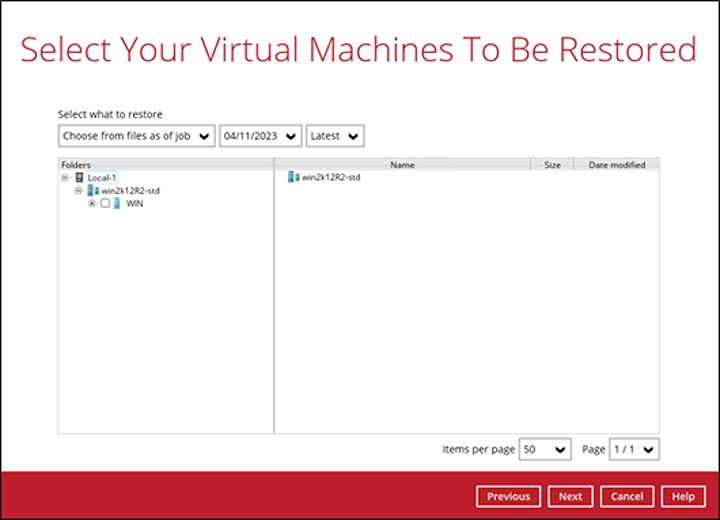
To do an Individual Virtual Disk Restore, tick the Restore raw file checkbox.
The next screen that will be displayed depends on the type of restore to be done.
Non-Run Direct and Run Direct Restore
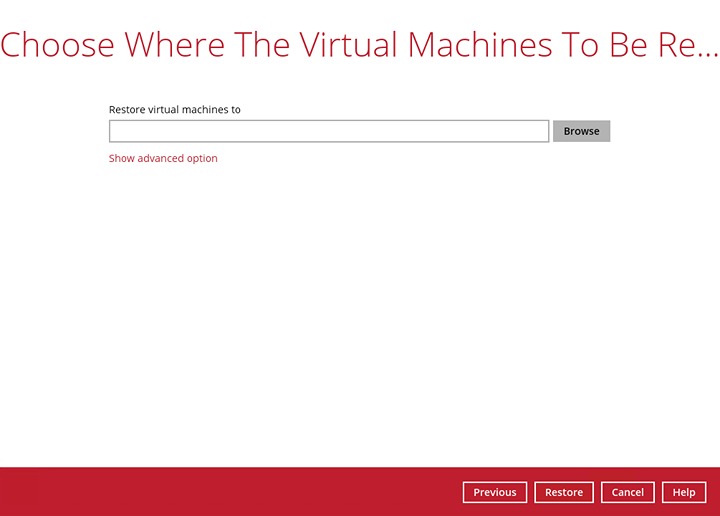
You can select to restore the Hyper-V guest VM to the Original location or an Alternate location.
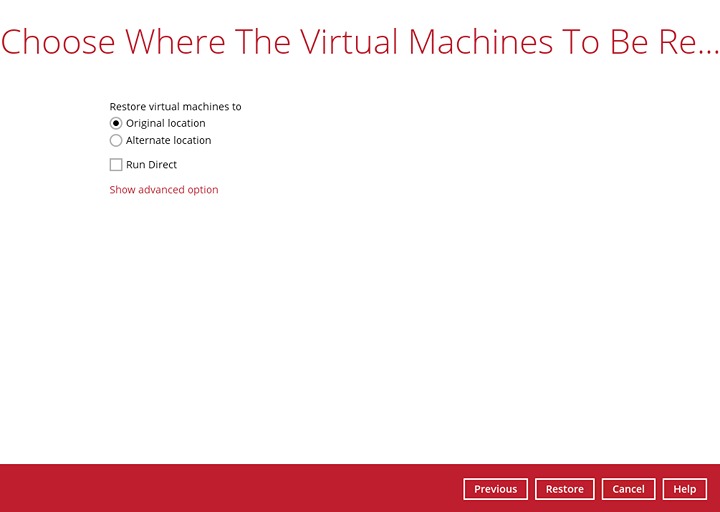
- Original location - the Hyper-V guest VM will be restored to the same directory path which stores the backup source on the original Hyper-V host.
Alternate location - – the Hyper-V guest VM will be restored to a different directory path on the original Hyper-V host.
Click Next to proceed.
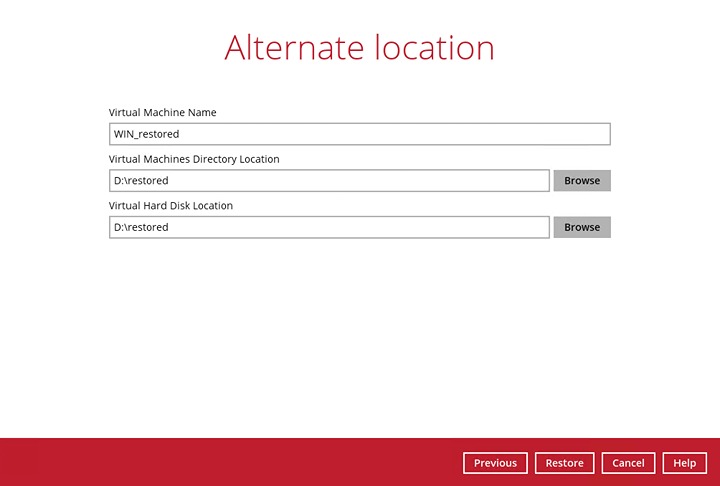
The following values are needed to be updated:
- Virtual Machine Name
- Virtual Machines Directory Location (guest configuration files)
- Virtual Hard Disk Location (new location for the guest VHD files)
For restore to an alternate Hyper-V Host with a different CPU architecture, the latest version of AhsayOBM client application must be installed.
You can configure the type of restore to be done whether it is Non-Run Direct or Run Direct by ticking/unticking the Run Direct checkbox.
The “Run Direct” checkbox will only be displayed if the “Run Direct” feature was enabled upon backup set creation.
The option “Auto migrate after Run Direct is running” will only be available once “Run Direct” is ticked.

To configure other restore settings, click Show advanced option.

When “Verify checksum of in-file delta files during restore” is enabled, this will verify the checksum of in-file delta files and will make the restore process time longer. It is recommended to enable the feature only if you want to verify if the merged files were correct.
- Click Restore to start the restoration.
If the guest VM selected to be restored already exists on the Hyper-V server, AhsayOBM will prompt to confirm overwriting of the existing guest VM.

- Yes - the existing guest VM will be deleted from the Hyper-V server before the restore process starts.
- No - the restore of the current guest VM will be skipped.
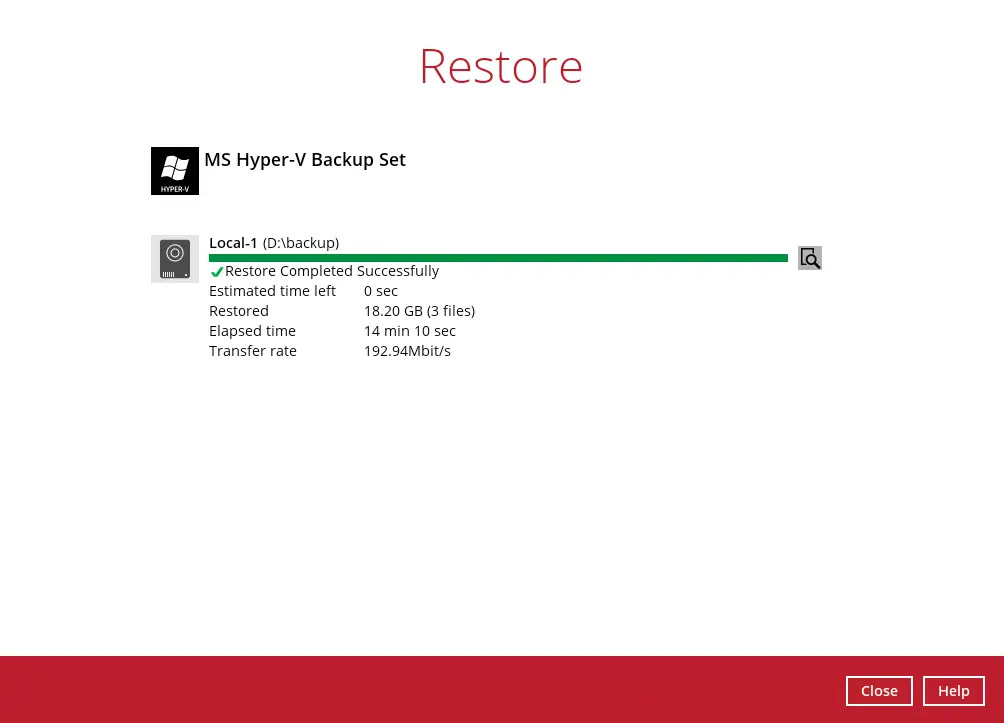
After the Hyper-V guest VM has been restored, you will see the following screen.

Go to the Hyper-V server and open the Hyper-V Manager to verify the guest VM has been restored and is powered off.
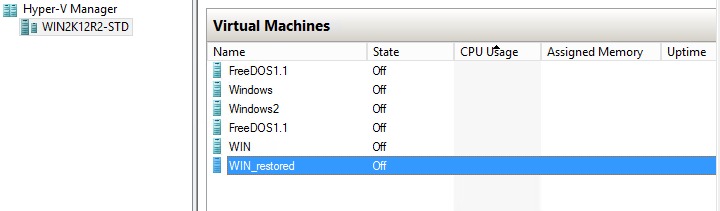
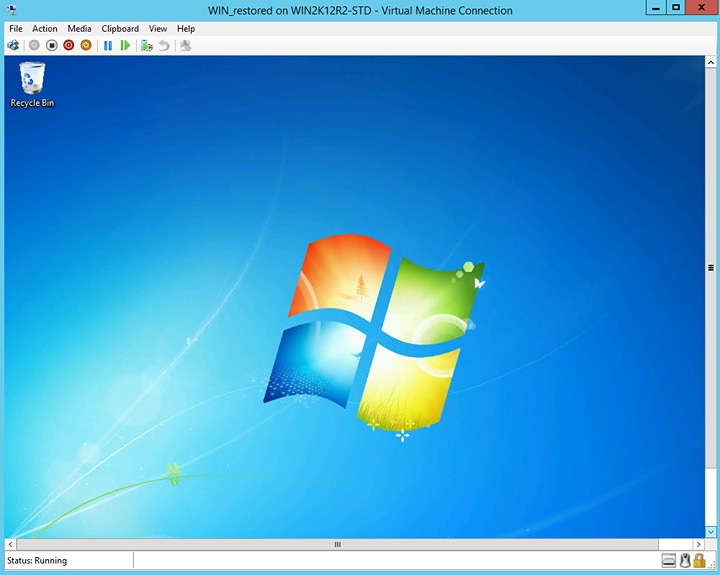
Power on the guest VM and verify if it is running correctly.
Example: WIN_restored
FOR RUN DIRECT RESTORE ONLY: COntinue to the next section for instructions on how to:
Migrate Virtual Machine (Permanently Restore)
To permanently restore the guest VM after starting up using the Run Direct option, you will still need to migrate it to from the backup destination to the designated permanent location on the Hyper-V server using the Migrate Virtual Machine option. This process can be performed even when the VM is already running.
After starting up the VM from the backup destination, click Close.

Select the virtual machine then click Migrate Virtual Machine.
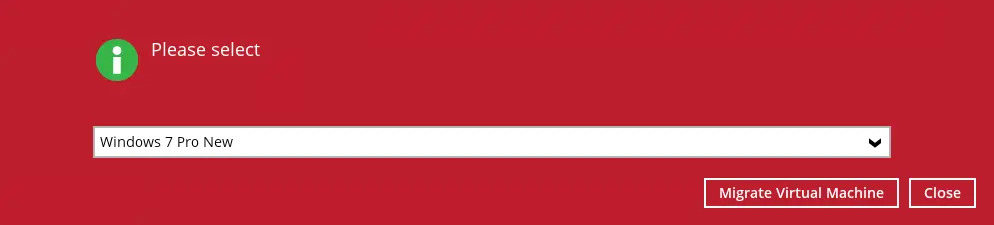
This will be displayed once the migration is successful.
AhsayOBM will begin migration of the guest VM from the backup destination to the Hyper-V Server.
The guest VM can be used during the migration process. Any changes made in the guest VM environment is saved in transaction logs and will be applied when the migration process is completed.
When finalizing the restore, during the application of changes in transaction logs with the restored guest VM, the guest VM will be put into saved state temporarily. Once the changes have been applied, the guest VM will resume.
Stop Run Direct Virtual Machine
You can stop running guest VMs started up using Run Direct by either:
Quitting AhsayOBM

- Click on the Stop Run Direct button after.
- When the Auto Migrate option is selected, there will be no Stop Run Direct option available. As once the auto migration is completed, the guest VM will have been fully restored to the HyperV Host and will be running and managed under the Hyper-V Host environment. Therefore, the Run Direct VM instance will no longer exist as a result.
- The "Stop Run Direct" link is only present if you run a Run Direct restore without auto migrate selected.
- When a guest VM started in a Run Direct instance is stopped, any changes made within the guest environment will be lost, if the guest VM is not migrated to the Hyper-V Server using the “Auto migrate after Run Direct is running” option.
Individual Virtual Disk Restore
The “Restore raw file” feature is used for the restore of an individual virtual disk to the original or a different guest VM.
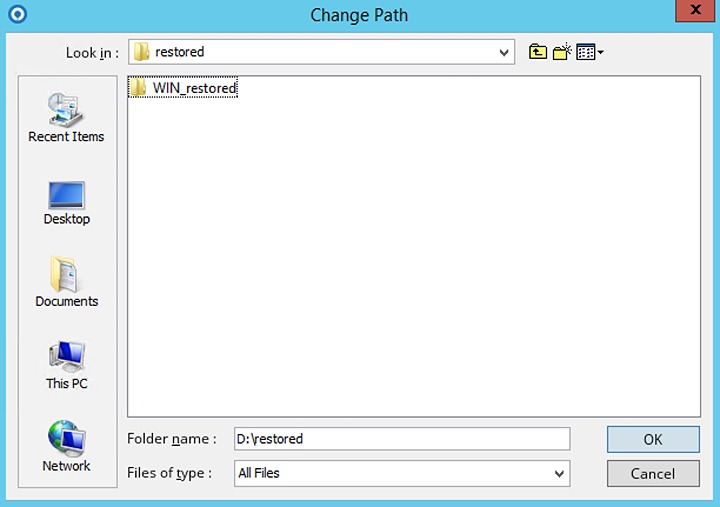
Click Browse to select the location on the Hyper-V server you want to restore the virtual disk to.
Select the path then click OK.
Click Restore, then wait for the restoration to finish.

In Hyper-V Manager, right click on the guest VM you wish to add the virtual disk to, then click Settings.
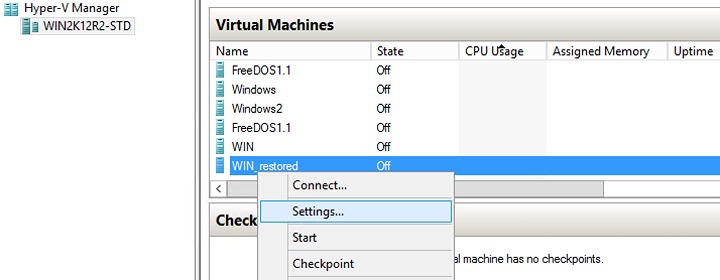
Select Add to add virtual disk to the guest VM.

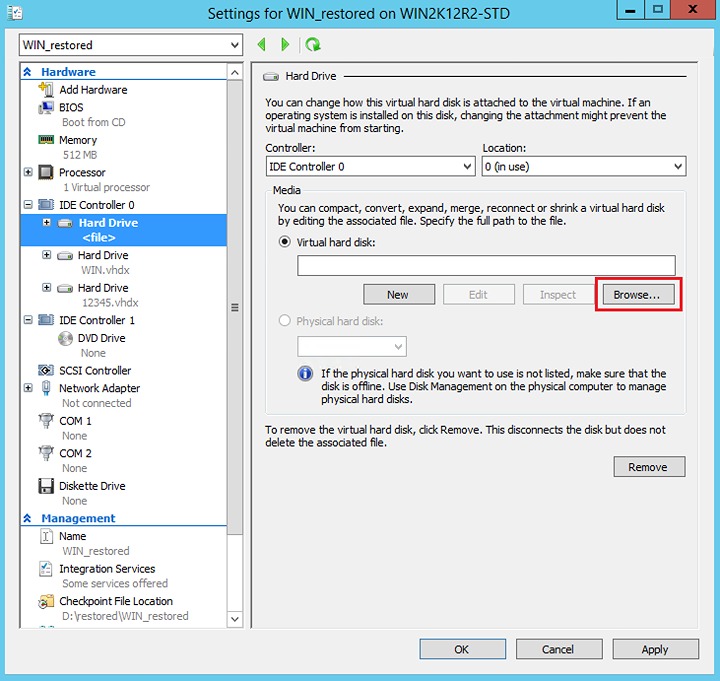
Click Browse to choose the vhd file.
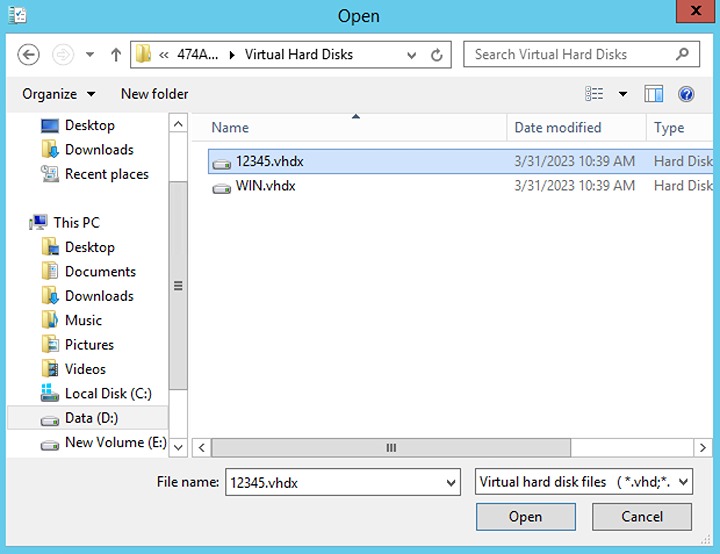
Select the folder where the restore virtual disk is located.
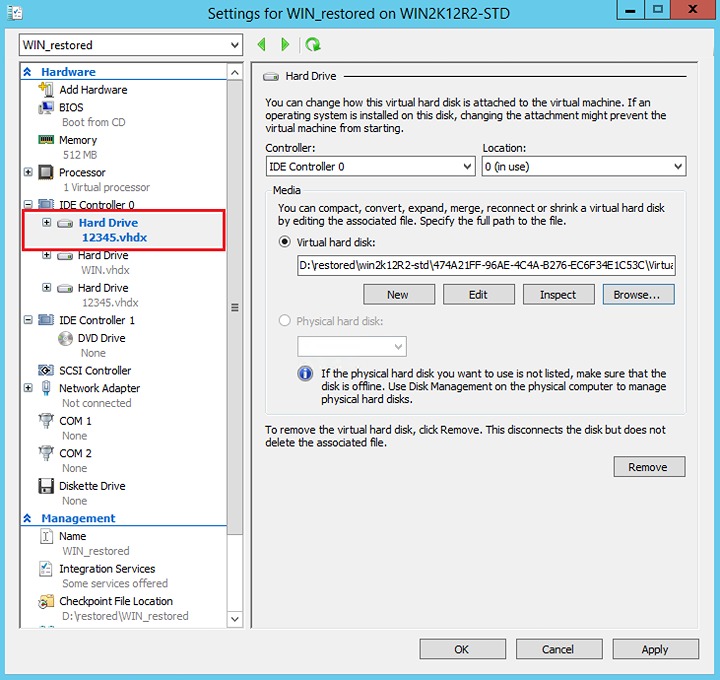
After the virtual disk is added. Start the guest VM to confirm. Depending on the guest operating system there may be other configuration settings to be completed before the disk is available.
Granular Restore
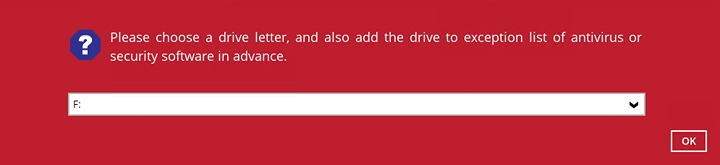
Specify the drive where you wish the mounted image to be mapped on your machine.
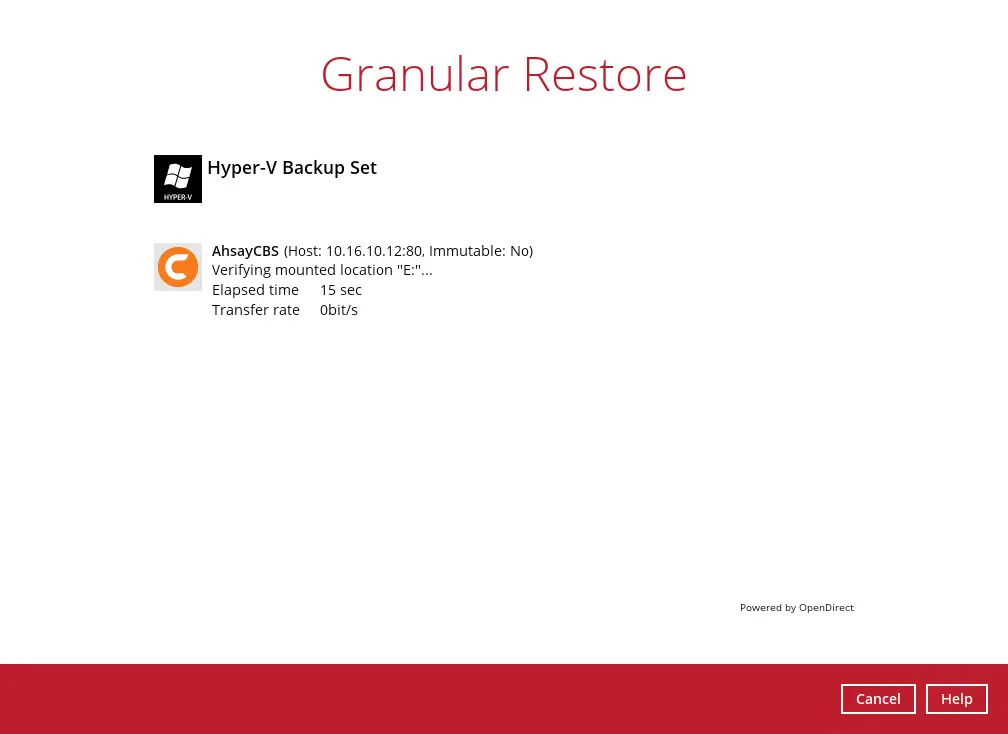
When the virtual disk(s) are in the process of being prepared for mounting on the AhsayOBM machine, you will see the following screen.
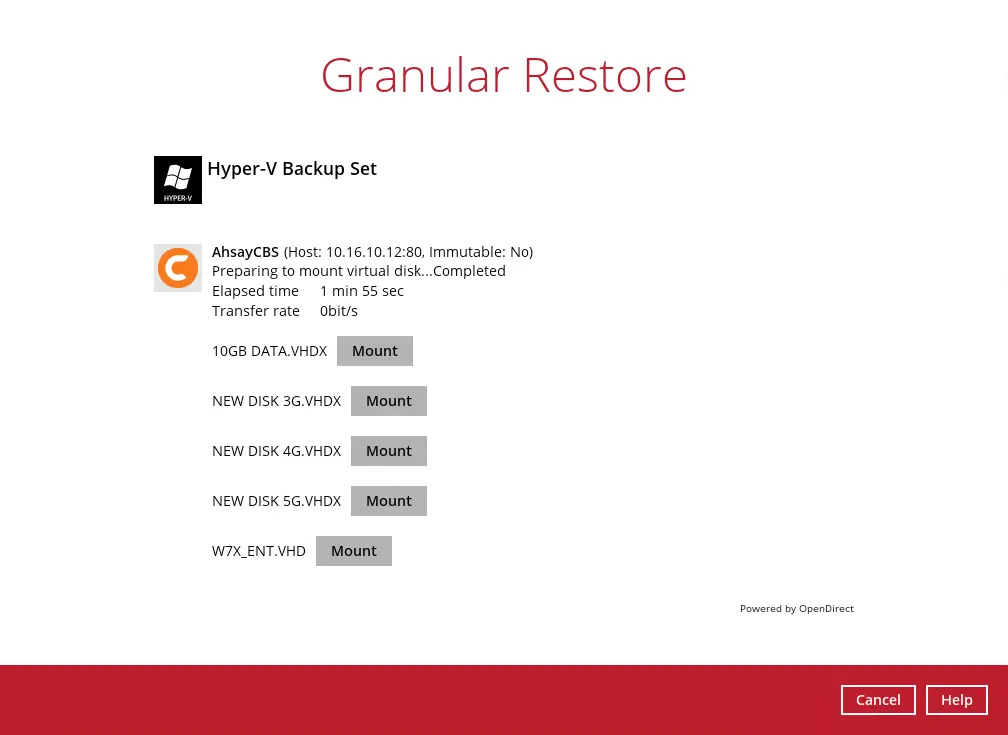
You will be presented with a list of disks that you may Mount or Unmount. Select a disk, then press the Mount button.
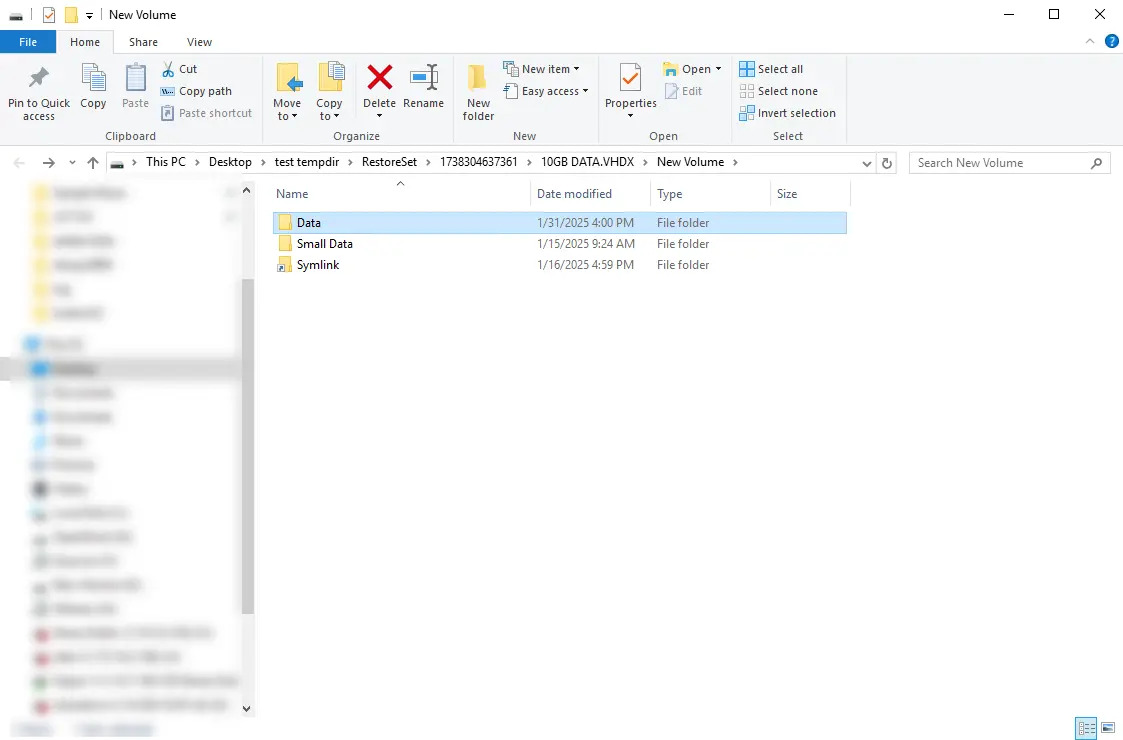
After mounting a disk, a list of available volumes will be presented beneath. You may browse these volumes and interact with the files contained within.
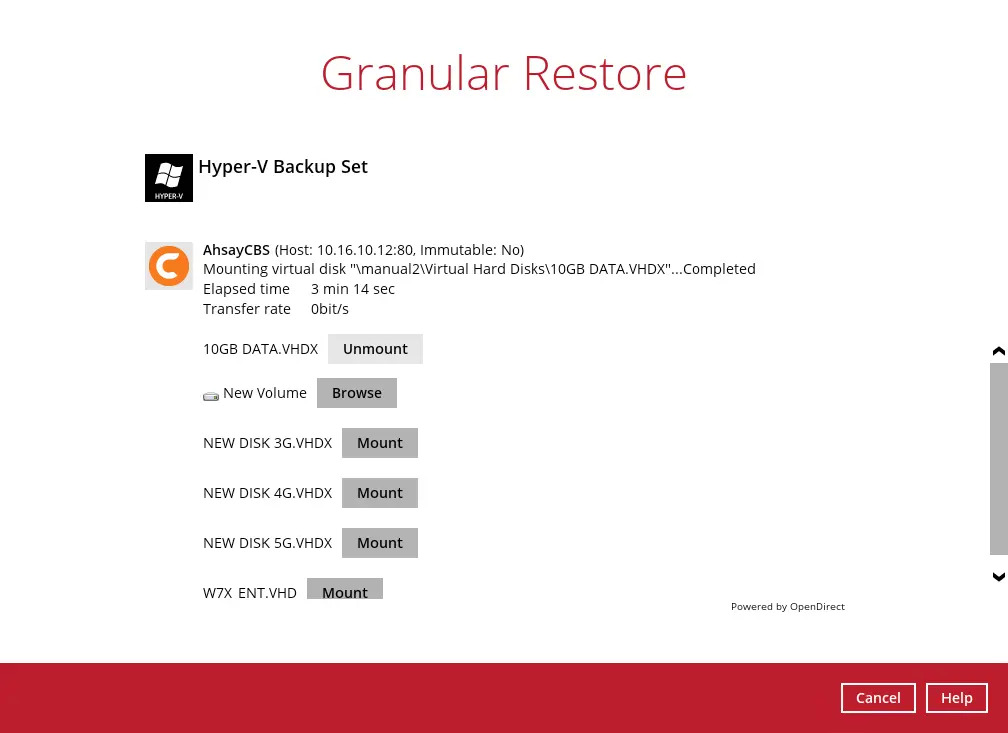
Select a volume and press the Browse button to view a list of files contained within. Select the files that you wish to interact with (e.g. Copy or Delete).
Once done with interacting with these files, click on Cancel, and then Stop the granular restore to conclude the Restore process.
