
 How-To
Retention Policy Overview for AhsayOBM
Retention Policy
When AhsayOBM identifies files and/or folders that are deleted, updated, or with updated permission/attributes during a backup job, these files and/or folders will then be moved from the data area to the Retention Area.
Retention Area is a place used as a temporary destination to store these files (deleted, updated, or with updated permission/attributes during a backup job). Files and/or folders in the Retention Area can still be restored.
The Retention Policy is used to control how long these files remain in the Retention Area before they are removed which can be specified in the number of days, weeks, months, or backup jobs. Retained data within all backup destinations (e.g., AhsayCBS, local drive, SFTP/FTP and cloud storage) are cleared by the Retention Policy job.
The default Retention Policy setting for a File Backup Set is 7 days, but the appropriate Retention Policy setting depends on individual, contractual, or regulatory requirements.
There are two (2) types of Retention Policy:
| Retention Policy | Description |
|---|---|
| Simple | A simple Retention Policy is a basic policy where the retained files (in the Retention Area) are removed automatically after the user specifies the number of days or backup jobs. |
| Advanced | An advanced Retention Policy defines a more advanced and flexible policy where the retained files (in the Retention Area) are removed automatically after a combination of user defined policy |
Simple and Advanced Retention Policy Comparison
| Control | Simple | Advanced |
|---|---|---|
| Backup Jobs | Can keep the deleted files within 1 to 365 backup job(s) | Not applicable |
| Days | Can keep the deleted files within 1 to 365 day(s) | Can keep the deleted files within 1 to 365 day(s) |
| Type | Not applicable | • Daily • Weekly • Monthly • Quarterly • Yearly • Custom |
| User-defined name | Not applicable | Applicable |
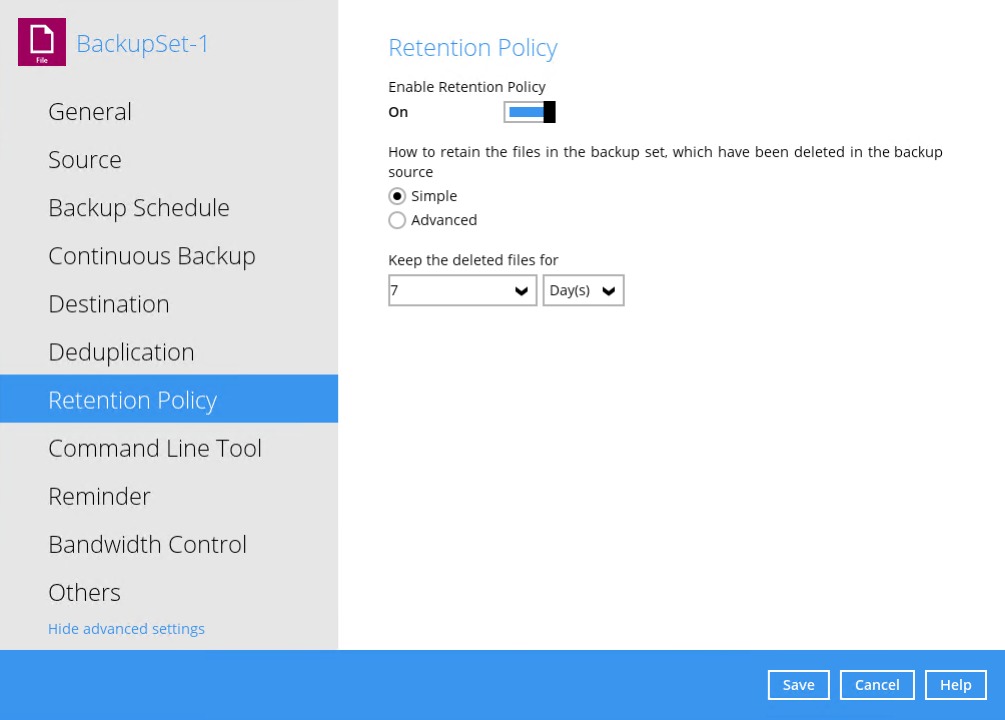
Configuring a Simple Retention Policy
- Go to Backup Sets, then select a backup set.
- Click the Retention Policy tab in the backup set settings.
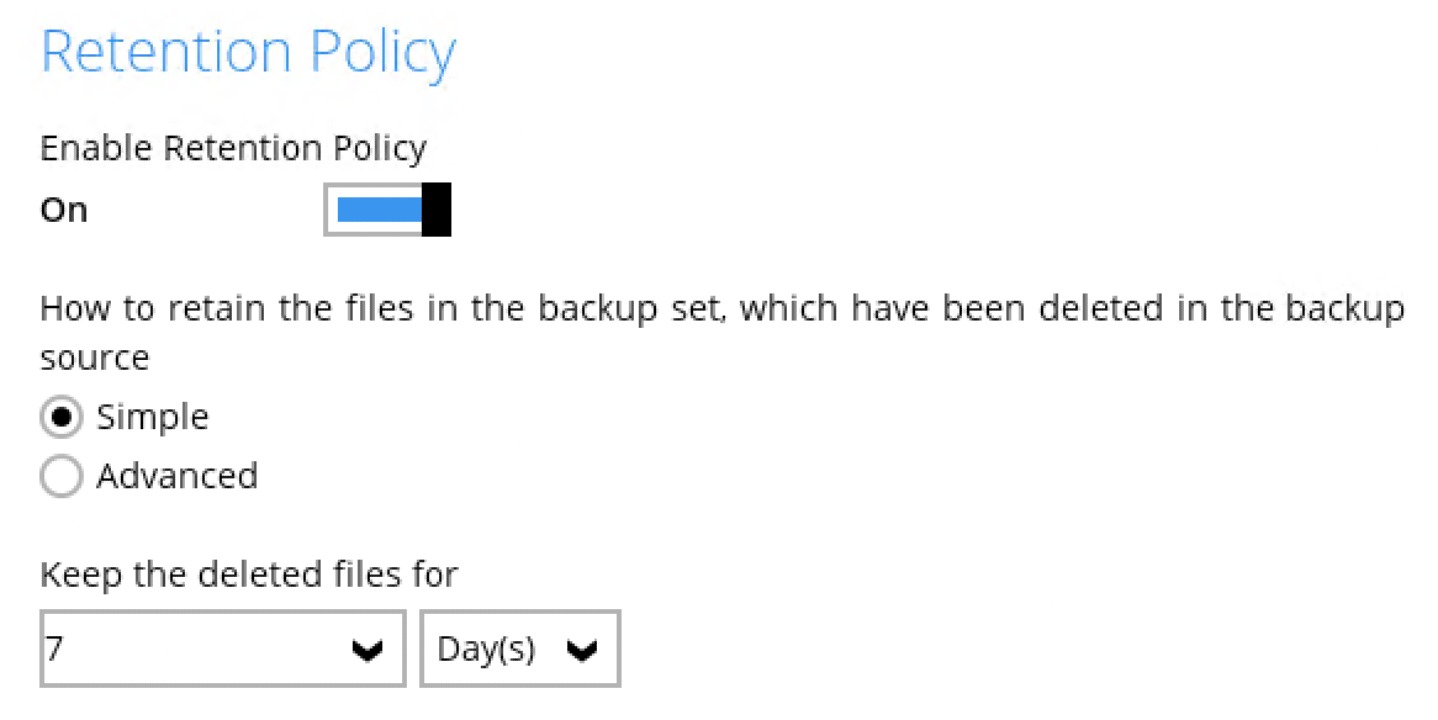
Select Simple from the options, then click the drop-down button to define how long in number of day(s) or job(s) when the deleted files will be retained. This is configured as seven (7) days by default.
- Click the Save button to save the configured Retention Policy settings.
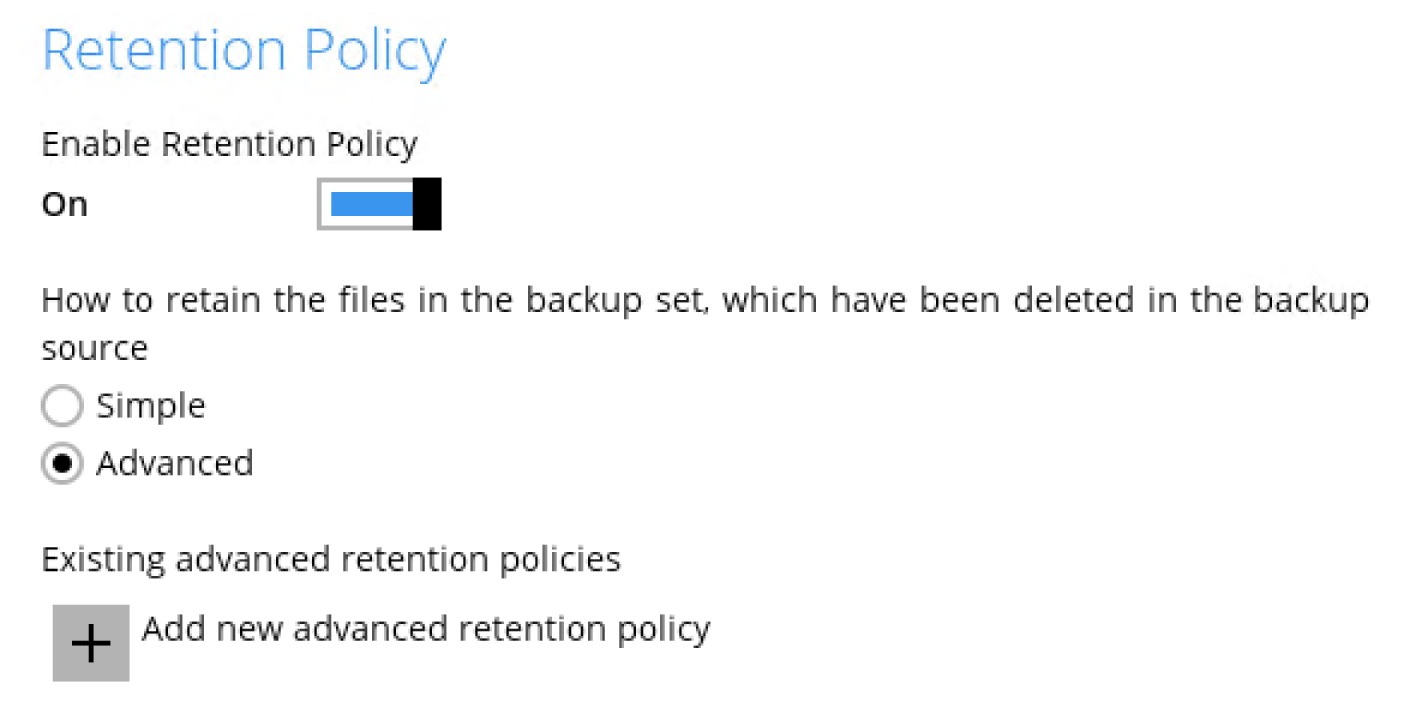
Configure an Advanced Retention Policy
- Go to Backup Sets, then select a backup set.
- Click the Retention Policy tab in the backup set settings.
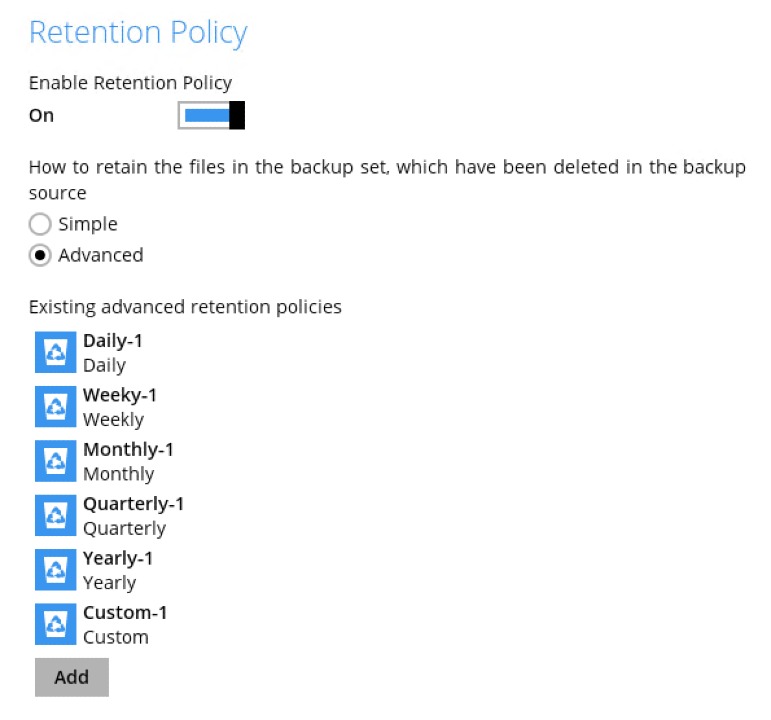
Select Advanced from the options, then click the + button to create.
Assign a desired name for the Retention Policy.
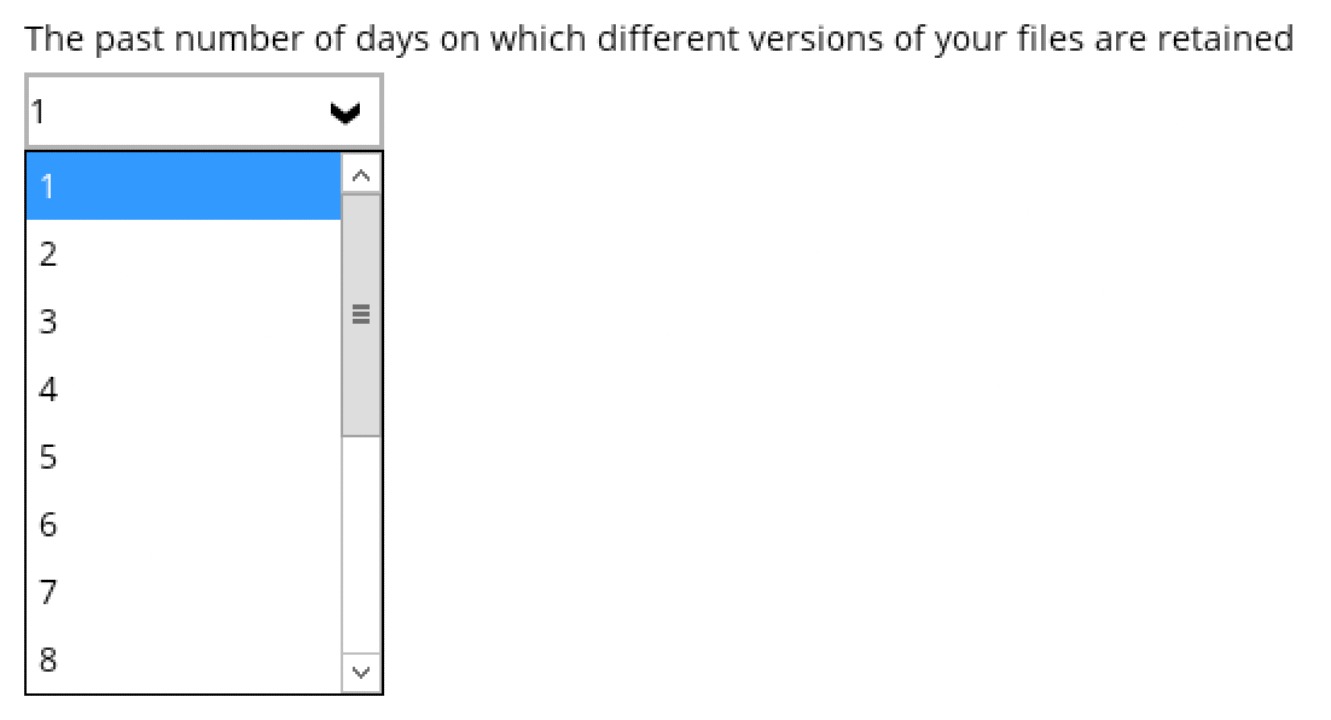
Click the drop-down button to display the "Type", then select one.
Click the drop-down button to specify the period on which the deleted files will be kept in the backup set. Number of days can also be entered manuallly.
- Click the OK button to save the configured advanced Retention Policy, then click Save to store the settings.
Disable Retention Policy
- Go to Backup Sets, then select a backup set.
- Click the Retention Policy tab in the Backup Set Settings.
Slide the switch to the left to disable Retention Policy.
For further details about how to configure an advanced Retention Policy for each type (i.e., Daily, Weekly, Monthly, Quarterly, Yearly, Custom), refer to the examples below:
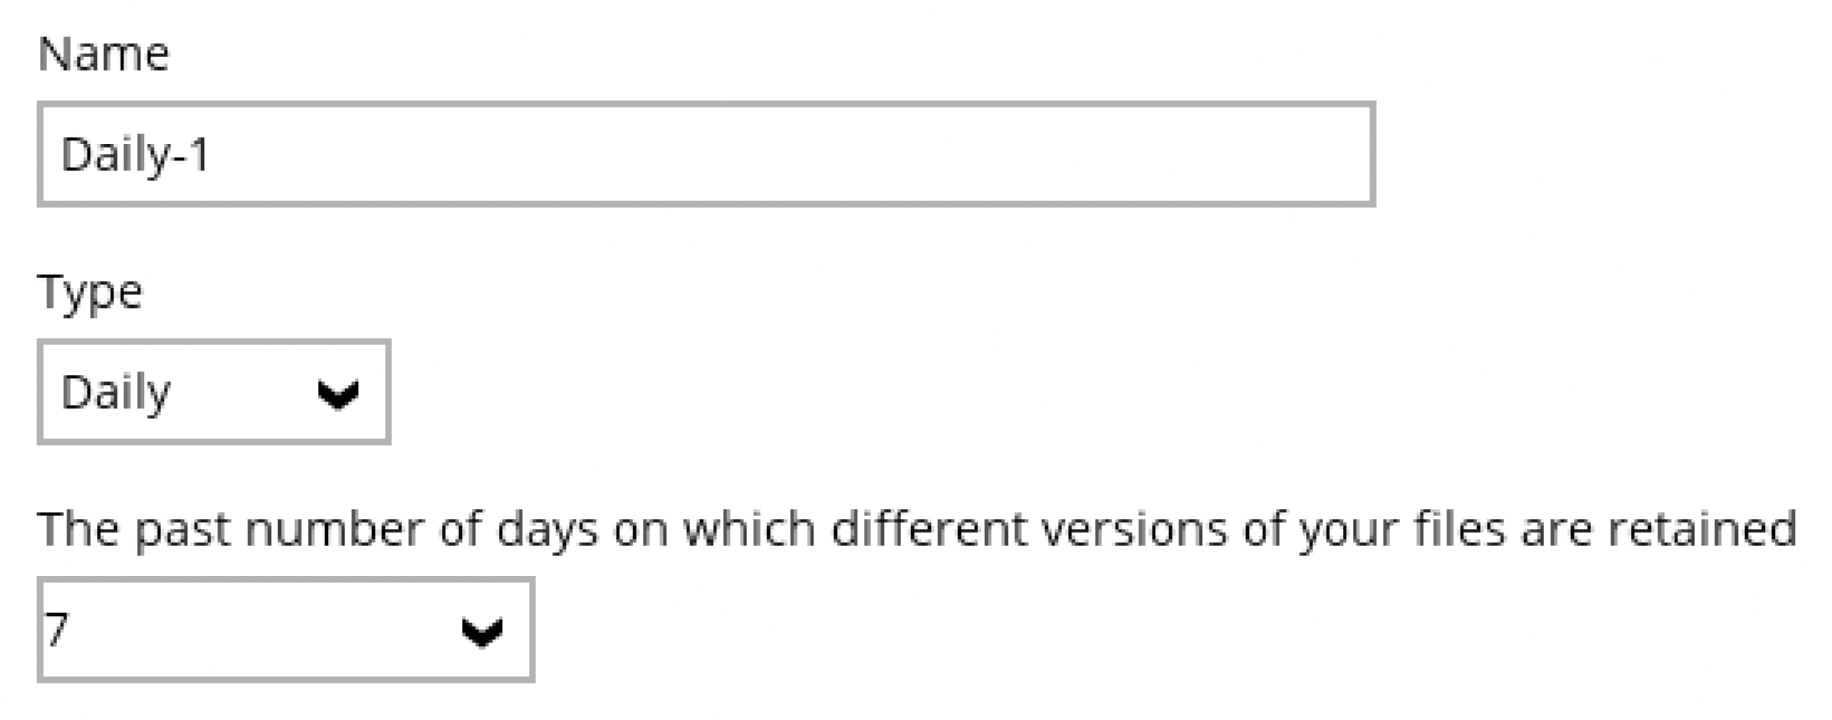
Example 1: To Keep the Retention Files for the Last Seven (7) Days
Example 2: To Keep the Retention Files for the Last Four (4) Saturdays

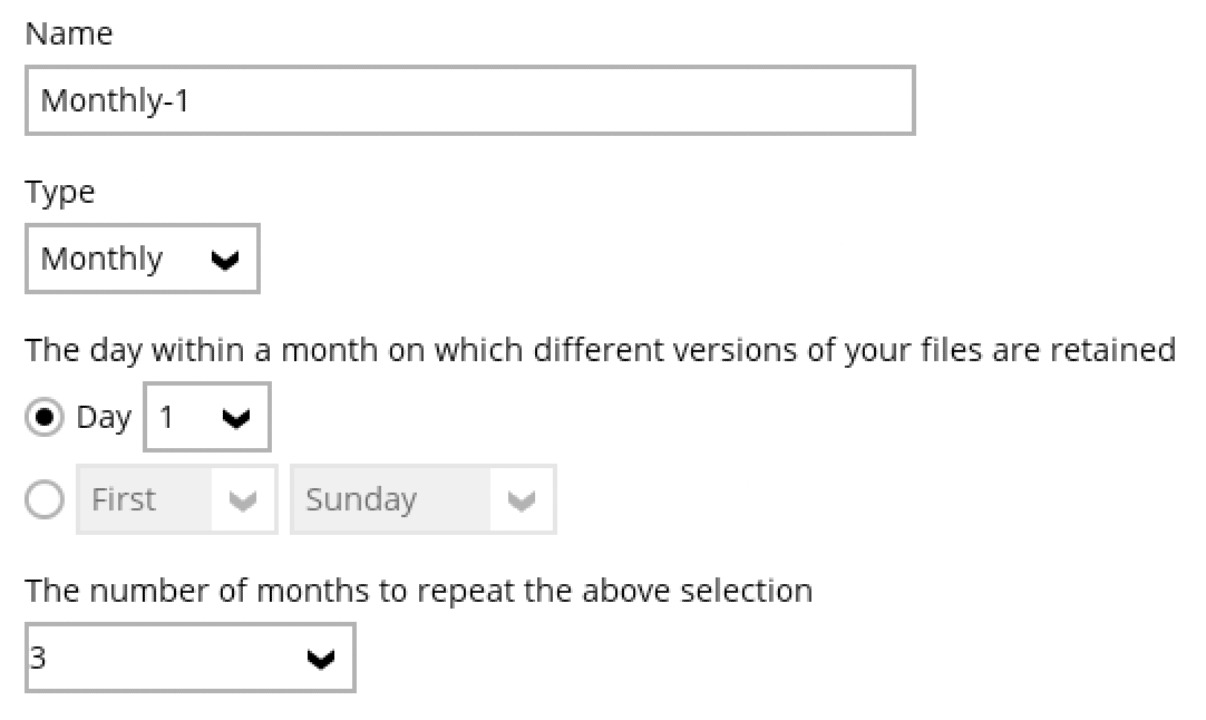
Example 3: To Keep the Retention Files for the 1st Day of Each Month for the Last Three (3) Months
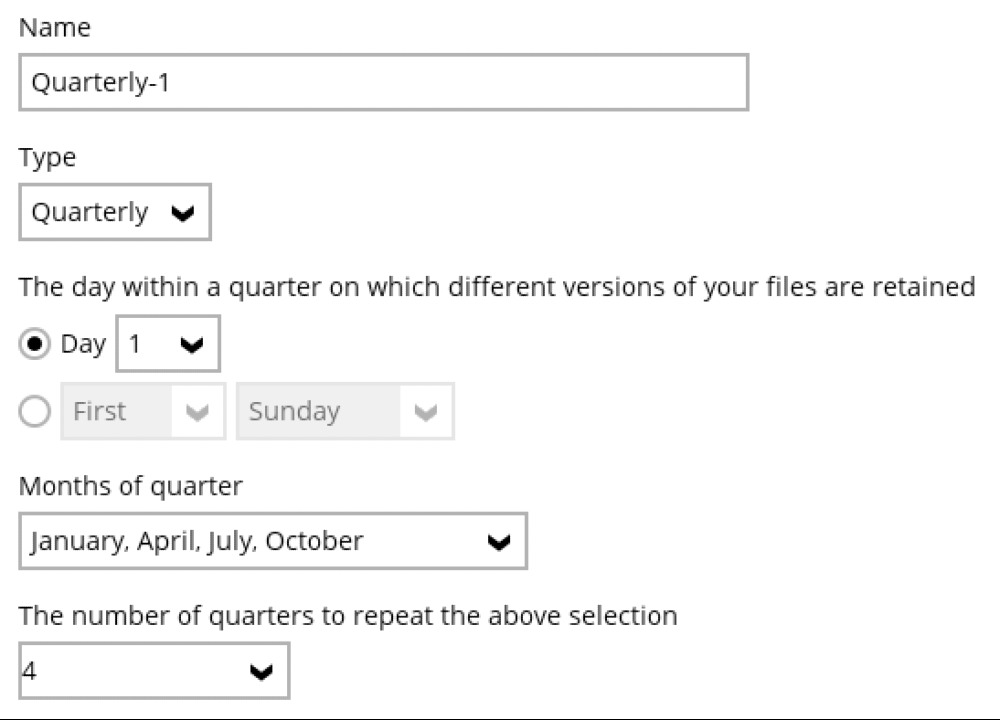
Example 4: To Keep the Retention Files for the 1st Day of Each Quarter for the Last Four (4) Quarters
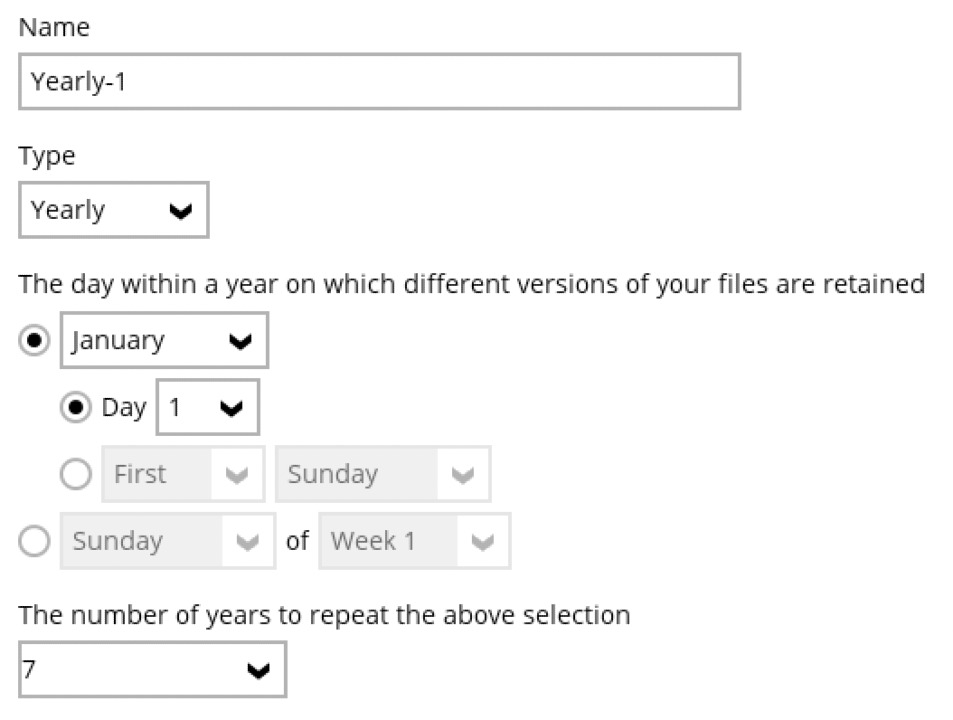
Example 5: To Keep the Retention Files for the 1st Day of Each Year for the Last Seven (7) Years
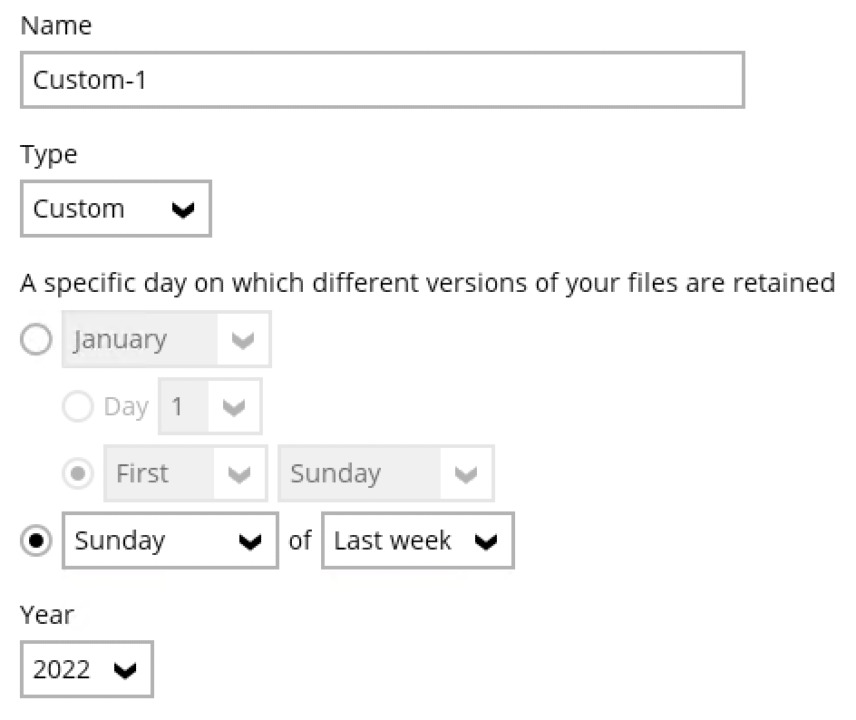
Example 6: To Keep the Retention Files on the Last Sunday of the Last Week of a Particular Year
Multiple Advanced Retention Policy can be created:
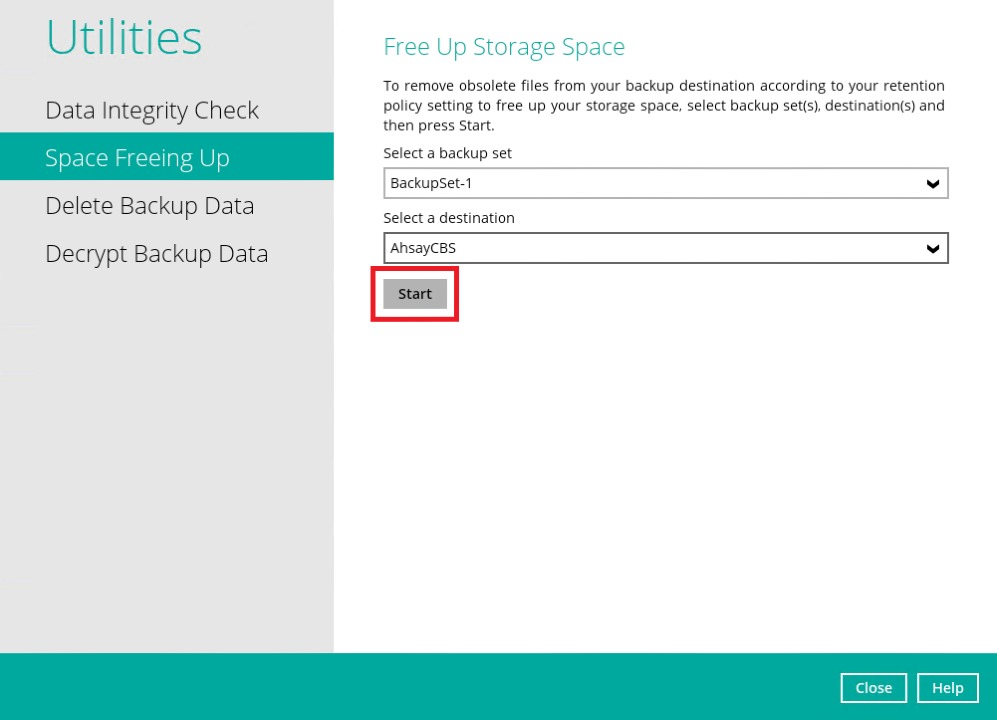
Space Freeing Up
Click the Utilities icon in the AhsayOBM main interface.
Select the Space Freeing Up tab in the Utilities settings.
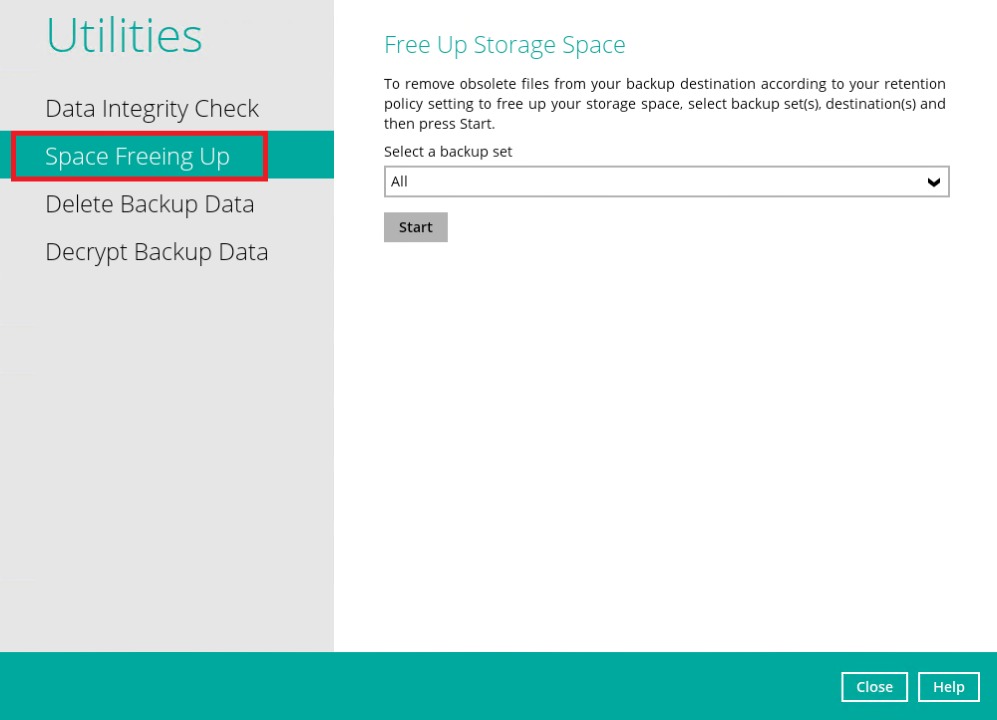
Select the corresponding backup set and destination (e.g., AhsayCBS, local drive, cloud storage) where you want the Retention Policy job to run on.
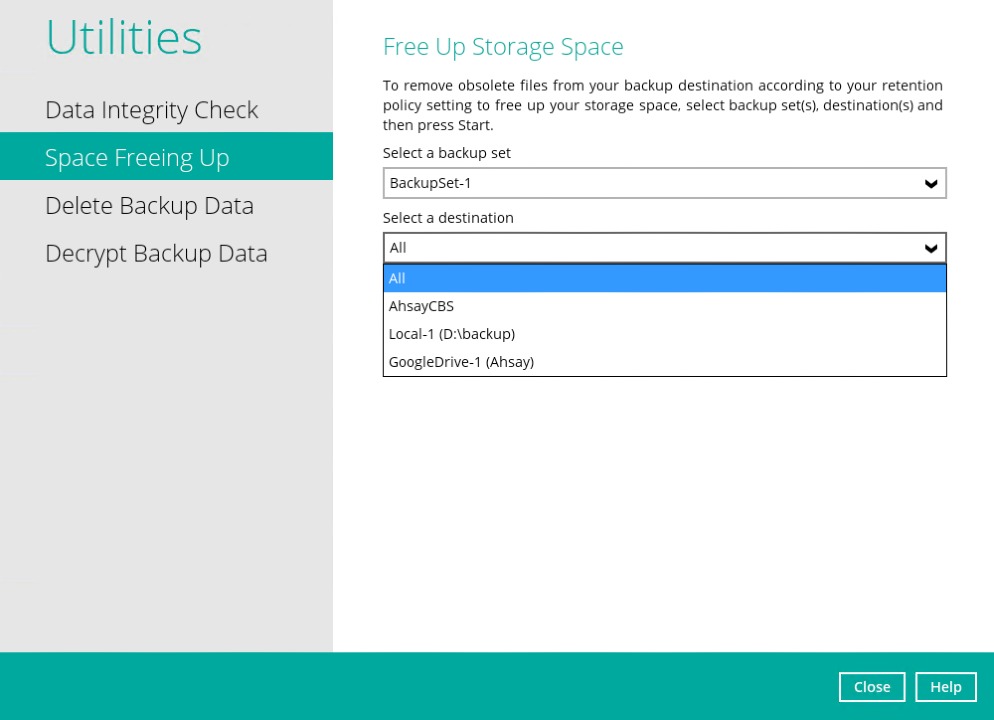
Click the Start button to run the Retention Policy job on the selected backup set(s) and backup destination(s).
 For more details about Space Freeing Up, refer to the Space Freeing Up section.