
 How-To
Manage Filters
To manage filters, choose from the Operating System to be used below:
Windows
Create Backup Set with Filter
- To create a backup set, please refer to the Backup & Restore section.
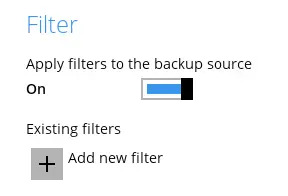
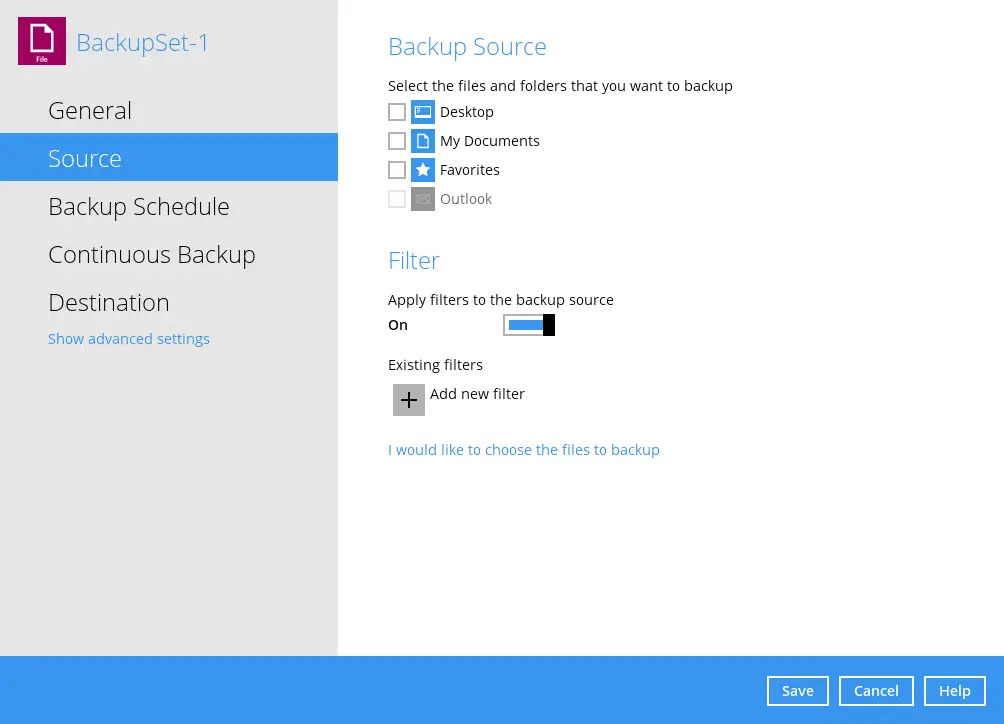
In the “Backup Source” window, under “Filter” slide the lever to the right to add a filter.
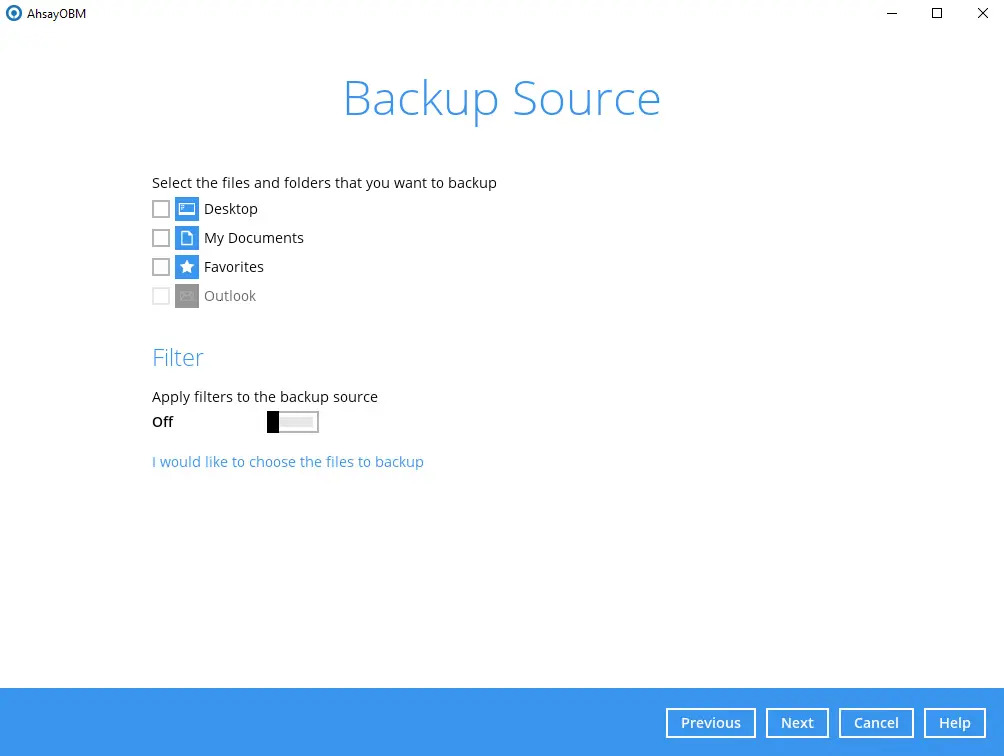
Click the Add new filter button.
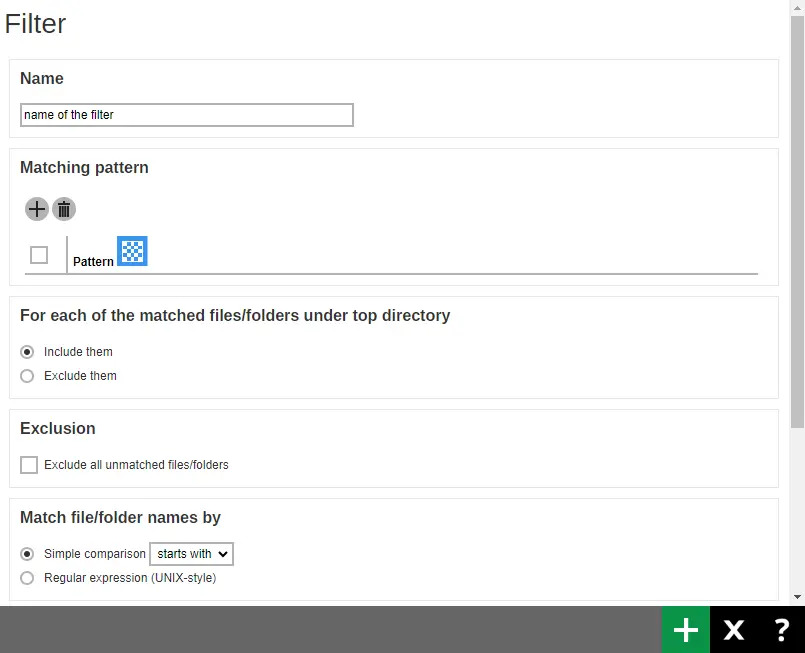
Enter the name for your filter.
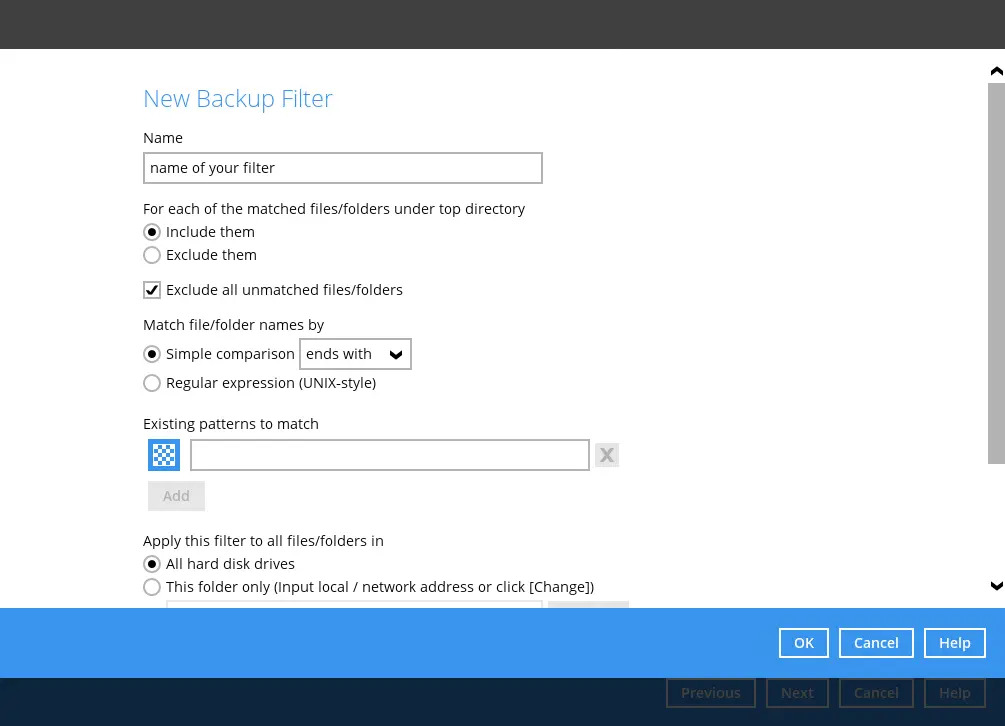
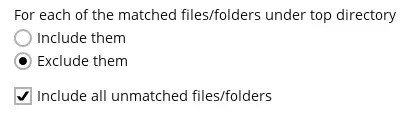
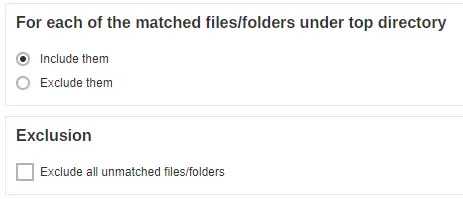
- Choose whether the pattern you added will be included or excluded for the backup.
If Include them is selected, you can check the box beside “Exclude all unmatched files/folders”.
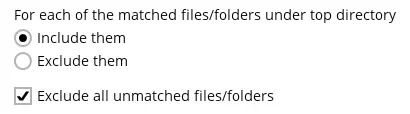
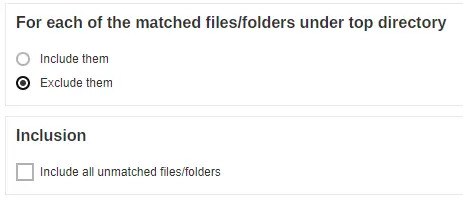
If Exclude them is selected, you can check the box beside “Include all unmatched files/folders”.
Choose how the pattern will be compared, if it will be by Simple comparison or Regular expression.
For Simple comparison, you have 3 choices:
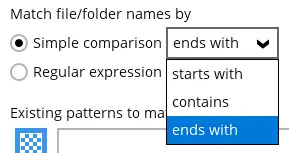
- starts with, files/folders that begins with the pattern will be selected.
- contains, files/folders that contains the pattern will be selected.
- ends with, files/folders that ends with the pattern will be selected.
The filter checks the whole filename including the filename extension. For example, you have a document with filename ‘employees’ so if ends with s is your filter then this file will not be included in the backup since its whole filename is ‘employees.doc’ or ‘employees.docx’ with both files not ending in s but c and x respectively.
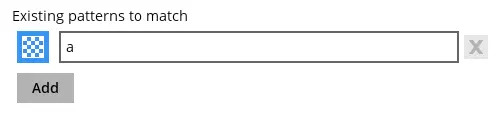
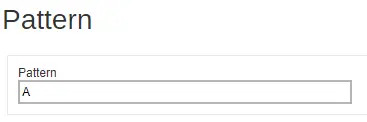
Specify the pattern then click the Add button. For example the letter a. Repeat adding patterns, until all the patterns has been added to this filter.
The pattern is case sensitive only in Regular expression.
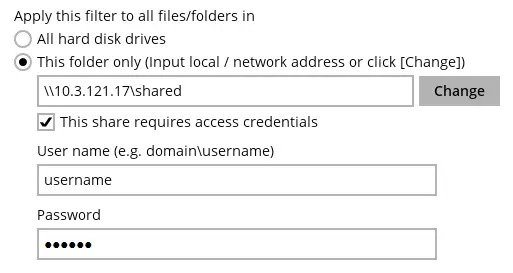
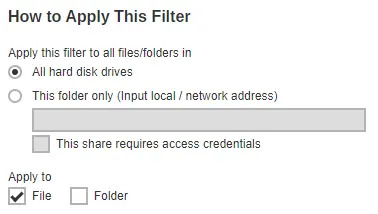
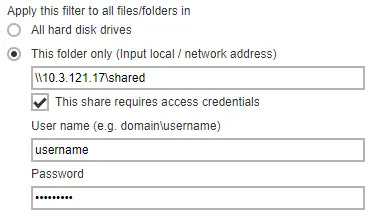
Choose how the filter will be applied, whether in All hard disk drives or for This folder only. If “This folder only” is selected, click the Change button to select the specific folder or input the local / network address.
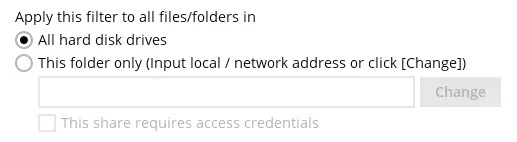
If “This share requires access credentials” is checked, enter the username and password of the local or network drive. This checkbox will only be enabled if a local or network address is detected.
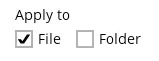
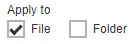
Select if the filter will be applied to “File”, “Folder” or both.
- Click the OK button to save the filter. Repeat Steps 3-9 until all the filters you want to apply are created. Click Next.
- Follow the rest of the instructions as specified in the Backup and Restore section to finish creating the backup set.
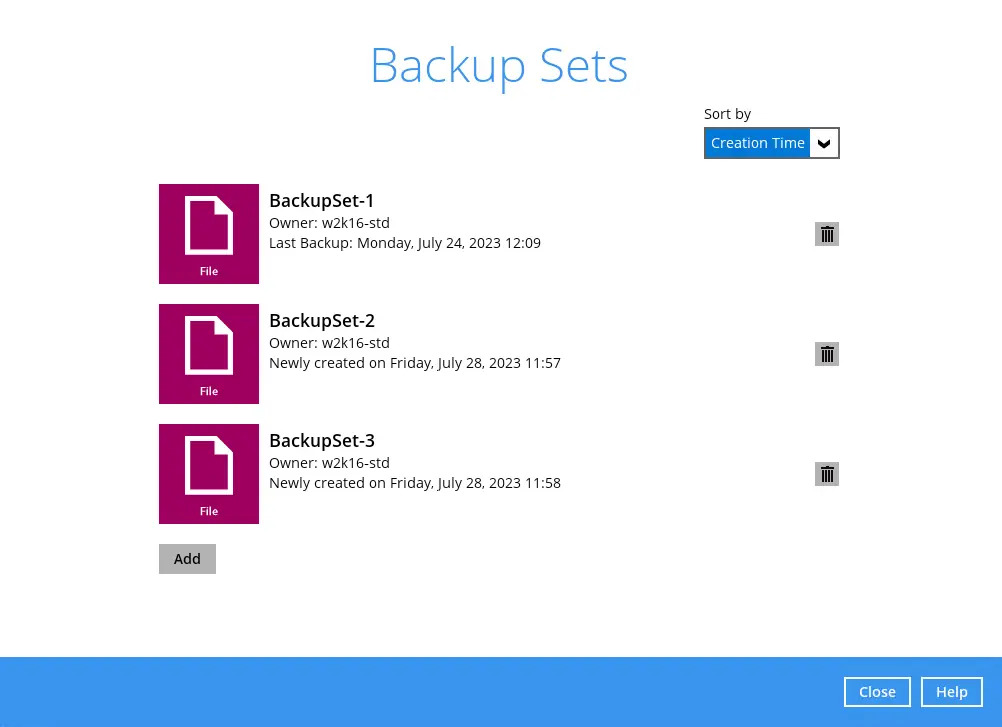
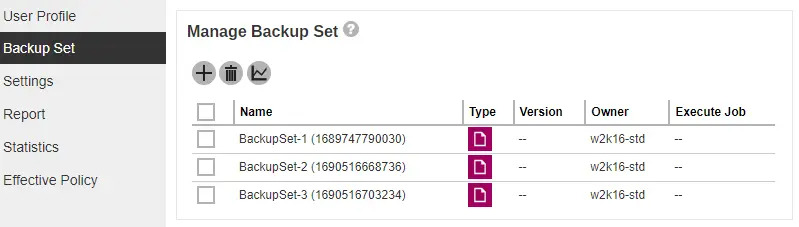
Add Existing Backup Set to Add Filter
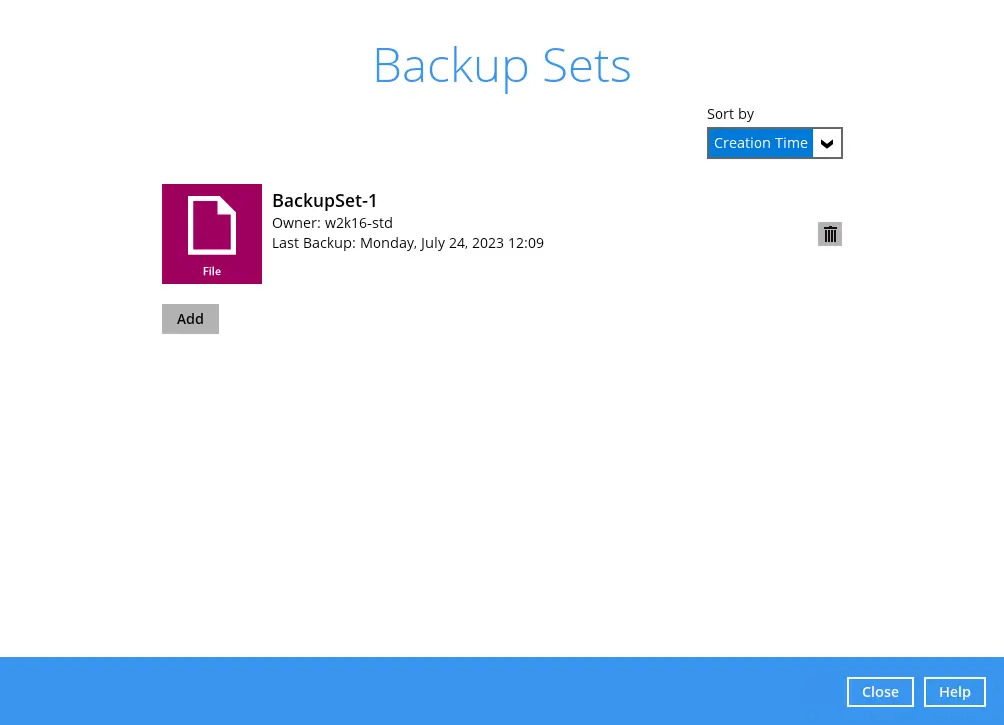
Go to Backup Sets
Select the backup set you want to add a filter.
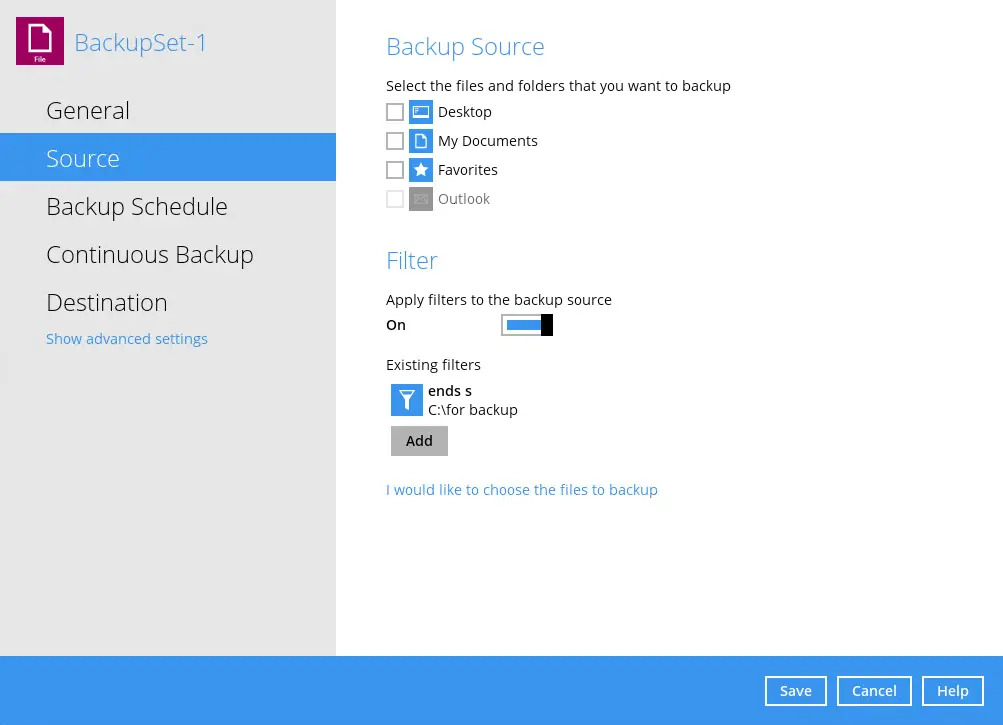
Go to Source then slide the lever to the right under “Filter”. Click the Add new filter button.
- Follow Steps 4-9 from the previous section.
Check if Filter is Correct
You can check which files will be included in the backup before the actual backup occurs. To check if the filter is correct:
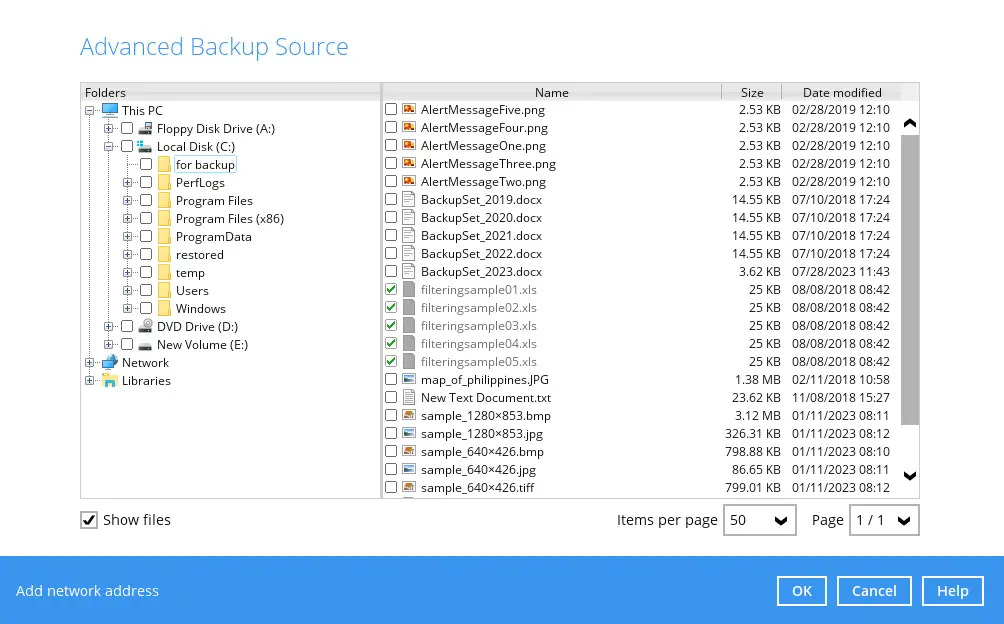
Go to your backup set then go to Source. Click I would like to choose the files to backup.
Tick the Show files checkbox, you can check here if the files that will be included in the backup is correct. Files that match the filter criteria are greyed out.
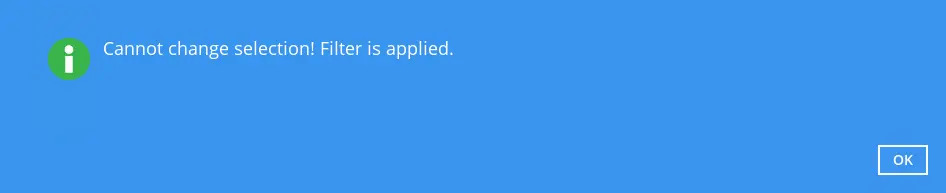
Only files not included in the filter may be added for backup. Once filter is applied to a file it cannot be changed. You will see a message like the one below if you try to check/uncheck a filtered file.
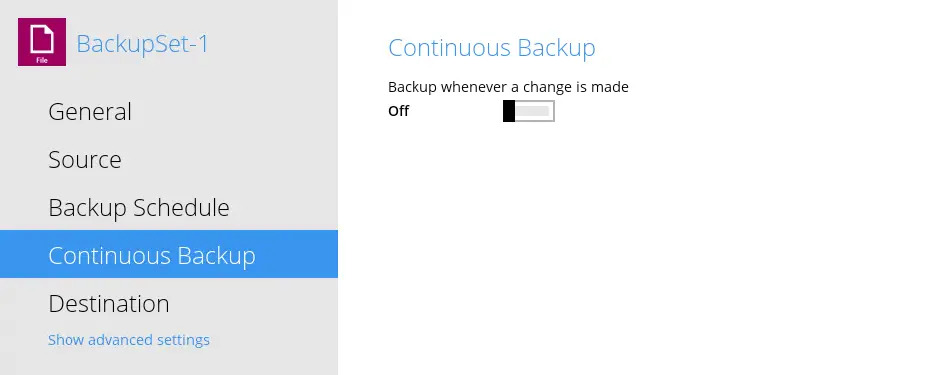
Filtering in Continuous Backup
Filtering in continuous backup is only supported by AhsayOBM on Windows Operating System. For continuous backup you can only specify filters that would exclude files from the backup. After turning on continuous backup, you must run a full backup first. This is to ensure that all the files are backed up. If you do not run a full backup first then only files that were changed or added will be backed up by AhsayOBM.
Choose the backup set that you want to set a continuous backup for.
Go to Continuous Backup and slide the lever to the right to turn it on.
Tick the “Do not backup files defined as system files” checkbox if you do not want to backup files defined as system files which is enabled by default. Please refer to System Files for Continuous Backup Exclusion on Windows OS for a list of system files that will be excluded from the backup. Set how often backup will run in minutes/hours. Also specify the size limit of the file that will be backed up.

Click the Add new exclude filter to specify the criteria for the filter. Click OK once done.

- Enter the filter name.
- You can match the file/folder names either by Simple comparison or Regular expression (UNIX-style). For simple comparison you can match it by ends with, contains or starts with.
- Enter the pattern that will be used for the filter. If there are more than one pattern, click the Add button to enter another pattern. Keep doing this until all the patterns are added.
- Specify the location of the files/folder whether in all selected sources or just a specific folder. By default All selected sources is selected.
- Choose whether to apply the filter to a file, folder of both.
Linux/FreeBSD
Create Backup Set with Filter
- To create a backup set, please refer to AhsayCBS Run on Server Backup and Restore.
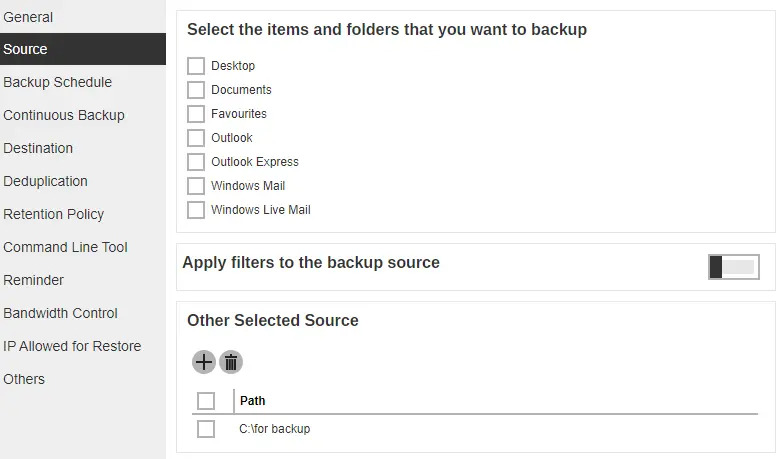
In the “Backup Source” window, enable the “Apply filters to the backup source” by sliding the lever to the right.
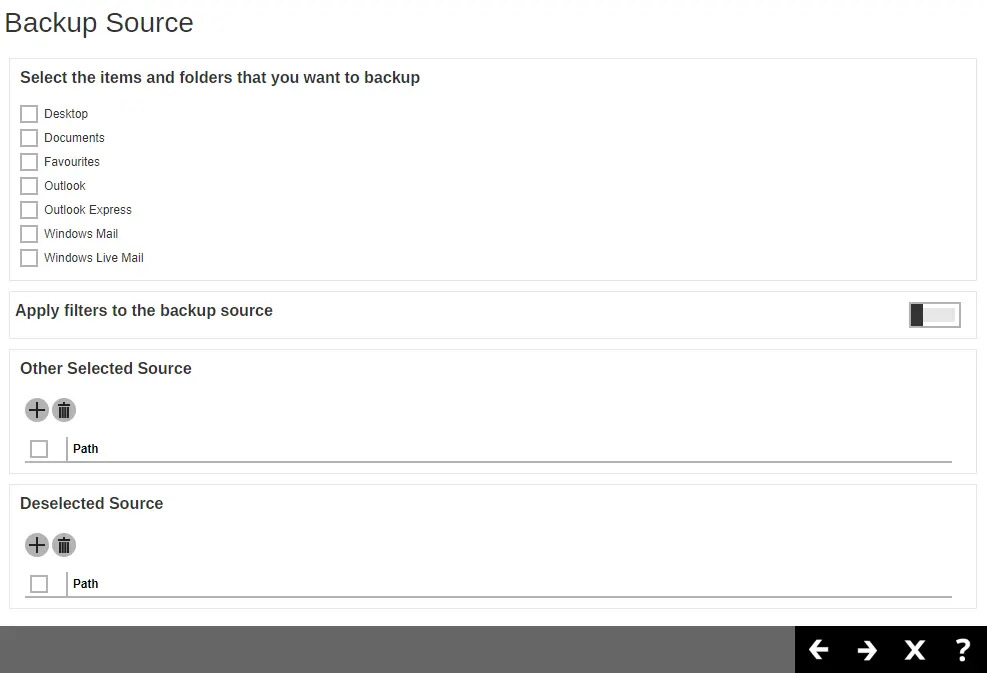
To add a filter to the backup set, click the "+" button. You can add as many as you want just make sure it won’t conflict with the other backup sets that already has an existing filter configuration.

Specify the filter name. Ensure that the filter name will correspond to the filter configuration you want to so that you will not have a hard time amending the backup set from time to time.
To add pattern to your filter, click the "+" button. Enter the pattern then click + to add. You can add various patterns that depends on your desired filter result.

These are some examples of matching patterns:
- Pattern No. 1: "A"
- Pattern No. 2: "b"
- Pattern No. 3: ".docx"
- Pattern No. 4: "Backup"
The matching patterns above are just examples.
- Choose whether the pattern you added will be included or excluded for the backup.
If Include them is selected, you have the option to exclude all the unmatched files/folders by checking the box beside “Exclude all unmatched files/folders”.
If Exclude them is selected, you have the option to include all the unmatched files/folders by checking the box beside “Include all unmatched files/folders”.
For the matching pattern specified above, select how the pattern will be compared, if it willbe by Simple comparison or Regular expression.
For Simple comparison you have 3 choices:
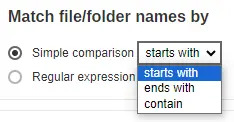
- starts with, files/folders that begins with the pattern will be selected.
- ends with, files/folders that ends with the pattern will be selected.
- contain, files/folders that contains the pattern will be selected.
Select how the filter will be applied, whether in All hard disk drives or for This folder only.
If All hard disk drives is selected, then the filter will be applied to all available hard disk drives in your computer.
If This folder only is selected, then the filter will only be applied to a specific directory.
If “This share requires access credentials” is ticked, enter the username and password of the local or network drive. This checkbox will only be enabled if a local or network address is detected.
Select if the filter will be applied to File, Folder, or both.
- Click the "+" button to save the filter. Repeat Steps 3-8 until all the filters you want to apply are created. Click the Right arrow button.
- Follow the rest of the instructions in the Run on Server Backup and Restore for AhsayCBS to finish creating the backup set.
Edit Existing Backup Set to Add Filter
Under "Backup/Restore", click User.
Click Backup Set located on the left side of the screen.
Double click the backup set where you want to add the filter. Click Source on the left.
- Follow Steps 3-8 in the previous section to finish.
Verify the Backup Report and Logs
There are two (2) ways to check the report. First, by checking the report file on the AhsayCBS Web Console and the second way is via Command Line Interface (CLI).
Backup Report via Web Console
Access the report via the web console by going to Backup/Restore > User > Report. Select the report that you wanted to check and download the PDF. Note that the PDF will only be available 15 minutes after the completion of backup.
Backup Logs via Command Line Interface (CLI)
Access the log file via the CLI by going to this directory, #cd /root/.obm/log. The logs in the .obm directory is where all the backup logs are located. Select the backup report you wanted to check. Unlike in the AhsayCBS Web Console, the log files are available right after the completion of backup.
For additional reference on the location of the application logs, access the link below:
FAQ: Where are the backup client application logs stored at?