Article ID
Product Version
Operating System
Description
This Know-How article outlines the steps to setup synchronization for backup data on cloud storage to multiple computers (e.g. standby computer for mission critical server) for quicker restore.
This is useful when the original client computer is destroyed or lost and you want to quickly recover the data onto another computer.
Solution
-
Create a backup set with backup destination to one or multiple cloud storage locations.
- Login to the AhsayOBM / AhsayACB client user interface.
-
Click Backup Sets, then the Add button.
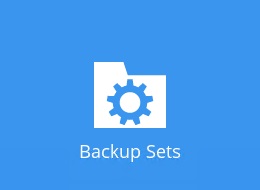
- Select the corresponding backup type, then configure the backup source and backup schedule as required.
-
Click Add new storage destination / destination pool to add the cloud storage destination (must be a single storage destination).
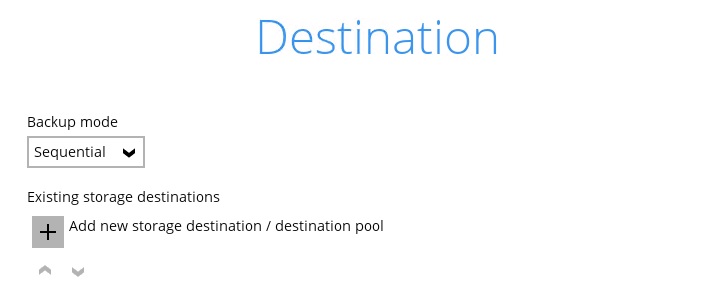 It is strongly recommended that all backup sets are configured to backup to multiple backup destinations, to provide user with data redundancy and backup / restore flexibility.
 - Continue with the backup set creation process.
-
Click the Backup now button to start the initial backup job ( or allow the job to start at its scheduled time).
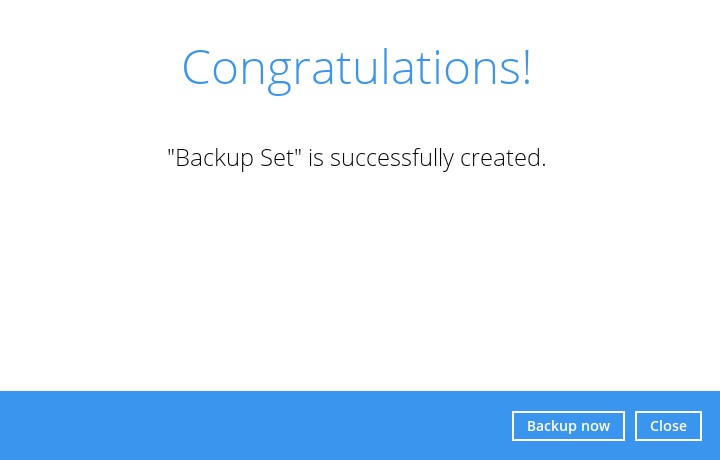
-
Next, setup synchronization for backup data on cloud storage to another computer (e.g. standby computer).
Dropbox will be used as an example in the following steps.
The process to setup synchronization for different cloud storage provider may be different depending on the service provider. Consult with the storage provider for further assistance if required.
- On the standby computer, install the corresponding cloud storage application (e.g. Dropbox app).
- Login to the application.
-
Locate the synchronization folder. In this example, click Advanced settings.
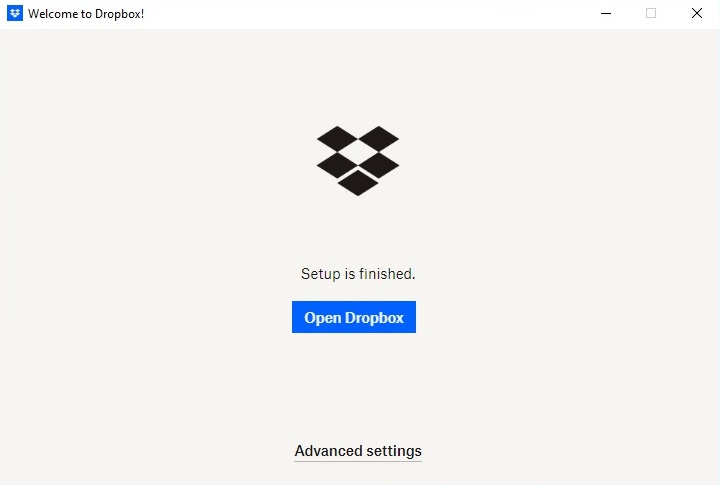
By default, Dropbox stores the synchronized data at %OS_user_profile%\Dropbox.
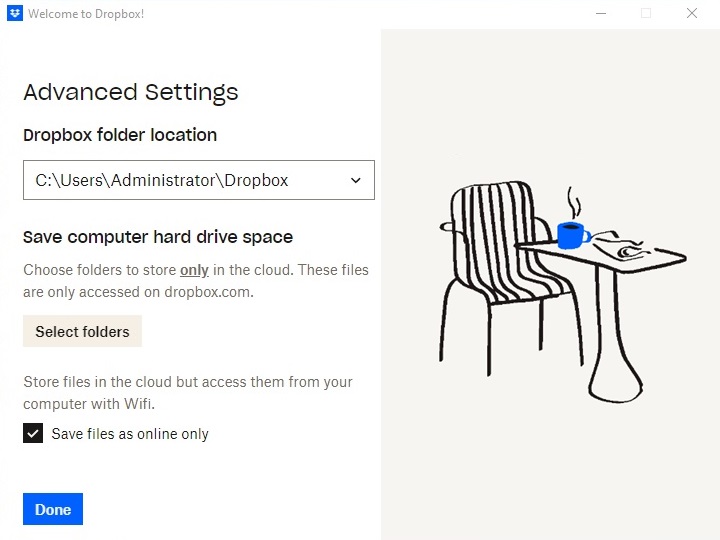
For example C:\Users\Administrator\Dropbox.
The backup data would be synchronized to the C:\Users\Administrator\Dropbox\Apps\Ahsay\* folder.

-
Allow the synchronization process to continue.

-
Ensure that the storage application is started automatically on system startup.
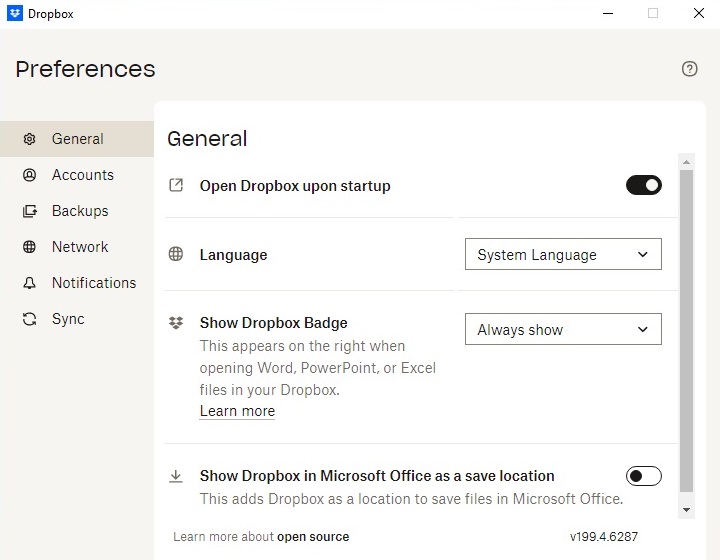
With the above setup, backup data would be continuously synced to the standby computer, allowing users to quickly recover their data on the standby computer with the data locally (instead of having to connect to the cloud storage to perform the restore).
-
Perform the restoration with the locally synced data.
- Login to the AhsayOBM / AhsayACB client user interface with the original backup account.
-
Click Backup Sets, then the corresponding backup set to be restored.

-
Click Destination, then click Add.
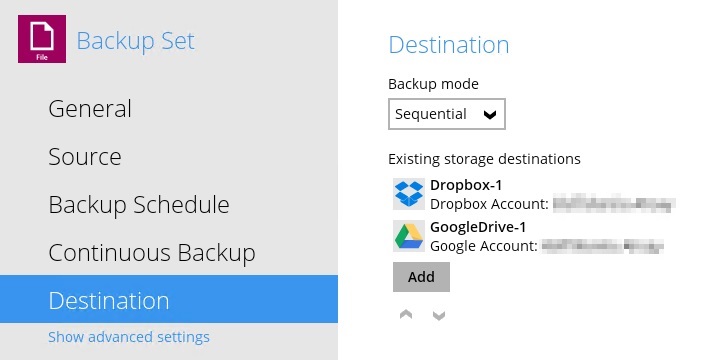
- From the 'Destination storage' dropdown menu, select Local / Mapped Drive / Network Drive / Removable Drive.
-
Click the Change button and point to the 'Ahsay' directory at the synced location.
%Sync_Location%\Ahsay.
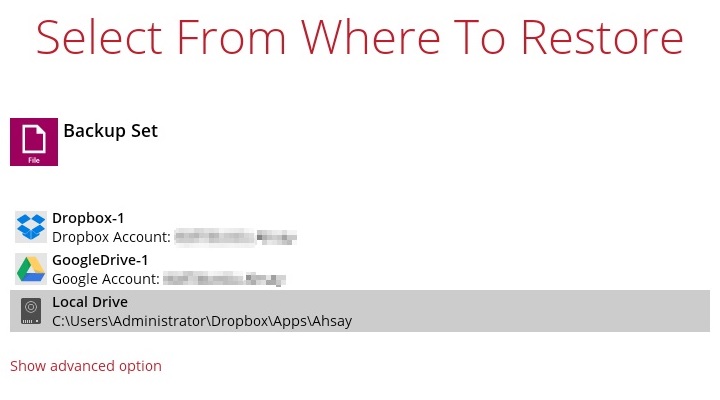
Example: C:\Users\Administrator\Dropbox\Apps\Ahsay
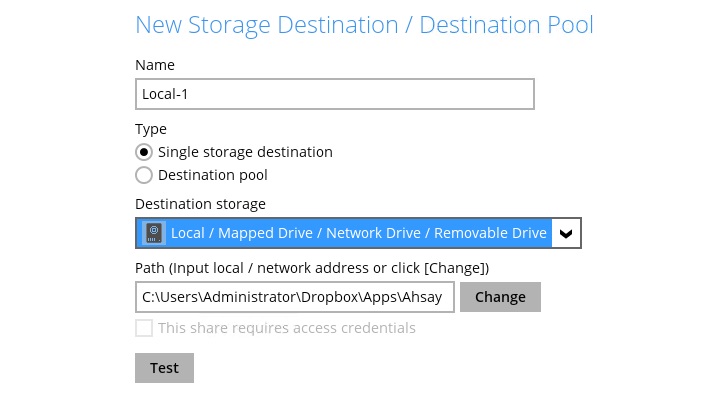
- Click OK then Save to save the setting changes.
-
Next, click Restore.
-
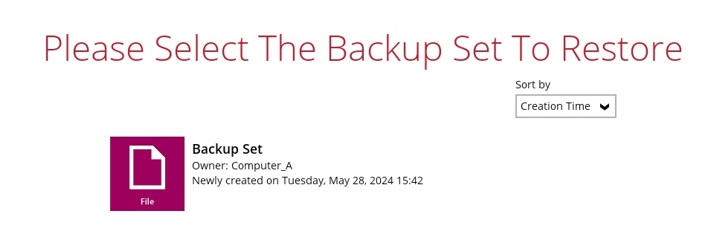
Select the corresponding backup set.
-
Select the destination created in the previous step.
- Continue by clicking the Next button to select the files to be restored and the restore destination to be used for the restore process.
- Click the Restore button to start the restore process.