Article ID
Last Reviewed Date
Product Version
Operating System
Description
This Know-How article outlines the steps to restore data of backup sets with backup destination set to AhsayCBS / mapped drive / removable drive.
This is useful when the original client computer (that the data was originally backed up from) is destroyed or lost.
Solution
-
First, copy the backed up data from the backup destination to the client computer.
-
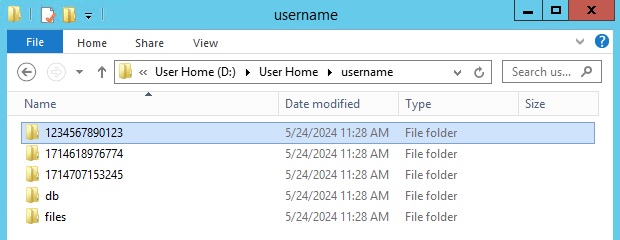
If the backup destination is AhsayCBS, copy the entire backup set ID folder of the account within the User Home to the client computer.
%User_Home%\%username%\%backupset_id%\*
Example:
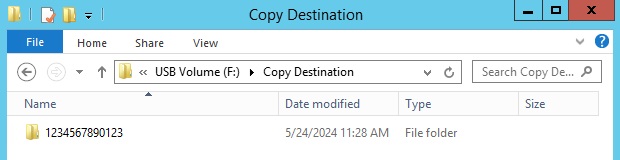
Copy the following within the User Home of account 'username' at D:\User Home\username\1234567890123
to the client computer at F:\Copy Destination\1234567890123
-
If the backup destination is a mapped drive / removable drive, transfer the removable drive to the client computer or map the drive to the client computer if possible.
If the network path is not reachable on the new client computer, copy the entire backup set ID folder of the account within the mapped drive to the client computer at %Mapped_Drive%\Backup Destination\%backupset_id%\*.
Example:
Copy the entire backup set ID folder to the client computer at F:\Copy Destination\1234567890123.
-
-
Next, configure the backup set to perform the restore.
- Login to the AhsayOBM / AhsayACB client user interface with the original backup account.
-
Click Backup Sets then the corresponding backup set to be restored.
-
Click Destination then Add.
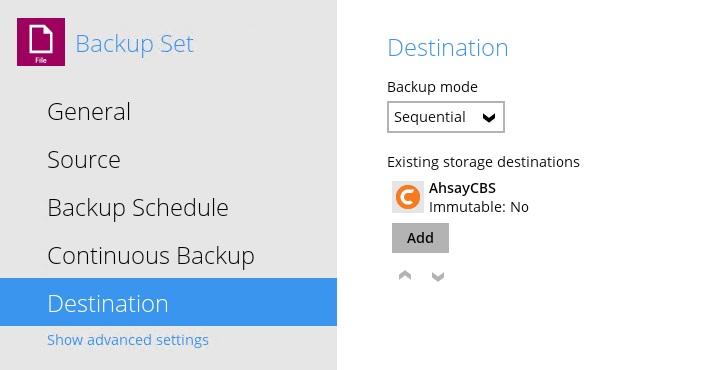
- From the Destination storage dropdown menu, select Local / Mapped Drive / Network Drive / Removable Drive.
-
Ensure that the destination type is set to Single storage destination, then click the Change button and select the path where you have copied the data to (e.g. path of the backup set ID folder).
%Copy_Destination%\%backupset_id%\*
Example: F:\Copy Destination
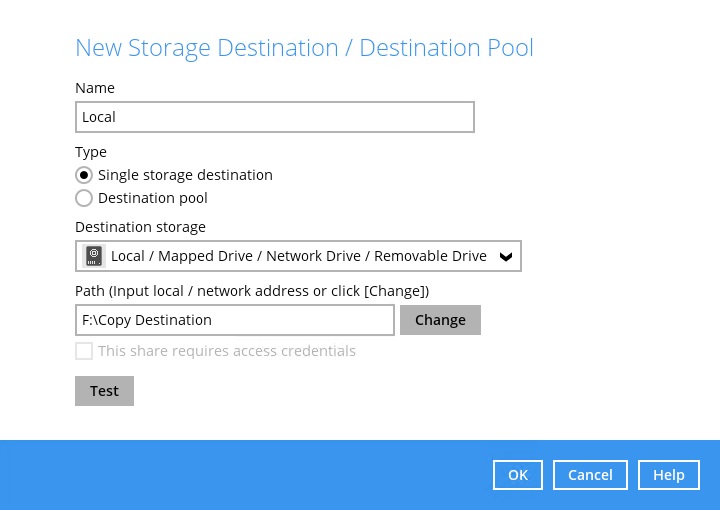
- Click OK then Save to save the setting changes.
-
Perform the restoration.
-
In the client user interface, click Restore.
-
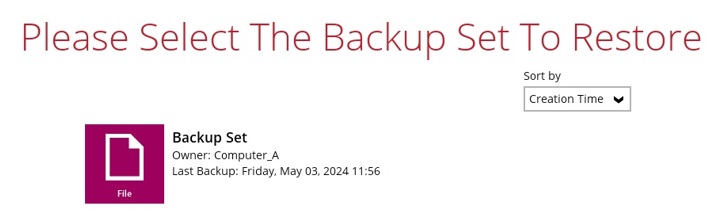
Click the corresponding backup set.
-
Click the destination created in the previous step.
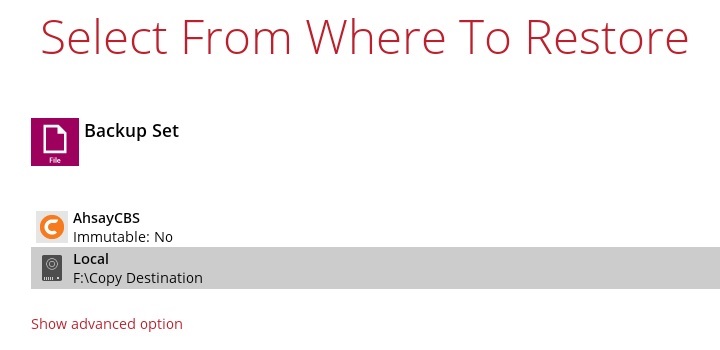
- Continue by clicking the Next button to select the files to be restored and the restore destination to be used for the restore process.
- Click the Restore button to start the restore job.
-