
 AhsayCBS (DIY)
Create a Backup Set
Creating a Hyper-V Backup Set
There are two types of Hyper-V backup sets: Cluster and Non-Cluster. These steps will show how to create a Hyper-V backup set on Cluster and Non-Cluster environments. Screenshots used for this guide were based on a Non-cluster environment backup set.
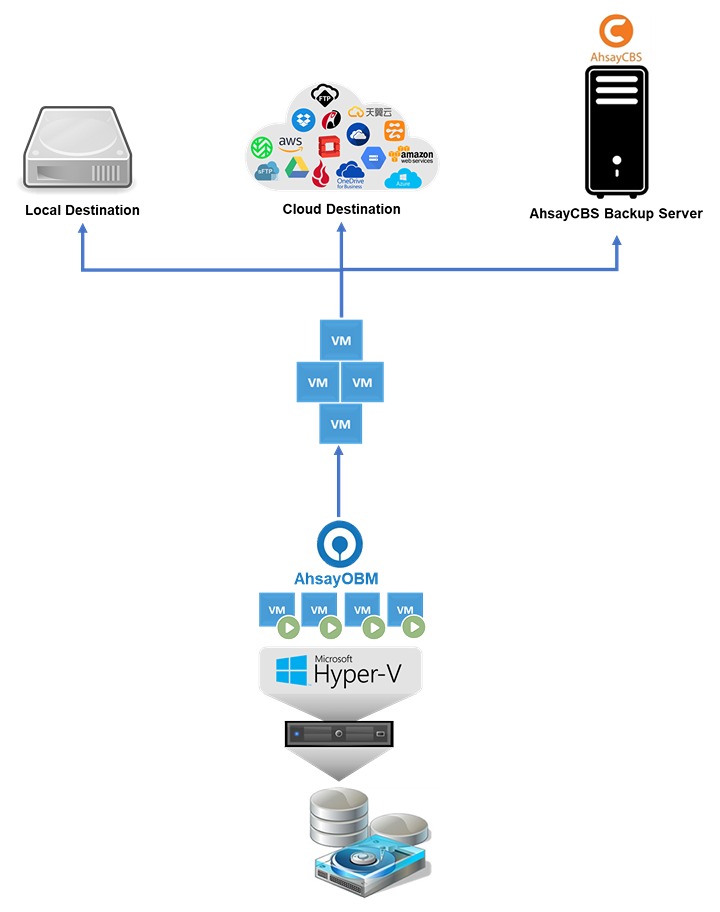
Non-Cluster Environment
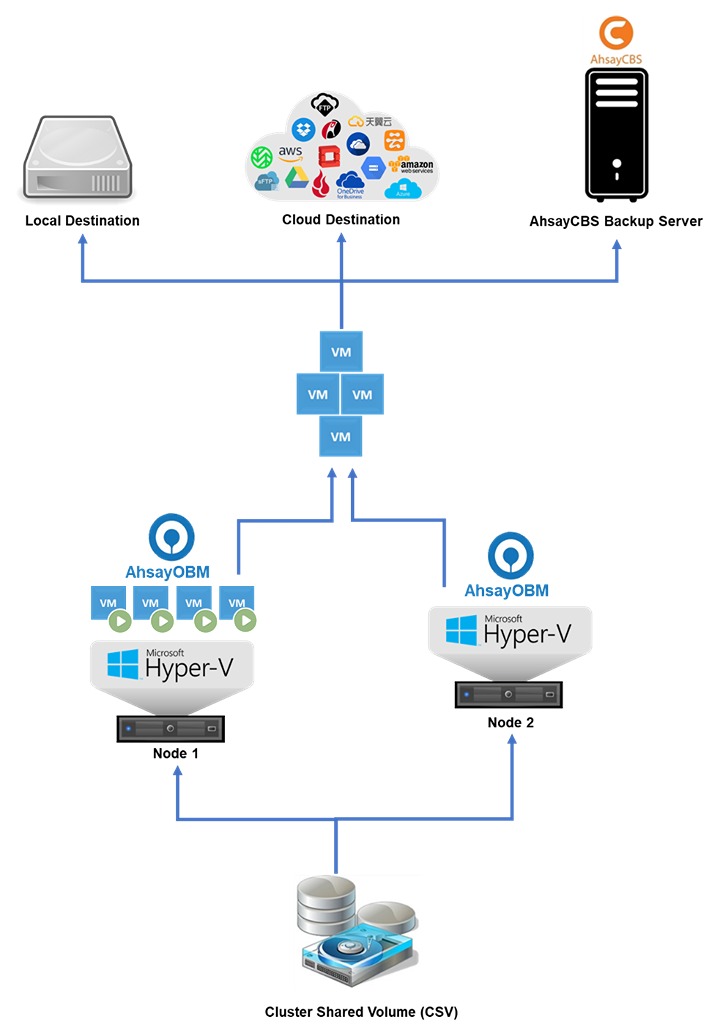
Cluster Environment
There are two (2) types of configurations in a Hyper-V Cluster Setup:
Active/Passive
In an Active/Passive configuration, there is at least one node in the cluster which is idle or not running any VM or resources.
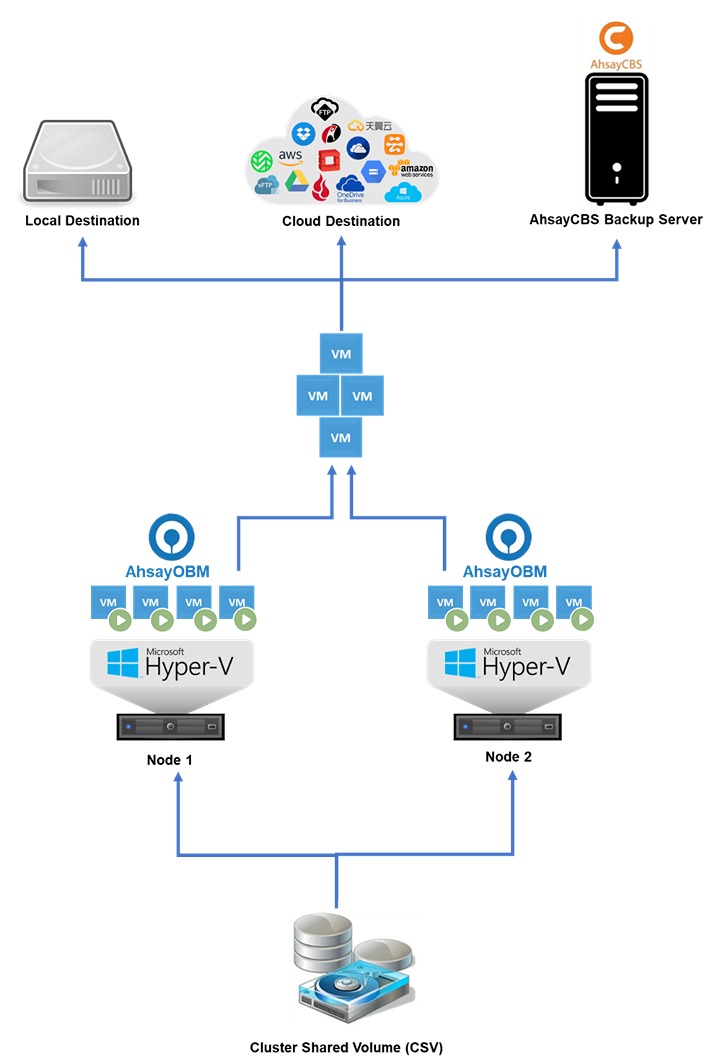
Active/Active
In an Active/Active configuration, all VMs are running in all nodes.
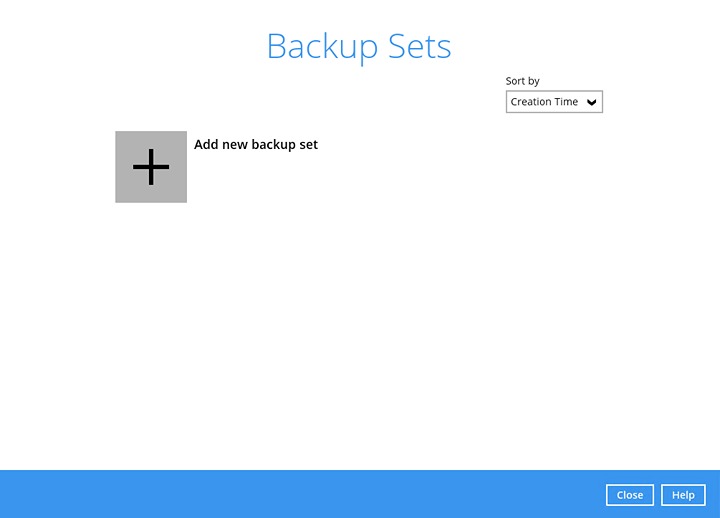
Click the Backup Sets icon on the main interface of AhsayOBM.
Create a new backup set by clicking "+" beside "Add new backup set".
Select the "Backup set type", "Version", and name your new backup set. Then, click Next to proceed.
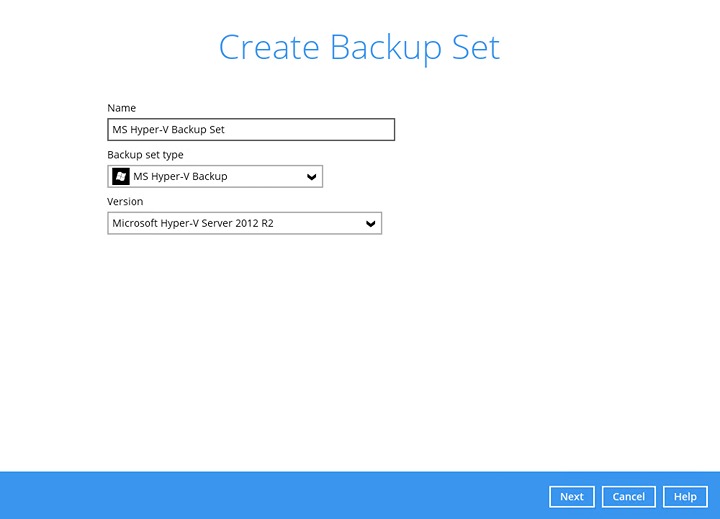
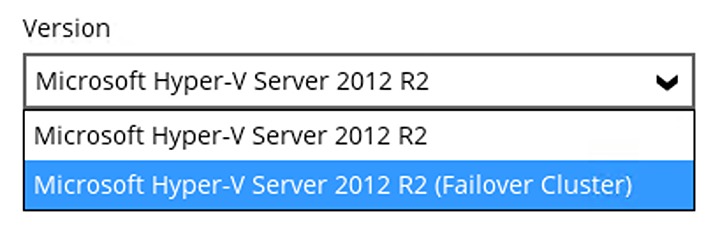
The “Version” will determine if the backup set is in Cluster or Non-Cluster environment. To create a backup set in Cluster environment, select the version with (Failover Cluster). For Non-Cluster environment, select the regular version.
AhsayOBM will automatically detect the Hyper-V version installed on the host.
In the “Backup Source” window, select the guest VM(s) you would like to back up. Click Next to proceed.

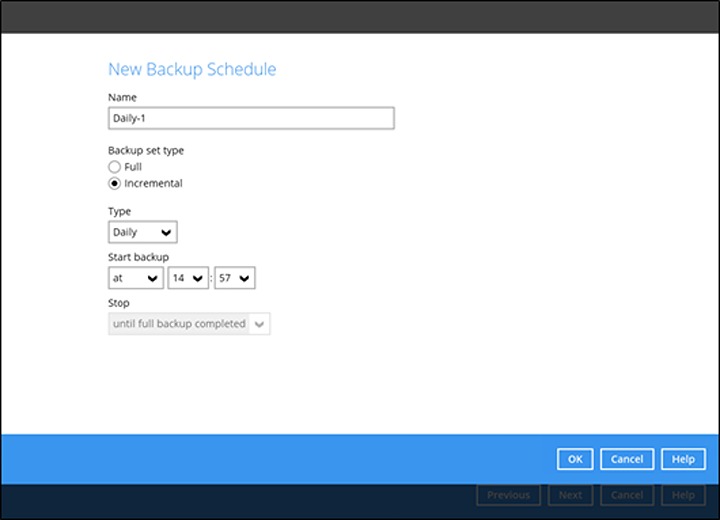
In the “Schedule” window, you may edit the existing backup schedule, or you may create a new schedule for backup job to run automatically at your specified time interval by clicking the Add button.
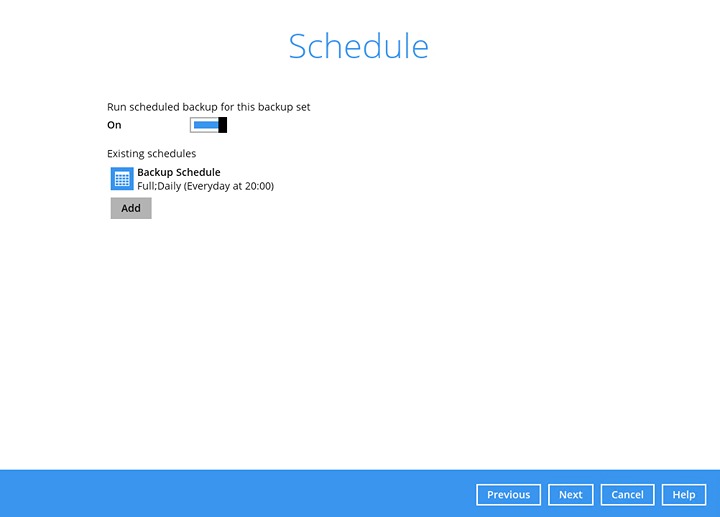
Click OK when you are done with the settings, then click Next to proceed.
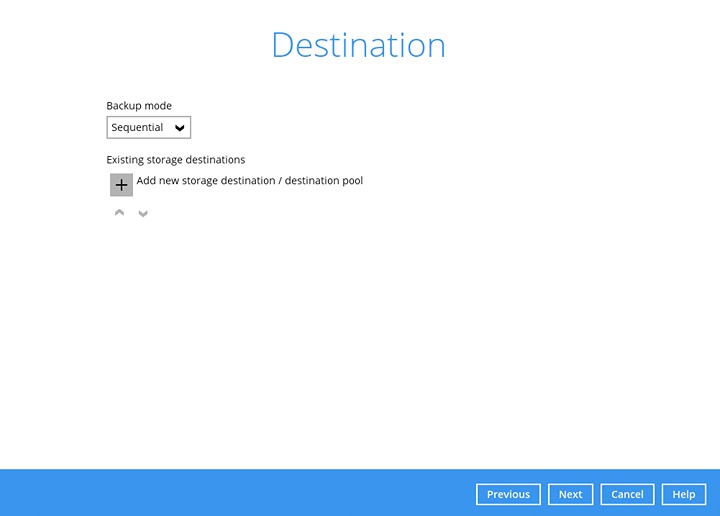
Select the backup storage destination. Click "+" to add a new storage destination or destination pool.
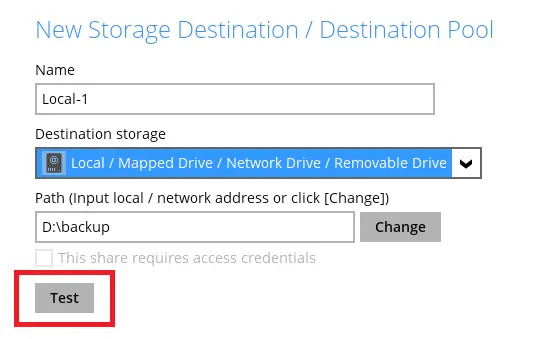
In the “New Storage Destination / Destination Pool” window, select the “Destination storage”.
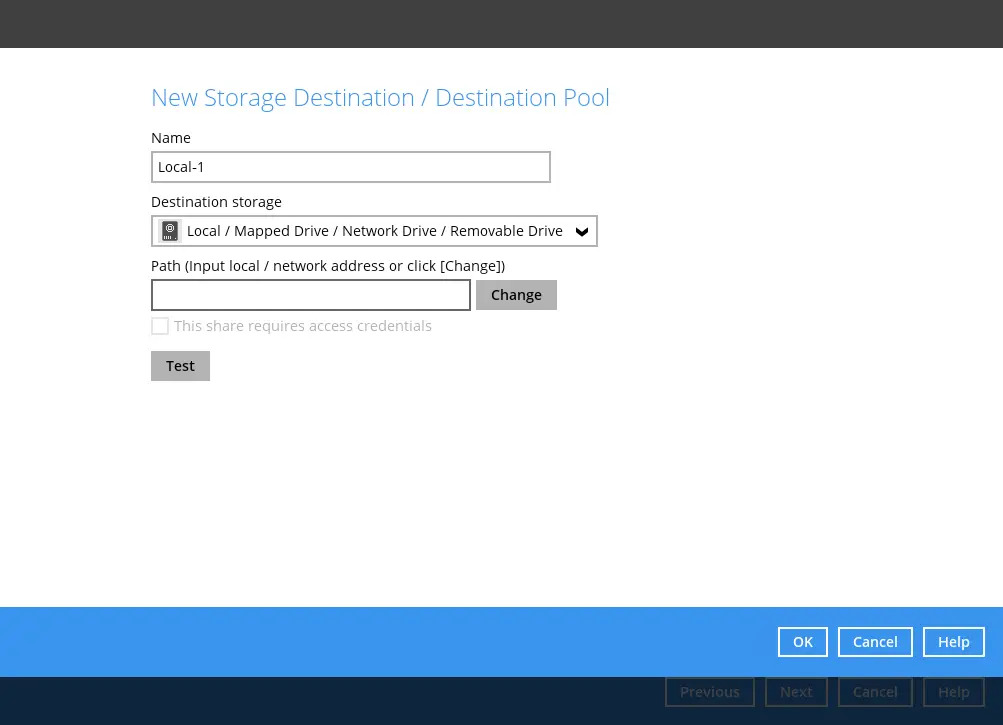
If Local / Mapped Drive / Network Drive / Removable Drive is selected, click the Change button to select the path of the destination. Tick This share requires access credentials if required and input the needed credentials.
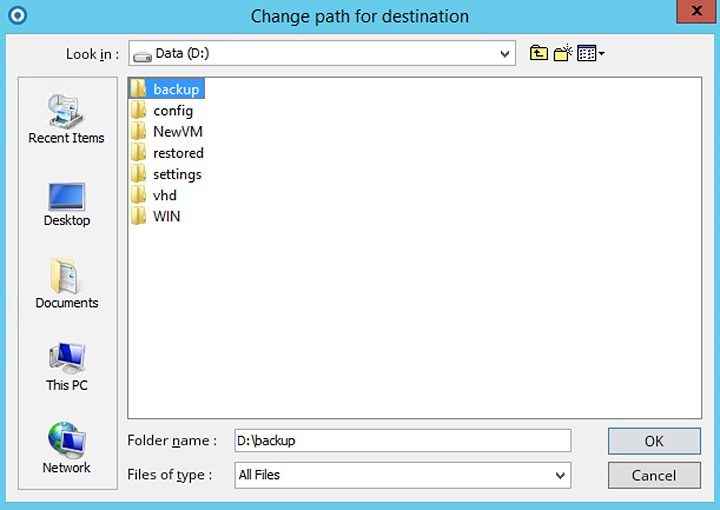
Click the Test button to verify if AhsayOBM has permission to access the folder.
“Test completed successfully” will be displayed once the test is finished. Click OK to proceed.
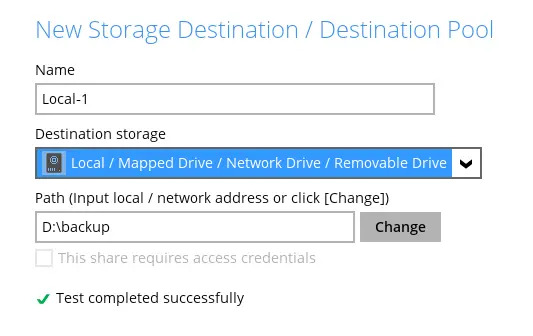
Multiple storage destinations may be added by clicking the Add button and following the steps above. Click Next to proceed once done.
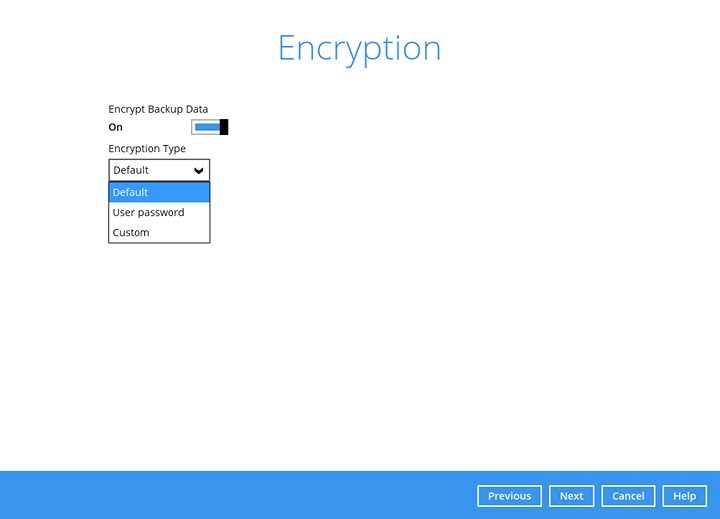
In the “Encryption” window, the default “Encrypt Backup Data” option is enabled with an encryption key preset by the system which provides the most secure protection.
- For best practice on managing your encryption key, refer to the following article.
FAQ: Best practices for managing encryption key on AhsayOBM or AhsayACB
You may also refer to the Overview (GUI) section for more details.
Click Next when you are done with the settings.
- For best practice on managing your encryption key, refer to the following article.
If you have enabled the Encryption Key feature in the previous step, the following pop-up window will show regardless of the selected encryption type.

The pop-up window has the following three options to choose from:
Unmask encryption key - The encryption key is masked by default. Click this option to show the encryption key.

- Copy to clipboard - – Click to copy the encryption key, then you can paste it in another location of your choice.
- Confirm - Click to exit this pop-up window and proceed to the next step.
Enter the Windows login credentials used by AhsayOBM to authenticate the scheduled backup job.
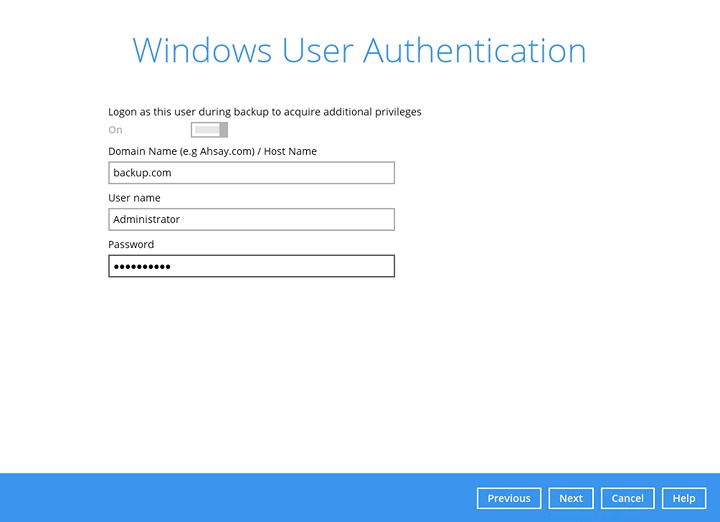
If the backup schedule is turned off for the backup set, the Windows User Authentication screen will be automatically skipped. The Windows User Authentication login credentials can be added or updated post backup set creation.
Select the temporary directory for storing temporary files, then click Next to finish the setting.
By default, the temporary directory is set to C:\Users\Administrator\.obm\temp upon creation of backup set. For optimal backup and/or restore performance, the temporary directory should be changed to other available drive (e.g. drive E:\)and not on Windows System C:\ drive.
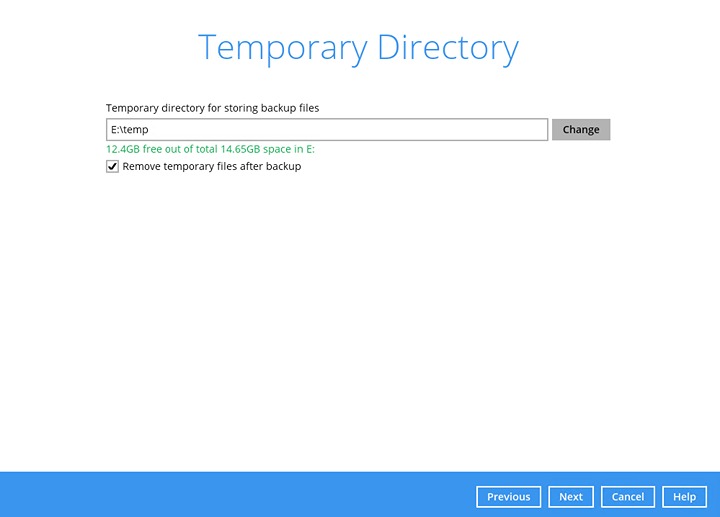
Refer to Temporary Directory in the Requirements section for details on the temporary directory requirement. To know more about how to set up the temporary directory location, refer to the following article: Tips On Temporary Directory Setup for your Backup Set.
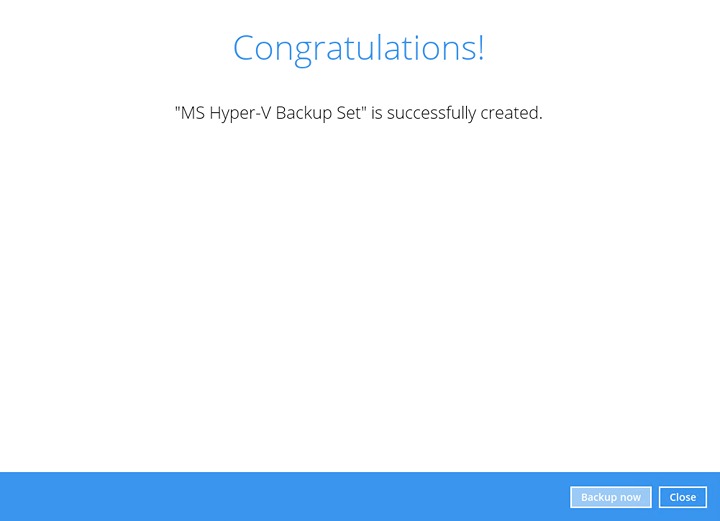
Backup set created.
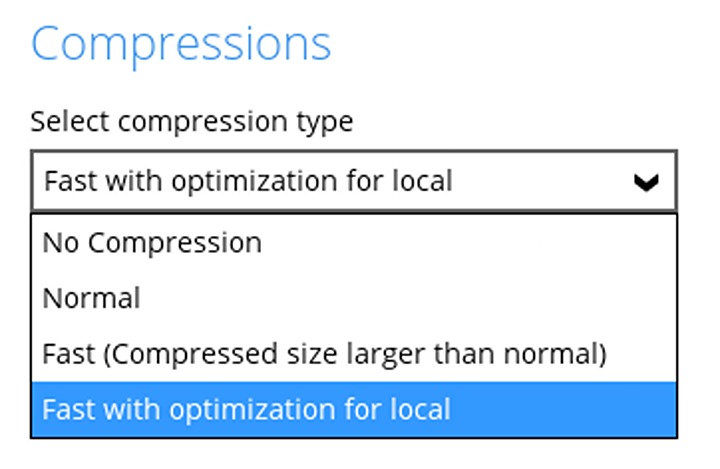
Optional: Select your preferred "Compression type".
Go to Others>Compressions, then select from the following:
- No Compression
- Normal
- Fast (Compressed size larger than normal)
- Fast with optiization for local
Verifying the Backup Set Settings for Cluster Environment
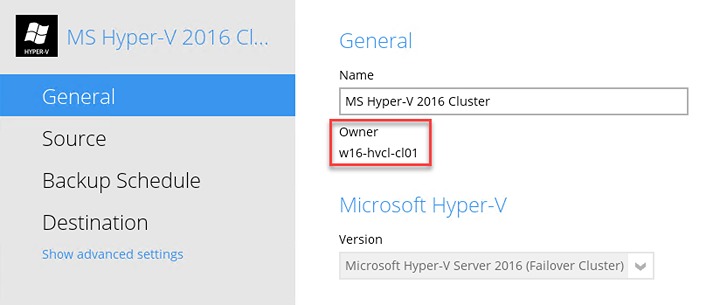
Click Close and then click on the Hyper-V backup set to complete the setup.
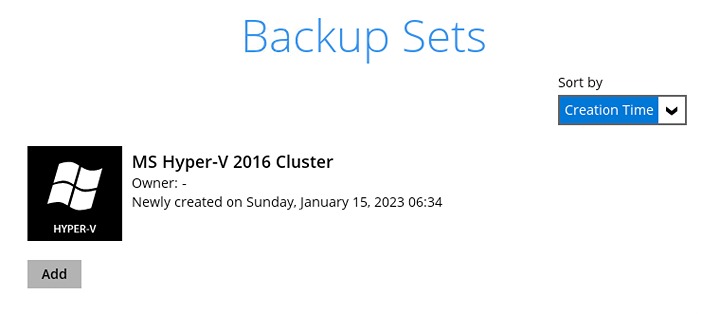
Go to General and verify if the node has been added.
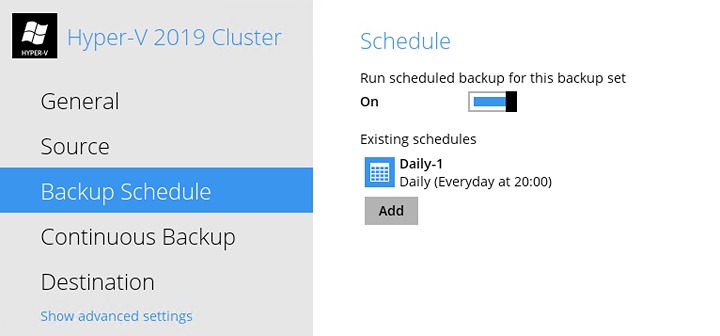
On the next Hyper-V node, startup AhsayOBM and select the Hyper-V backup set.
Go to Backup schedule and enable the "Run schedule backup for this backup set". Set the backup schedule time and click Save once finished.
Go to General and verify if the node has been added.
Repeat steps for all Hyper-V Cluster nodes.