
 AhsayCBS
Restore
There are two types of restore that can be done from AhsayCBS. One is a Run on Server restore for cloud backups and Microsoft 365 backup. And the other one is a Run Direct restore for virtual machines.
Run on Server
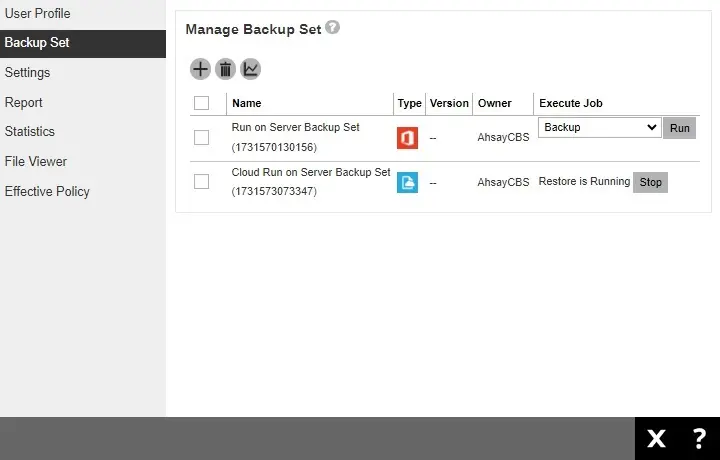
Click the User icon on the User Web Console.

Click Backup Set from the left panel, then select Restore under "Execute Job" drop down menu and click Run.
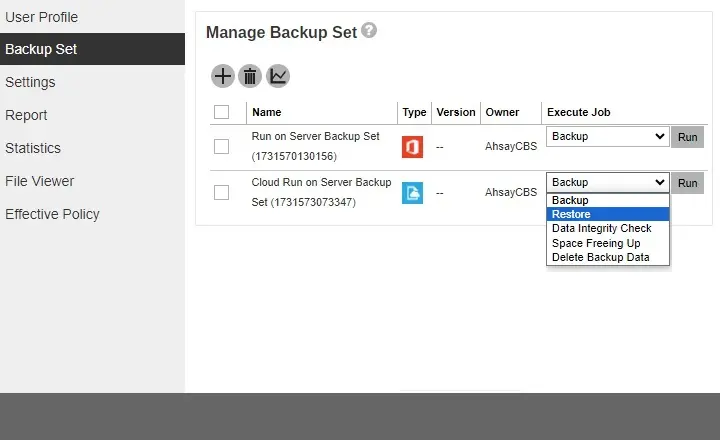
The next window that will be displayed will depend on the backup set type.
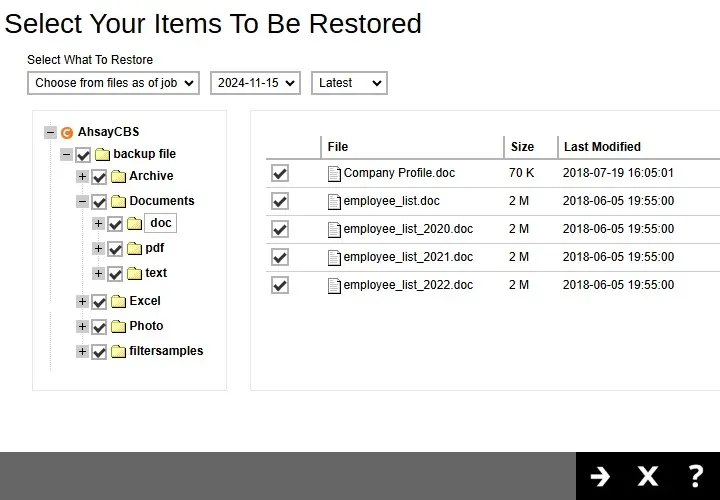
Cloud File Backup
Select to restore from a specific backup job, or the latest job available from the "Select What To Restore" drop-down menu. Click Next to proceed.
Microsoft 365 Backup
Choose the data to be restored. The screen that will be displayed will depend on the type of account used for authentication.
If business account is used:
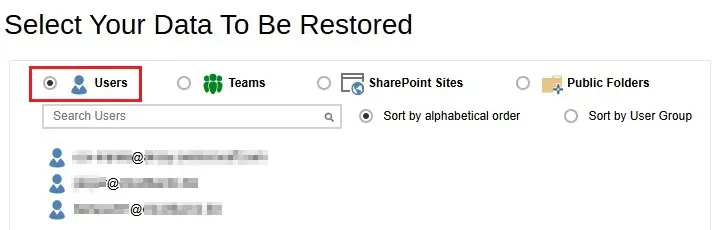
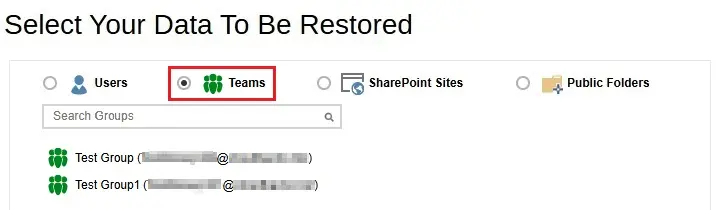
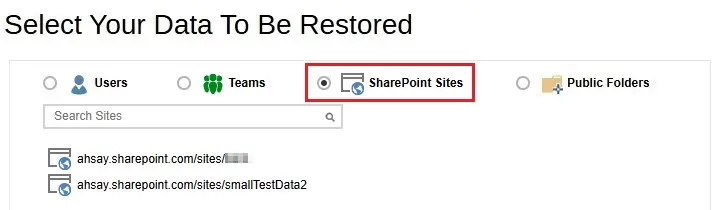
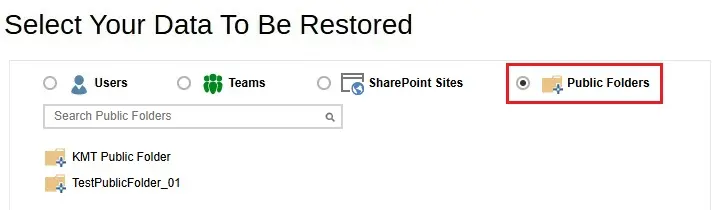
For AhsayOBM, select to restore from Users, Teams, SharePoint Sites or Public Folders.
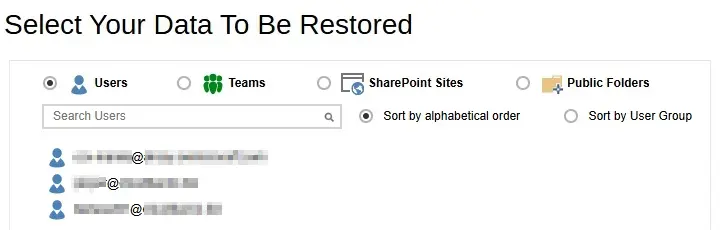
For AhsayACB, select to restore from Users or Public Folders.
 Choices for data to be restored will depend on the data that was backed up. Only one type of data can be restored at a time, e.g. if you choose to restore Users and Teams you can restore Users first then after the restore process, do the restore for Teams next.
If personal account is used, AhsayOBM and AhsayACB will have the same screen displayed. Select to restore from a specific backup job, or the latest job available from the drop-down menu.
Click Next to proceed.
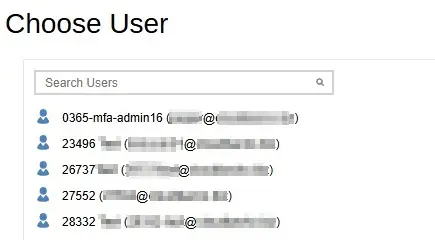
From Users
For AhsayOBM, Users can be sorted alphabetically or by User Group. There is also a search function if there are many Users listed. Click on the user that will be restored.
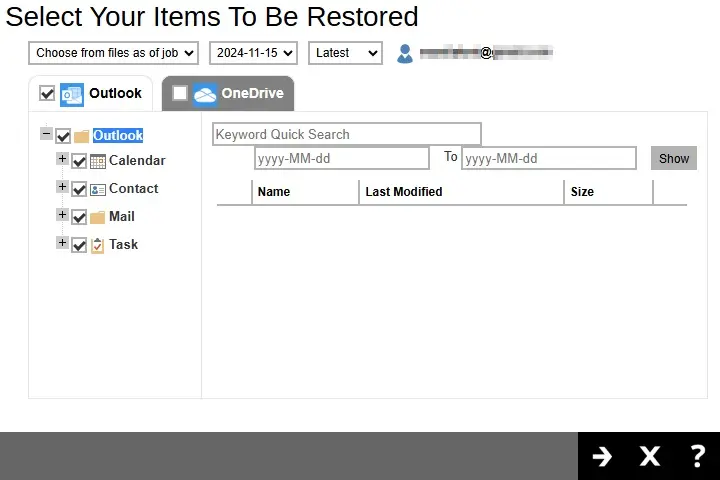
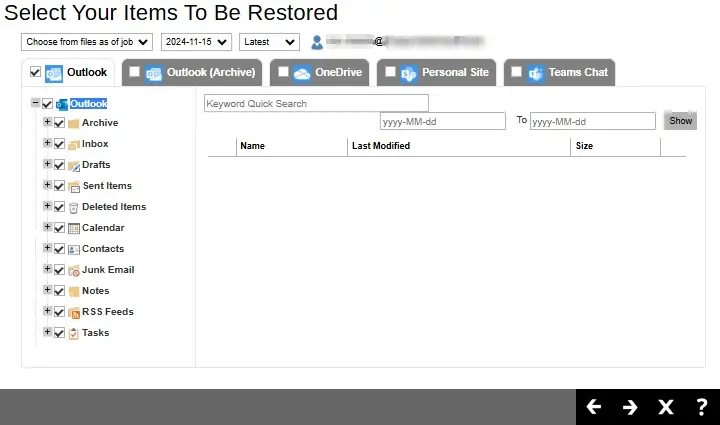
Select the item(s) you would like to restore. You can also choose to restore backed up file from a specific backup job of your choice using the drop-down menu at the top.
Items can be restored from:
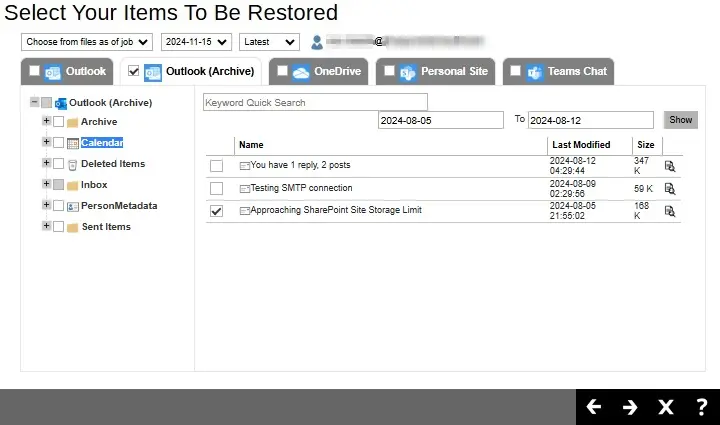
Outlook
If the checkbox beside Outlook is ticked, then all the items under "Outlook" will be restored.
Items can also be filtered according to keyword and/or the received date. Set the From and To dates of the items then click Show.
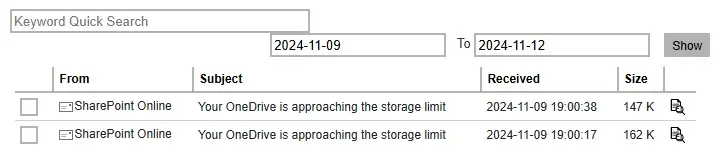
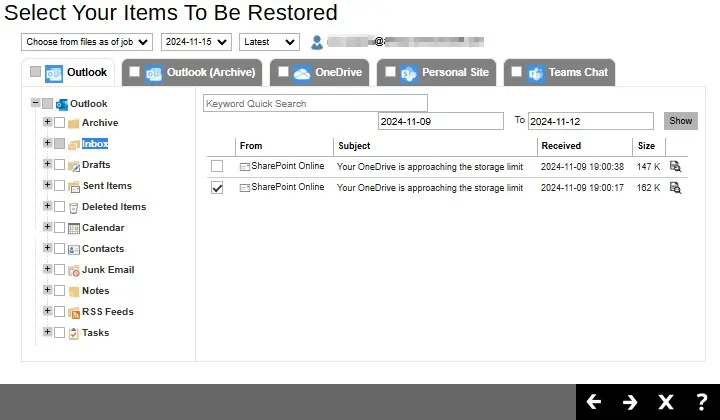
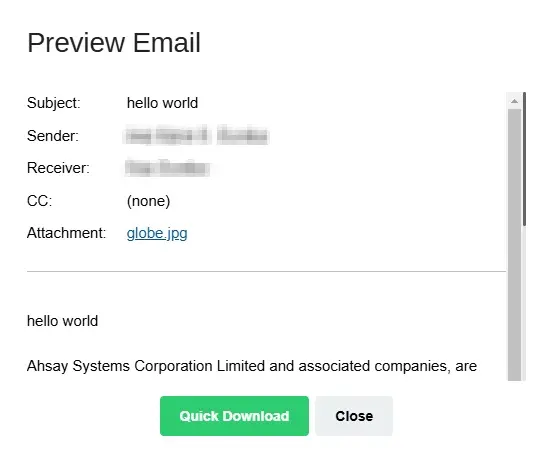
Specific items can also be selected. There is a preview function that will let you see the content so you can check if you want to restore it.
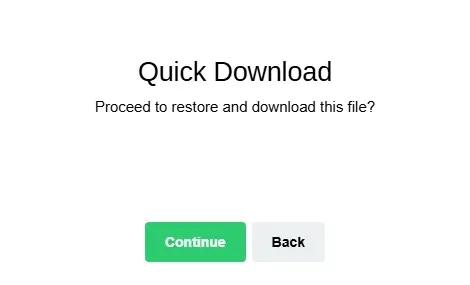
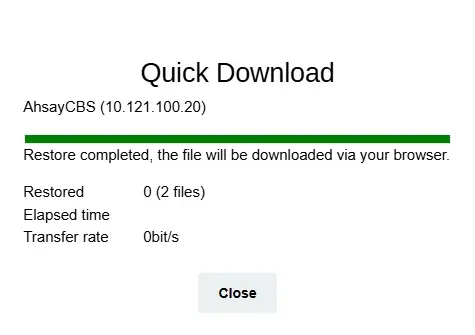
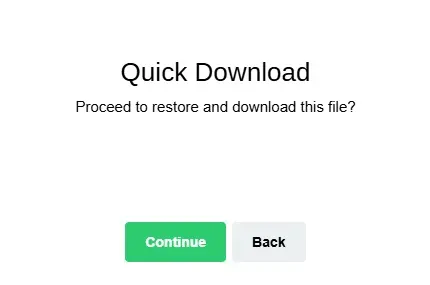
To do this click Preview. In the Preview Email window you can restore and download the email by clicking Quick Download then Continue.
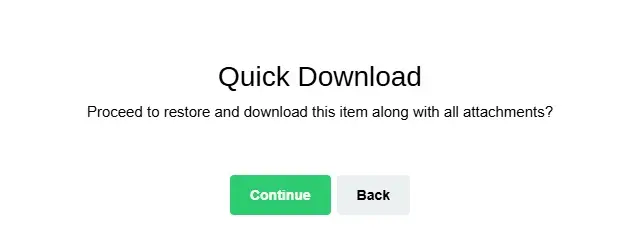
After the download is complete, a zip file will be created that contains the file. Click Close once done.

You can also download just the attachment by clicking on the attachment itself.
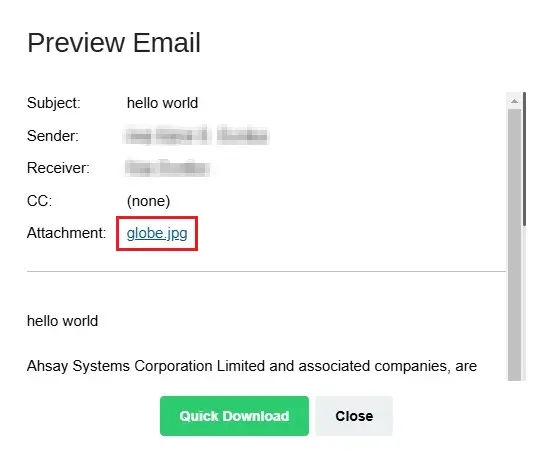
Click Continue to proceed.

Click Close once done.
Outlook (Archive)
If the checkbox beside Outlook (Archive) is ticked, then all the items under "Outlook (Archive)" will be restored.
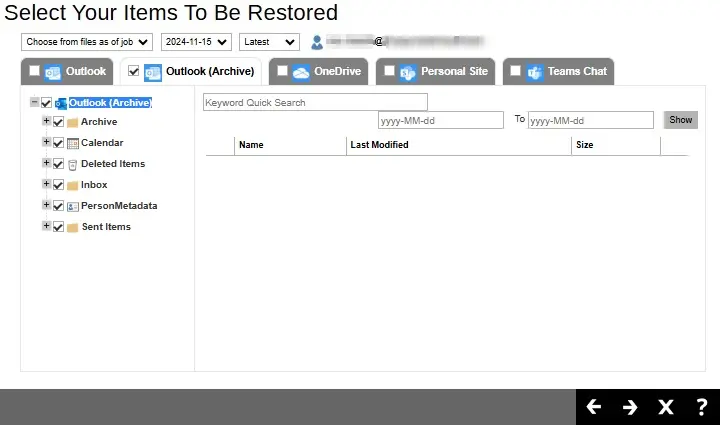
Same as "Outlook", items can be filtered according to keyword and/or received date. Specific items can also be selected. There is a preview function that will let you see the content so you can check if you want to restore it. For instructions on how to use the preview function please refer to the instructions discussed above.
OneDrive
If the checkbox beside OneDrive is ticked, then all the items under "OneDrive" will be restored.
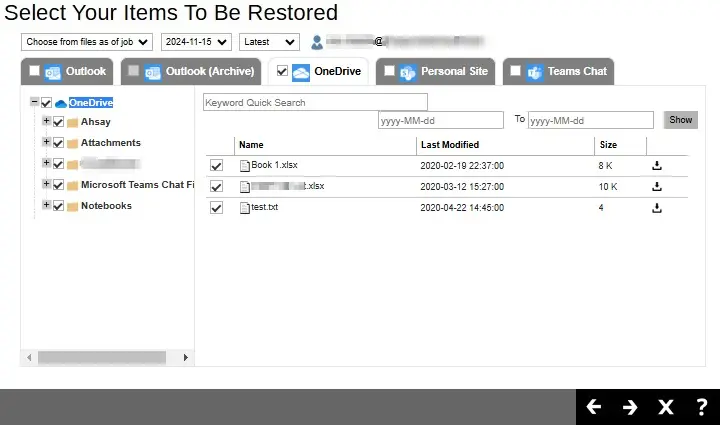
Specific items can also be selected. There is a download function that will let you download the item.
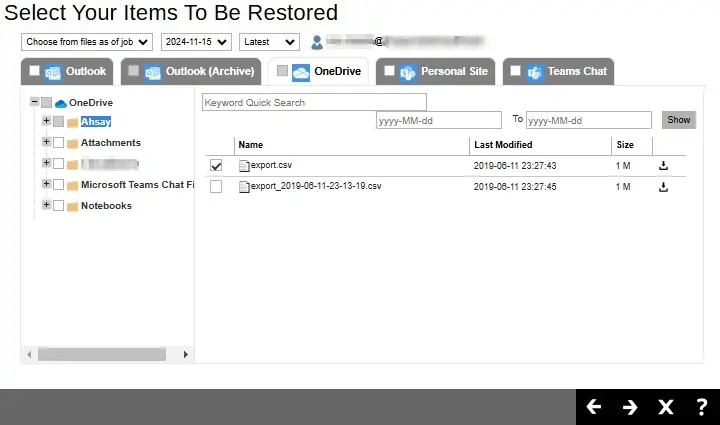
Click Download to download the item. Click Continue to start the download and restore. After the download is complete, a zip file will be created that contains the file.
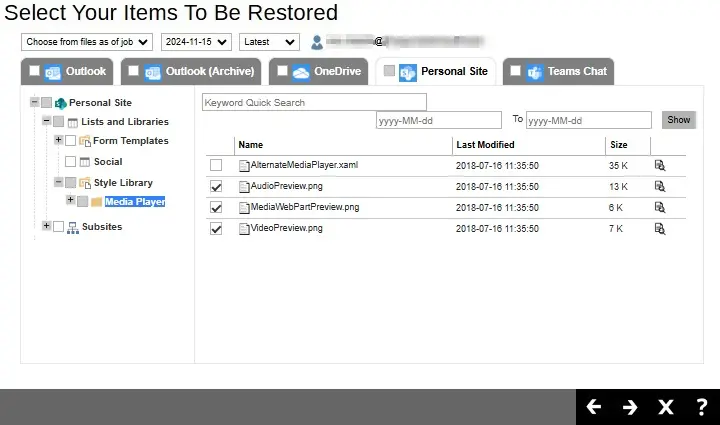
Personal Site
If the checkbox beside Personal Site is ticked, then all the items under "Personal Site" will be restored.
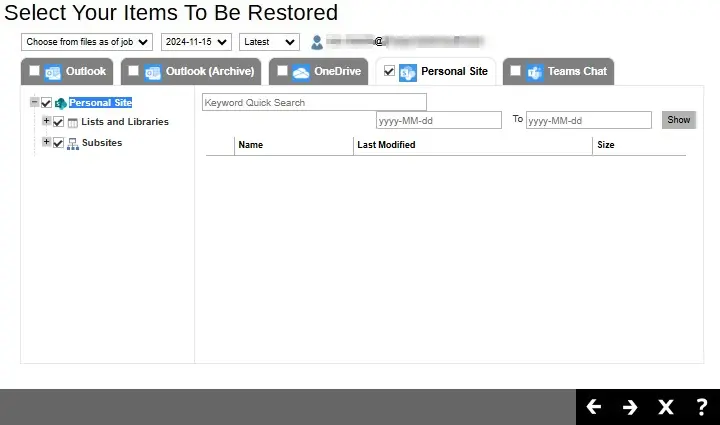
Specific items can also be selected. There is a preview function that will let you see the content so you can check if you want to restore it. For instructions on how to use the preview function please refer to the instructions discussed above.
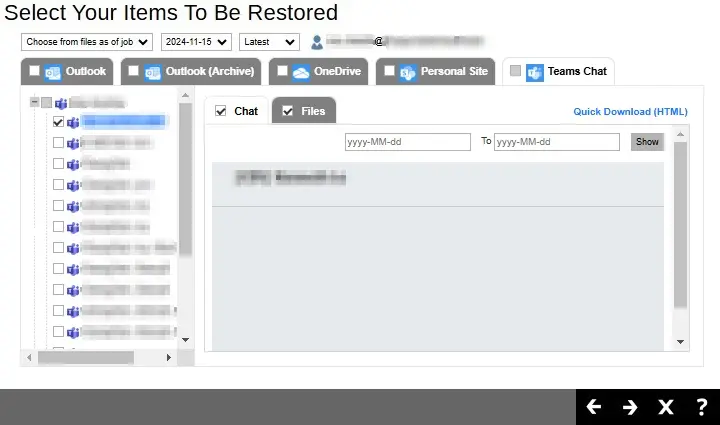
Teams Chat
If the checkbox beside Teams Chat is ticked, then all the items under "Teams Chat" will be restored.
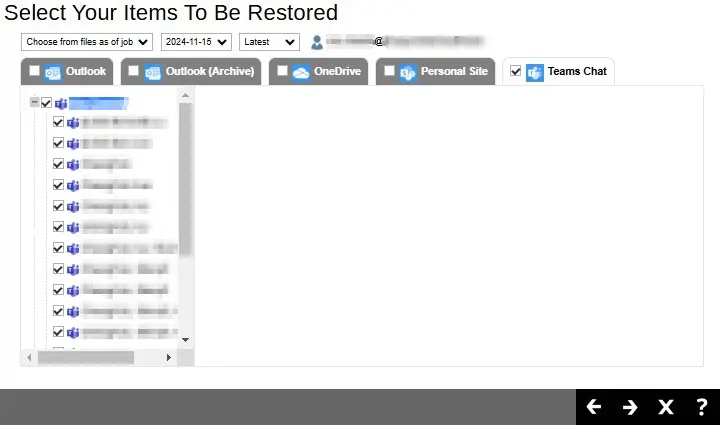
Specific items can also be selected to be restored. There is a download function that will let you download the chat directly. Click the Quick Download (HTML) link.
 Teams chat will not be restored to the original thread. Instead, it will only be restored as data export in HTML format stored in the local machine or OneDrive.
Click Continue to start the download and restore. Click Close once done.

Click Next to proceed.
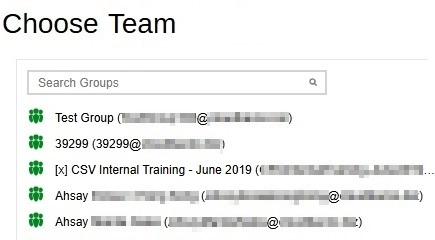
From Teams
Click on the Group that will be restored. There is also a search function if there are many Groups listed.
Select the item(s) you would like to restore. You can also choose to restore backed up file from a specific backup job of your choice using the drop-down menu at the top.
Items can be restored from:
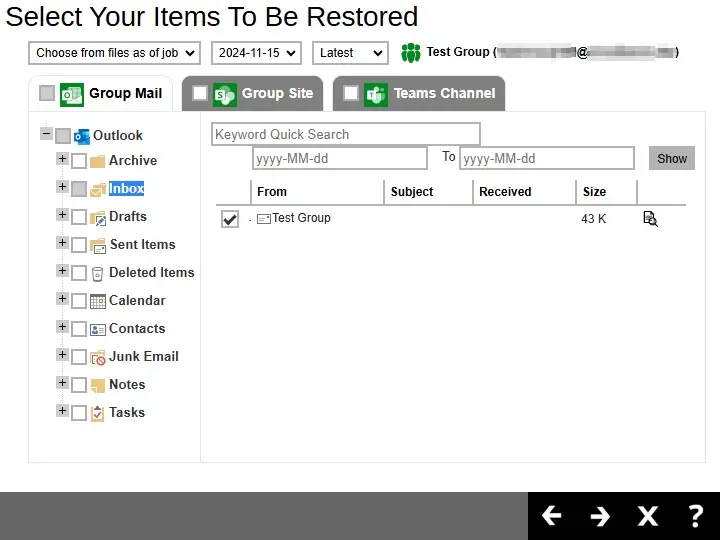
Group Mail
If the checkbox beside Group Mail is ticked, then all the items under "Group Mail" will be restored.
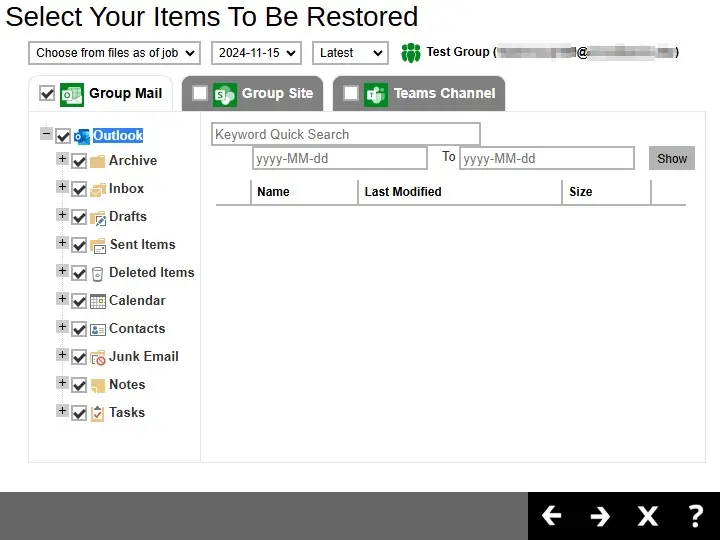
Specific items can also be selected. There is a preview function that will let you see the content so you can check if you want to restore it. For instructions on how to use the preview function please refer to the instructions discussed above.
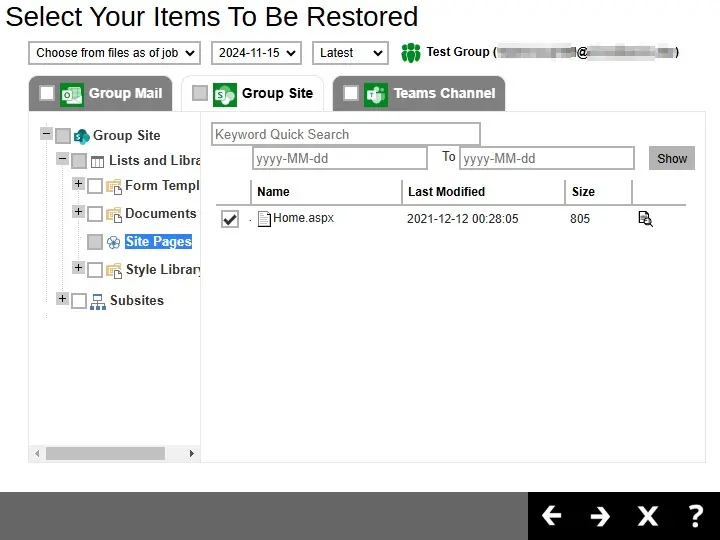
Group Site
If the checkbox beside Group Site is ticked, then all the items under "Group Site" will be restored.

Specific items can also be selected. There is a preview function that will let you see the content so you can check if you want to restore it. For instructions on how to use the preview function please refer to the instructions discussed above.
Teams Channel
If the checkbox beside Teams Channel is ticked, then all the items under "Teams Channel" will be restored.
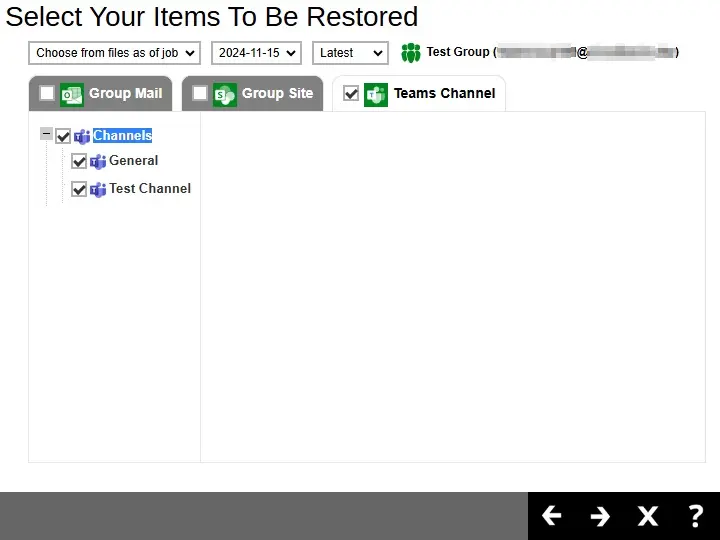
Specific items can also be selected to be restored. There is a download function that will let you download the item directly. For instructions on how to use the download function please refer to the instructions discussed above.
 Posts in Teams Channel will not be restored to the original thread. Instead, it will only be restored as data export in HTML format stored in the local machine or OneDrive.
From SharePoint Sites
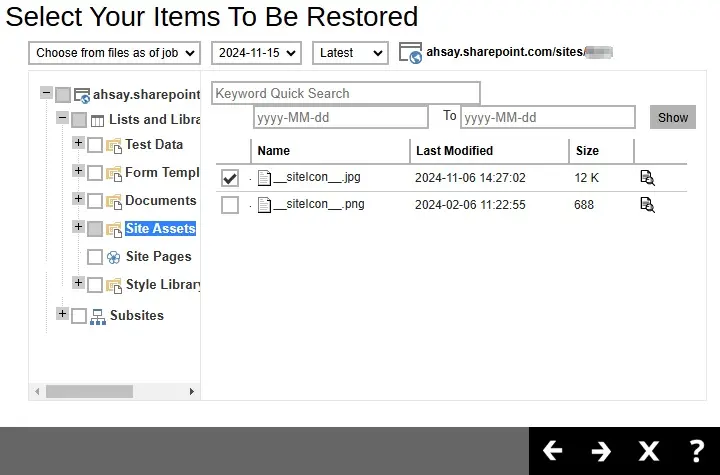
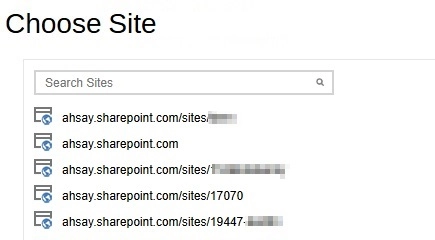
Click on the Sites that will be restored. There is also a search function if there are many Sites listed.
Select the item(s) you would like to restore. You can also choose to restore backed up file from a specific backup job of your choice using the drop-down menu at the top.
There is a preview function that will let you see the content so you can check if you want to restore it. For instructions on how to use the preview function please refer to the instructions discussed above.
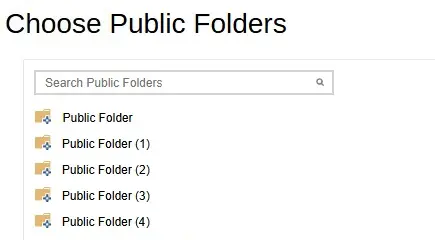
From Public Folders
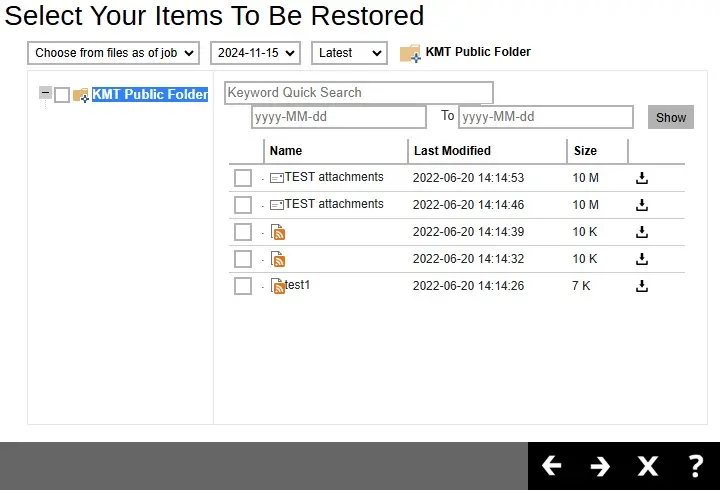
Click on the Public Folder that will be restored. There is also a search function if there are many Public Folders listed.
Select the item(s) you would like to restore. You can also choose to restore backed up file from a specific backup job of your choice using the drop-down menu at the top. There is a download function that will let you download the item. For instructions on how to use the download function please refer to the instructions discussed above.
Select the location where the data will be restored.
Cloud File Backup
Select Original location to restore the data to the original directory path on the cloud storage, or Alternate location to restore the data to an alternate path on the cloud storage.
Original Location
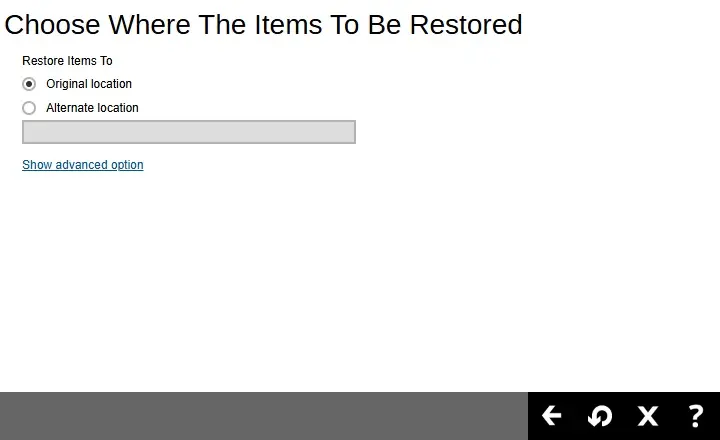
Alternate Location
Expand the directory path to browse the alternate location(s) on the cloud storage.
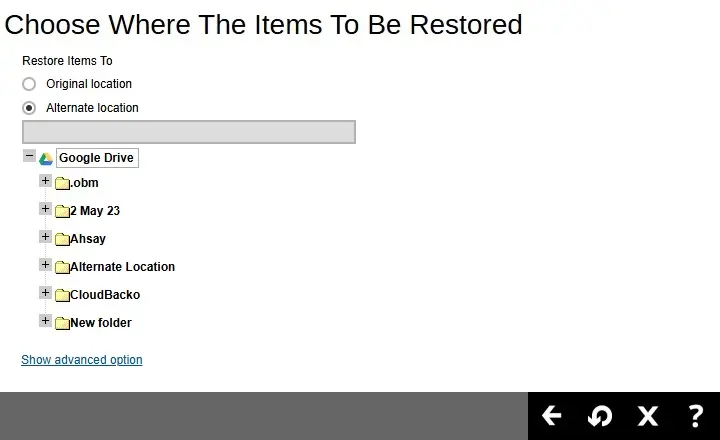 Data can only be restored to the original cloud storage where the data was backed up from (i.e. same cloud storage provider and same account).
Click Show advanced option to configure other restore settings.
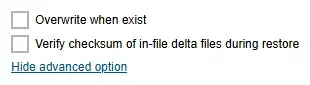
Overwrite When Exist
By enabling this option, this will overwrite your existing files. For example, if the files and/or folders you are going to restore are already available in your chosen alternate location, then your existing files will be overwritten during the restore process.
Verify Checksum of In-File Delta Files During Restore
By enabling this option, the checksum of in-file delta files will be verified during the restore process. This will check the data for errors during the restore process and create a data summary of the in-file delta files which will be included in the report.
Click Restore to start the restoration.
Microsoft 365 Backup
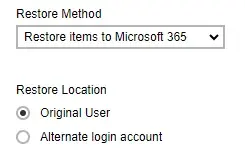
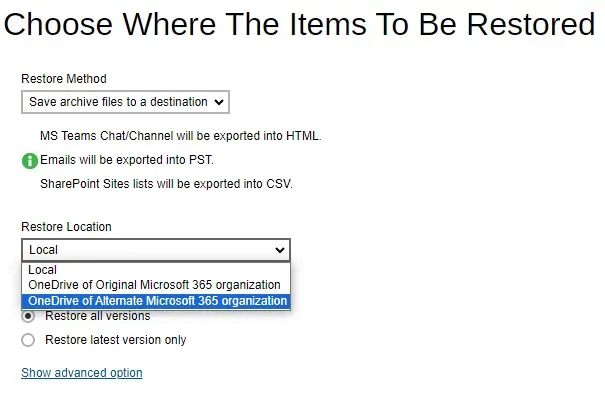
The choices for the restore location that will be displayed depends on the account type used during authentication, data and restore method selected. There are two restore methods available: Restore items to Microsoft 365 and Save archive files to a destination.
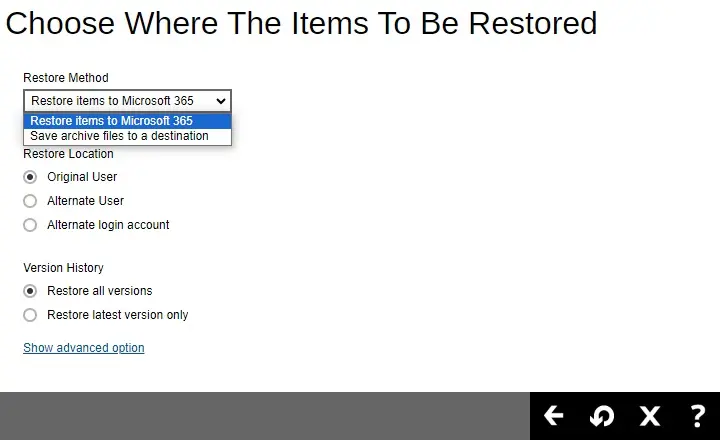
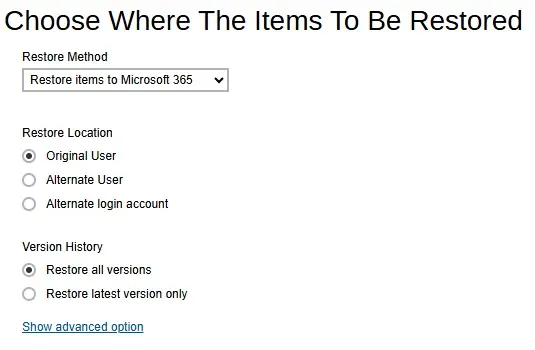
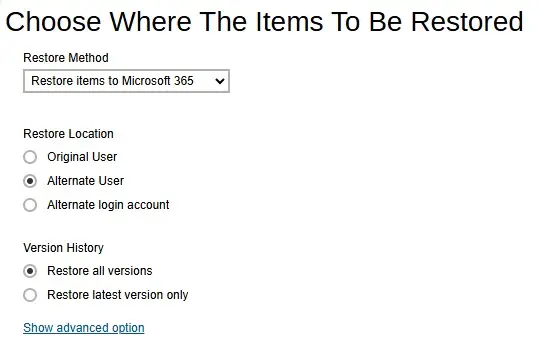
Restore Items to Microsoft 365
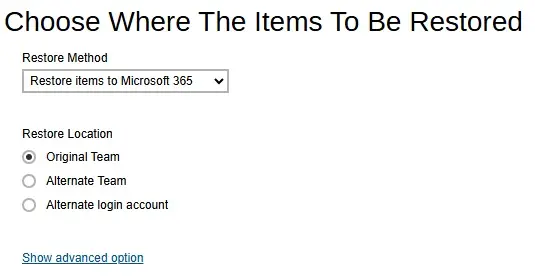
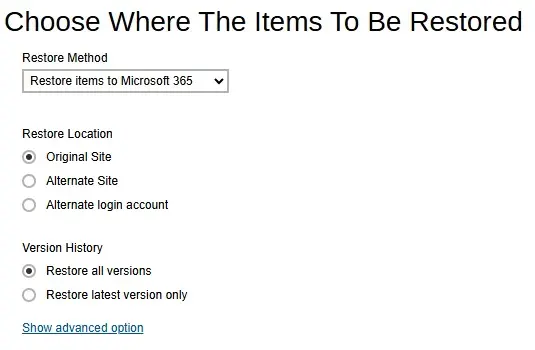
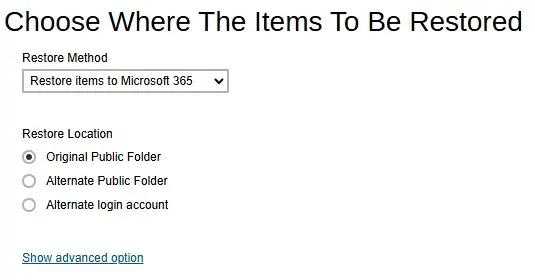
If Restore items to Microsoft 365 is selected, there are three options for the restore location:
Original
To restore to original, select Original.
Here are examples for the different data types:
Users
Teams
SharePoint Sites
Public Folders
Select the version history, whether Restore all versions or Restore latest version only.
The Version History will only be displayed when restoring OneDrive and Sharepoint items.Click Show advanced option to configure other restore settings.
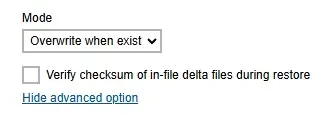
Mode
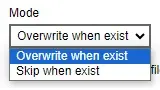
There are two choices for the mode:
Overwrite when exist
If the data that you will be restoring is already available in the Microsoft 365 account, then you have a choice to overwrite the existing data.
Skip when exist
If the data you will be restoring is already available in the Microsoft 365 account, then you have a choice to skip and move to the next one.
Verify checksum of in-file delta files during restore
By enabling this option, the checksum of in-file delta files will be verified during the restore process. This will check the data for errors during the restore process and create a data summary of the in-file delta files which will be included in the report.
Click Restore to start the restoration.
Alternate
To restore to alternate user/group/site/public folder, select Alternate.
To configure other restore settings please refer to the instructions discussed above.
Click Next to proceed.
Select the alternate user/group/site then click Restore to start the restoration.
Here are examples for the different data types:
Users
Teams
SharePoint Sites
Public Folders
Alternate Login Account
To restore to a different login account, select Alternate login account. Then select the "Region".
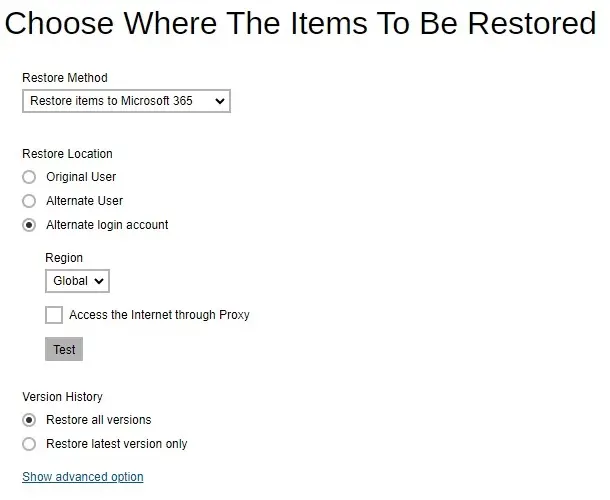
To configure other restore settings please refer to the instructions discussed above.
Click Test.
Click Authorize.
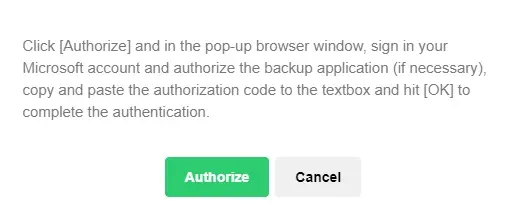
Login to your Microsoft 365 account then copy and paste the authorization code then click OK. Click Next to proceed.

Select the alternate user/team/site/public folder then click Restore to start the restoration.
Here are examples for the different data types:
Users
Teams
SharePoint Sites
Public Folders
For backup sets where personal account is used for authentication, there will only be two restore locations available for selection. These are: Original and Alternate login account.
Save Archive Files to a Destination
If Save archive files to a destination is selected, there are three options for the restore location:
Local
Restore to Local is available for all data types. To restore to Local, select Local.
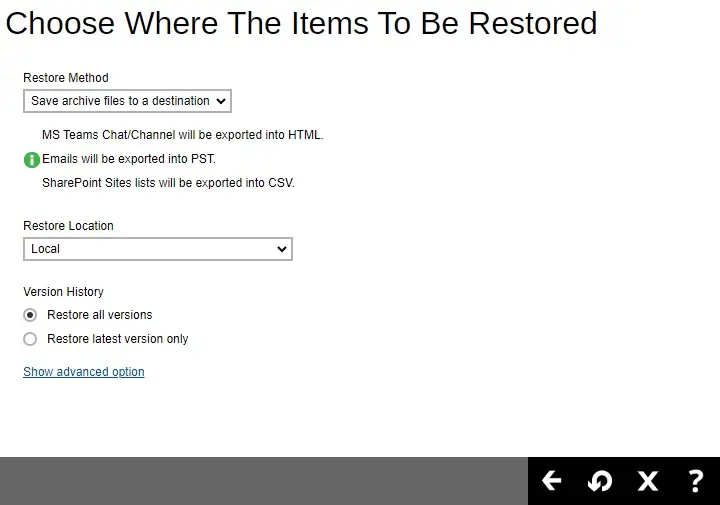
To configure other restore settings click Show advanced option.

Verify checksum of in-file delta files during restore
By enabling this option, the checksum of in-file delta files will be verified during the restore process. This will check the data for errors during the restore process and create a data summary of the in-file delta files which will be included in the report.
Click Restore to start the restoration.
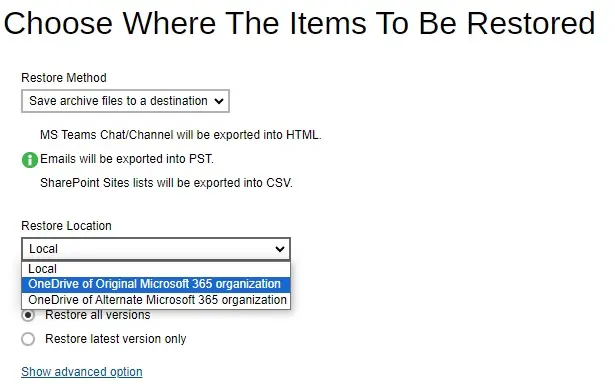
For AhsayACB, restore location that will be available is only Local.OneDrive of Original Microsoft 365 organization
Restore to OneDrive of original Microsoft 365 organization is only available for the following data types: Users and Teams.
Select OneDrive of Original Microsoft 365 organization from the dropdown menu.
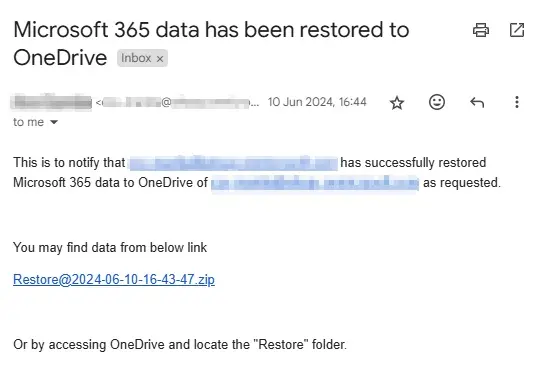
Users can be notified if an item is restored to their OneDrive. You can opt to send the notification message by email and/or to Teams Chat.

If you prefer to send the notification by email, provide the email address where it will be sent. You can provide several email address(es) by separating it with a comma.

Here is a sample of the email notification that will be sent.
To configure other restore settings please refer to the instructions above.
Click Next to proceed.
Select the user. Then click Restore to start the restoration.
OneDrive of Alternate Microsoft 365 organization
Restore to OneDrive of alternate Microsoft 365 organization is only available for the following data types: Users and Teams.
Select OneDrive of Alternate Microsoft 365 organization from the dropdown menu.
Select the "Region".
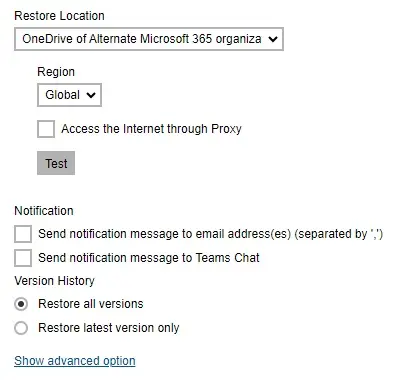
To configure notification settings please see instructions above.
Click Test.
Click Authorize.
Login to your Microsoft 365 account then copy and paste the authorization code then click OK. Click Next to proceed.
Select the user. Then click Restore to start the restoration.
This step will only be displayed when Save archive files to a destination is selected as the restore method. Once restore is completed, click Download Now if you want to download the exported data. The data will be saved in a zip file.
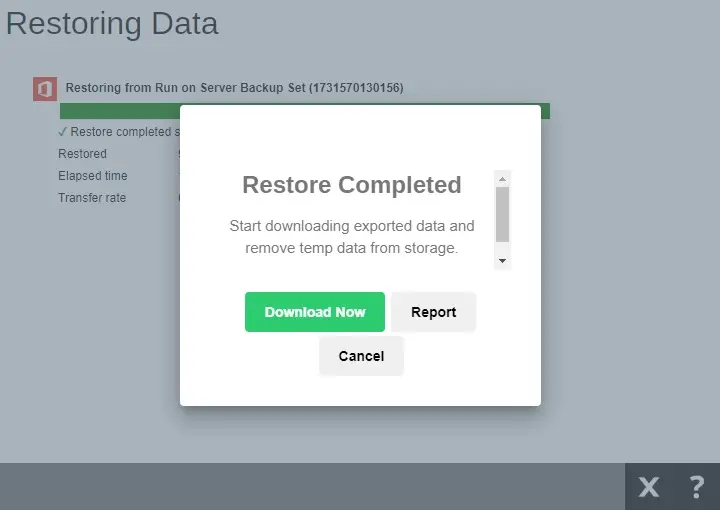
Click Report if you want to view the report, the report will be generated in pdf format.
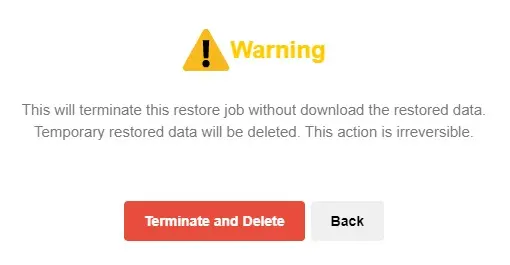
Otherwise click Cancel, to stop the restore job and delete temporary restored data, click Terminate and Delete. By doing so the restore will not finish.
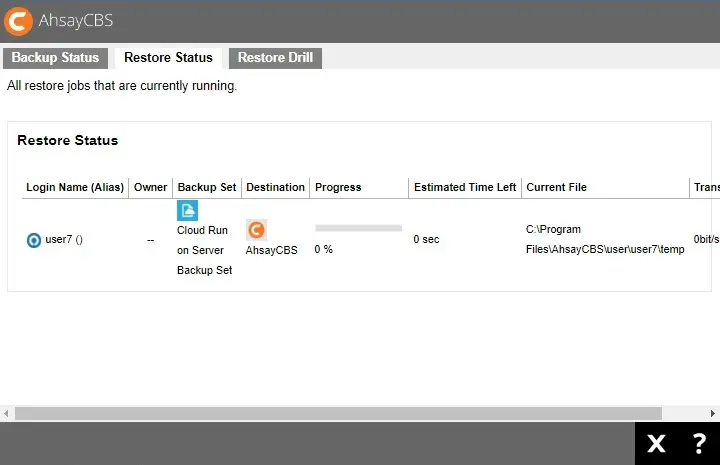
You will see the status showing "Restore is Running" when the restore job is in progress. However, for Microsoft 365 backup, you need to click Back to go back to the Manage Backup Set screen.
Another way to monitor the restore status is from the Live Activities.

Run Direct
Run Direct is a feature that helps reduce disruption and downtime of your production VMs.
Unlike normal VM restore procedure where a VM is extracted from backup files and copied to the production storage, which can take hours to complete. Restore with Run Direct can instantly power up a VM by running it directly from the backup files in the backup destination so that the VM can be put into production.
When a Run Direct restore is performed, the backup destination is mounted as an NFS datastore from the VMware host, where the VM is run directly from the backup files.
The backup destination can be any storage destination that can connect with AhsayOBM. Initiating a Run Direct from AhsayCBS (also known as agentless restore) will trigger a connection directly with the VMware host (ESXi server and direction shown in orange indicator below), while initiating the same action on the AhsayOBM requires the connection to route through AhsayOBM (shown in green indication below).
The restored virtual machine, at this stage (e.g. before the restore is finalized) is in a read-only state to preserve its integrity. All changes made to the virtual disks (e.g. operation within the guest virtual machine) are stored separately in transaction logs stored on the NFS datastore or the original datastore, depending on the setting selected. These changes are discarded when Run Direct is stopped, where the restored VM will be removed and all changes will be discarded, or the changes will be consolidated with the original virtual machine data when the restore is finalized.
Finalizing a VM Recovery (Migrating VM to Permanent Location)
To finalize recovery of a VM, you will still need to migrate it to a permanent location on the VMware host. The following steps are taken when you finalize a Run Direct restore:
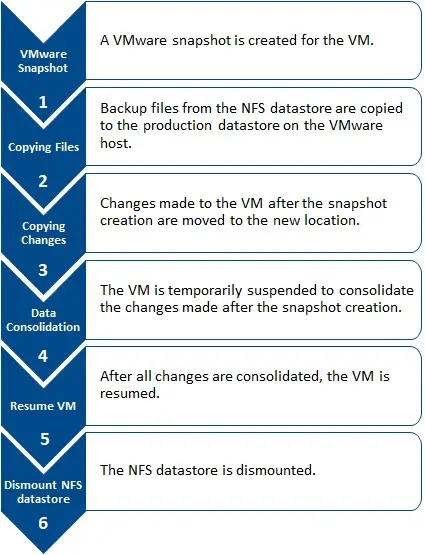
For vCenter VM backup set, provided that the vMotion feature of the vCenter set is working properly, the VM will not be suspended during data consolidation.
Run Direct restore gives you the convenience of quickly restoring the VM by running it directly from the backup files in the backup destination, however, if you wish to restore the VM permanently to a location of your choice first before accessing the backup files, you should perform a Non-Run Direct restore instead. Refer to the AhsayOBM VMware Backup and Restore Guide for instructions.
Run Direct Requirements and Best Practices
To utilize the Run Direct feature, ensure that the following requirements are met:
Backup Destination Requirement
When a Run Direct restore is performed, the backup destination containing the guest VM files is mounted on the VMware host as NFS datastore.
Ensure that the following requirements are met by the backup destination of the VMware VM backup set:
- Destination Type of the backup destination must be set to a Single storage destination.
- Destination must be accessible to the VMWare host.
- Destination must have sufficient disk space available for the Run Direct restore. There should be 1.5 x total provisioned size of all VMs selected for backup.
- For Run Direct restore of 1 VM with provisioned size of 100GB, there should be 150GB (e.g. 1.5 x 100GB) of free space available in the Destination.
- Restore to Alternate Location
- When performing a Run Direct restore to Alternate Location, only one VM can be selected per restore session.
- Consider creating separate VMware VM backup set for each VM that you intend to perform Run Direct restore (e.g. VMs that you may restore to alternate location).
Run Direct Restore Options
Run Direct restore gives you the convenience and flexibility of quickly restoring the VM by running it directly from the backup files in the backup destination, however, you may still wish to migrate the VM permanently afterward. There are 3 Run Direct Restore options you can choose from as explained below.
Option 1: Run Direct only
This option allows you to power up the VM instantly by running it directly from the backup files, but it won’t be migrated to any permanent location on the VMware host. Leave the “Auto migrate after Run Direct is running” checkbox unchecked in step 5 under Performing a Run Direct Restore on VM below if you wish to go for this option.
Option 2: Run Direct and Auto Migration
This option allows you to power up the VM instantly by running it directly from the backup files. While you can now access the Run Direct restored VM, it will also be migrated automatically to a permanent location on the original VMware host, another datastore of the original VMware host or another VMware host. Make sure the “Auto migrate after Run Direct is running” checkbox is checked in step 5 under Performing a Run Direct Restore on VM below if you wish to go for this option.
Option 3: Run Direct and Manual Migration
This option allows you to power up the VM instantly by running it directly from the backup files. While you can now access the Run Direct restored VM, you will have to manually migrate the VM to a permanent location on the original VMware host, another datastore of the original VMware host or another VMware host. Leave the “Auto migrate after Run Direct is running” checkbox unchecked in step 5 under Performing a Run Direct Restore on VM below if you wish to go for this option. When the Run Direct restore is completed, you can initiate a Manual Migration any time. Refer to step 8 below for relevant instructions.
If you will perform Run Direct only without migration, any changes made to the VM during the Run Direct power up process will be lost when the VM is powered down.
If you will perform Run Direct with auto or manual migration, any changes made to the VM during the Run Direct power up process will be consolidated with the original virtual machine data once the migration has been completed successfully.
Perform Run Direct Restore on VM
AhsayCBS supports backup and restore of VMware VMs stored on vSAN datastore. With this, there are now several scenarios for restoring VMs using Run Direct which are the following:
- Restore backup from VMFS datastore to VMFS datastore
- Restore backup from VMFS datastore to vSAN datastore
- Restore backup from vSAN datastore to vSAN datastore
- Restore backup from vSAN datastore to VMFS datastore
Steps:
Click the VM Run Direct icon from your AhsayCBS environment.
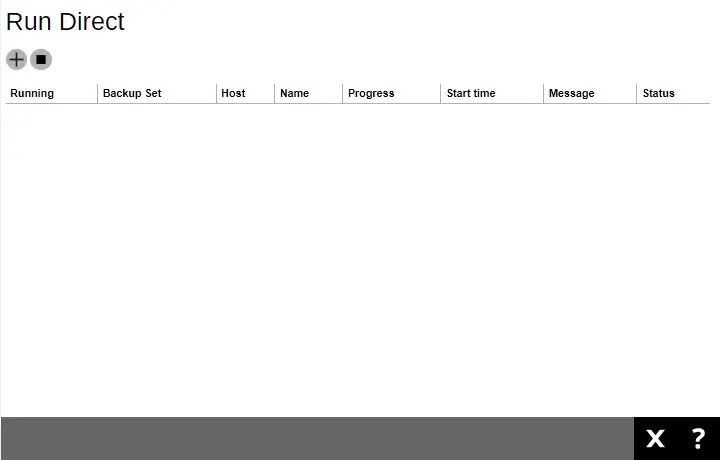
Click Create from the Run Direct page to start a new Run Direct session.
Select the “Backup Set” from the dropdown box. Click Next to continue.

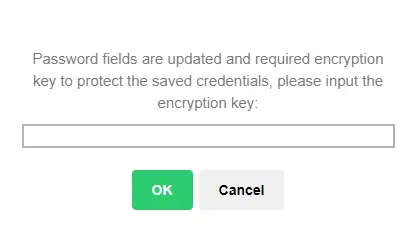
Enter the encryption key then click OK.
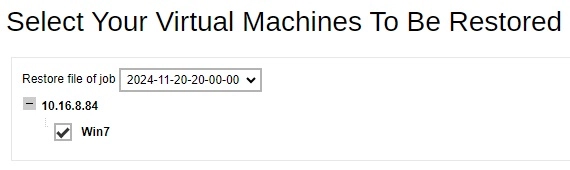
Select the backup job to restore from the “Restore file of job” dropdown box. Check the box next to the vm on which we will perform a restore. Click Next to continue.
Select the location to restore your virtual machine.
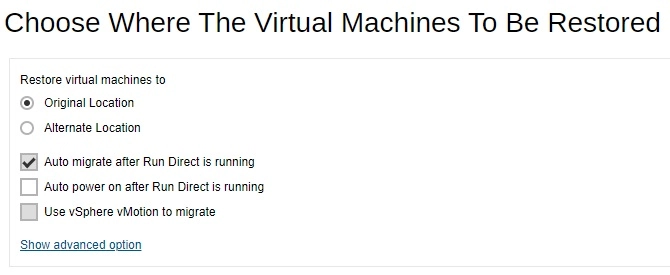
- Select Original Location to restore the VM to its original VMware host and datastore.
- Select Alternate Location to restore the VM to a different VMware host and a different datastore. Alternatively, you can also restore to the same VMware host but to a different datastore.
If you select Alternate Location, you will see an additional option Overwrite existing files.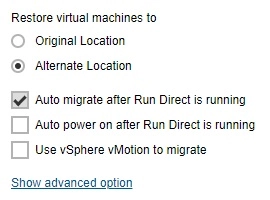
Configure the following options according to your restore requirements.
Auto migrate after Run Direct is running
Tick this option if you want to auto migrate the virtual machine to a permanent location on the original VMware host, another VMware host, or same VMware host but another datastore, depending on whether you have chosen Original Location or Alternate Location to restore your VM.
Auto power on after Run Direct is running
Tick this option to power up the virtual machine automatically, after Run Direct is running for the VM.
Use vSphere vMotion to migrate
Tick this option to allow live migration while the VM remains running.
Verify checksum of in-file delta files during restore
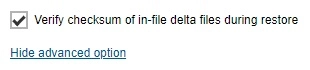
Tick this option to verify if the merged files are correct.
Click Next to proceed when you are done with the settings.
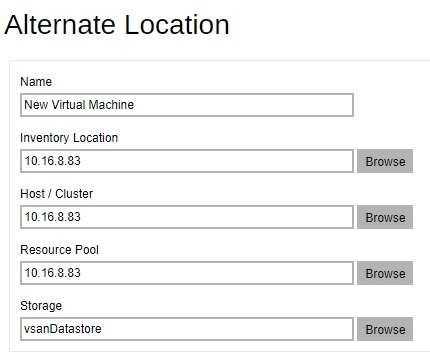
This step only applies if you selected Alternate Location, you need to enter the VMware host and access information of where you would like the VM to be restored to. Otherwise skip to Step 9. Click Next to continue.

Specify the “Name”, “Inventory Location”, “Host / Cluster”, “Resource Pool” and “Storage” for the alternate location.
Click Run Direct to start the restore.
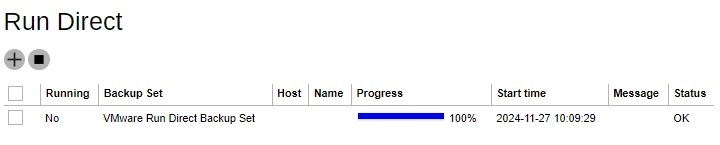
The Run Direct page appears, showing the status message of the Run Direct restore job.
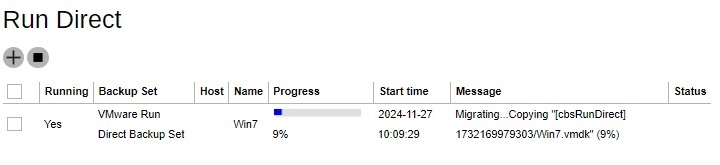
If your Run Direct is successful, you get a message similar to the following, with "Status" showing OK and "Progress" showing 100%.
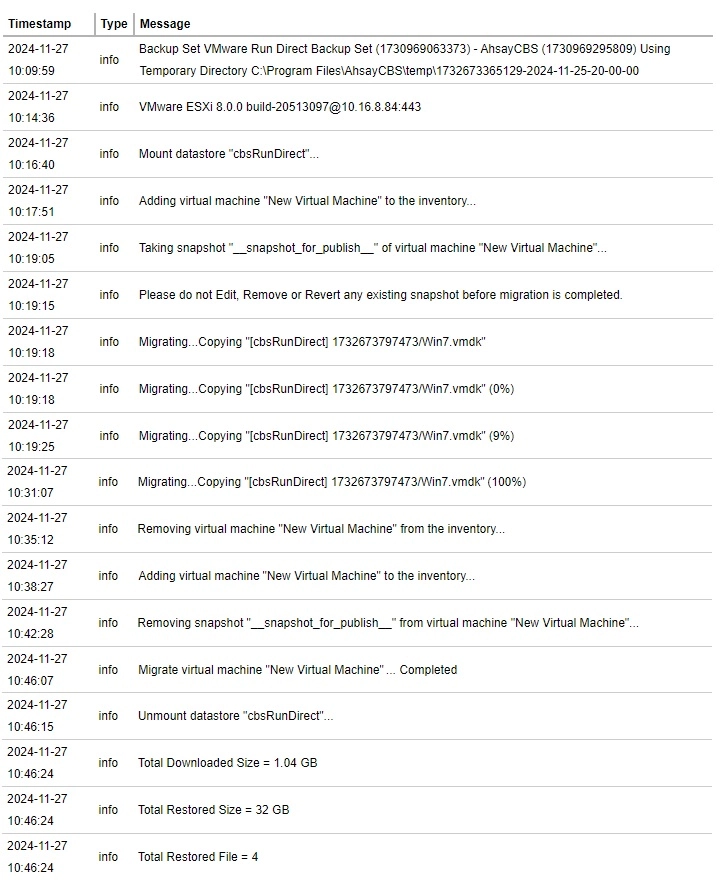
Sample restore log messages on AhsayCBS
- Click Close to exit when finished.