Create a Backup Set
Creating a Microsoft SQL Backup Set
Click the Backup Sets icon on the main interface of AhsayOBM.
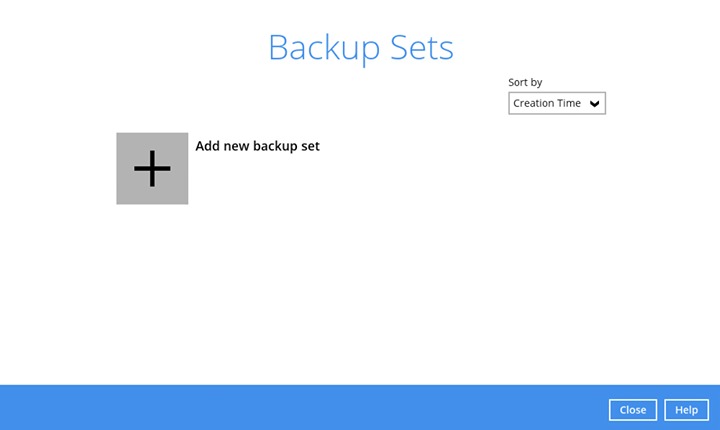
Create a new backup set by clicking the "+" icon beside "Add new backup set".
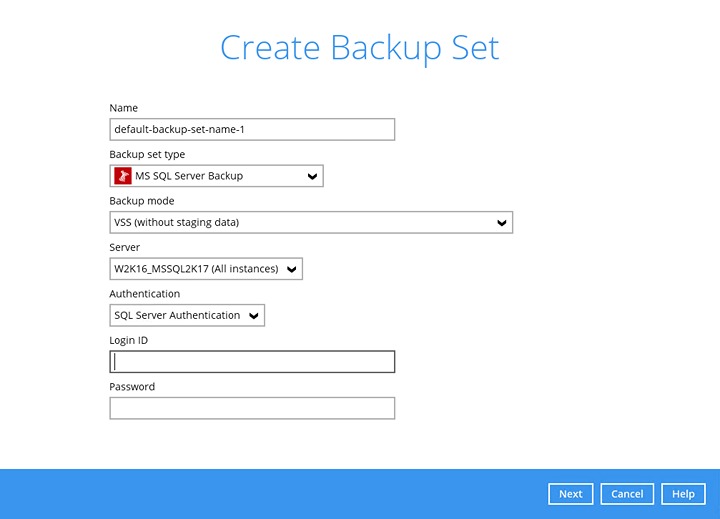
Select the "Bacup set type" which is MS SQL Server Backup.
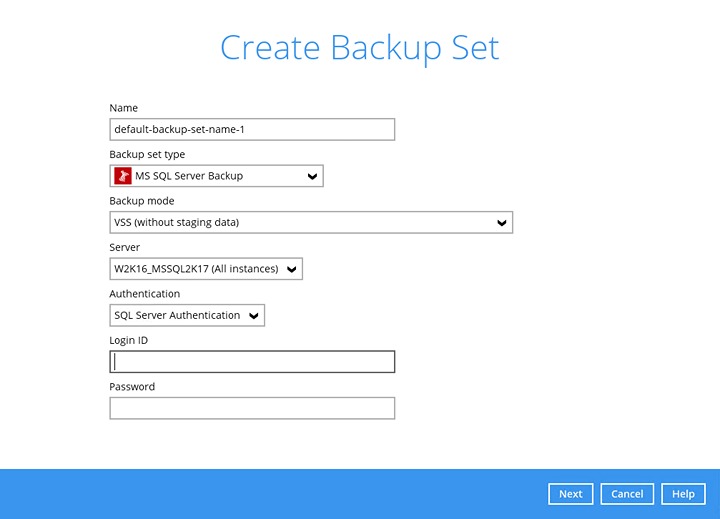
- Name - enter a meaningful backup set name
- Backup mode - choose between VSS mode and ODBC mode. Refer to the Backup Mode section for details on the differences between the two modes.
- Server - AhsayOBM supports backup of multiple SQL instance in one backup set. In this Server drop-down menu, you can choose to back up multiple SQL instances or a specific instance of your choice.
- Authentication - AhsayOBM supports two authentication types when creating a Backup Set for MS SQL: SQL Server Authentication and Windows Authentication.
- Login ID - Enter the login ID for the chosen instance.
- Password - Enter the password for the chosen instance.
Click Next to proceed when you are done with the settings.
The Login ID and Password fields are removed if the user has selected Windows User Authentication as the Authentication type. If the user has selected SQL Server Authentication, a valid Login ID and Password must be input into their respective fields in order to not encounter any errors in step 11.
In the "Backup Source" menu, select the database you would like to back up, then click Next to proceed.
In the "Schedule" menu, you can configure a backup schedule for backup job to run automatically at your specified time interval. Click Add to add a new schedule, then click Next to proceed when you are done with the settings.
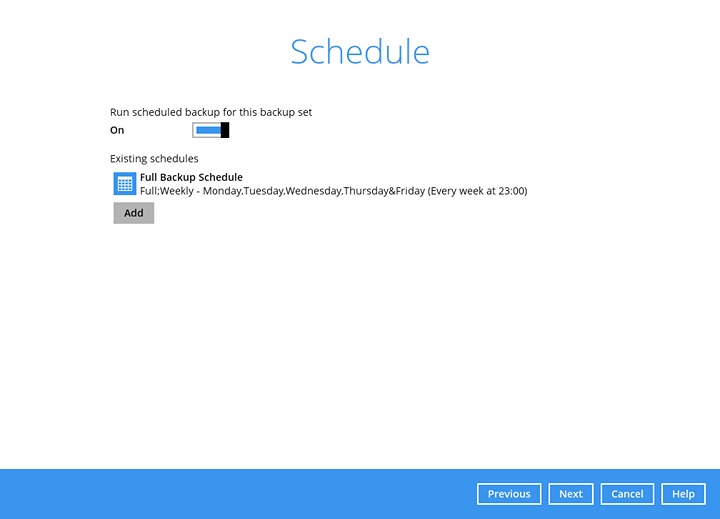
For details on how to configure the backup schedule settings, please refer to the Overview section.
VSS Mode ODBC Mode Name Name of the Backup Schedule Backup set type - Full
- Full
- Differential
- Transaction Log
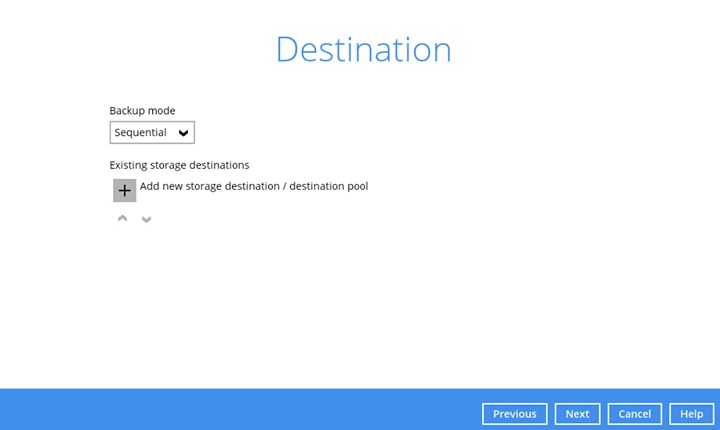
Refer to Troubleshooting - Backup Set Type for details on the differences of the backup set type. Type Choose frequency for this backup schedule to occur Start backup Choose a specific time or interval for this backup schedule to start Stop Choose when backup will stop, only applies to schedules with start backup “at” and is not supported for periodic backup schedule (start backup “every”) Run Retention Policy after backup Check this box if you wish to enable the Retention Policy setting. In the “Destination” menu, select a backup destination where the backup database will be stored. Click the "+" icon beside "Add new storage destination / destination pool".
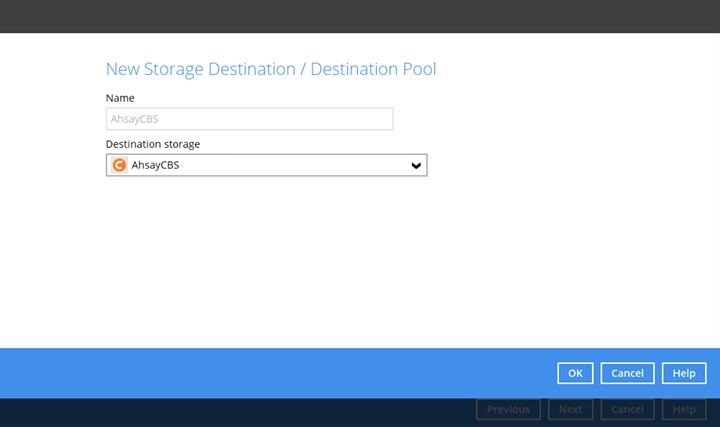
Select the "Destination storage", then click OK to proceed.
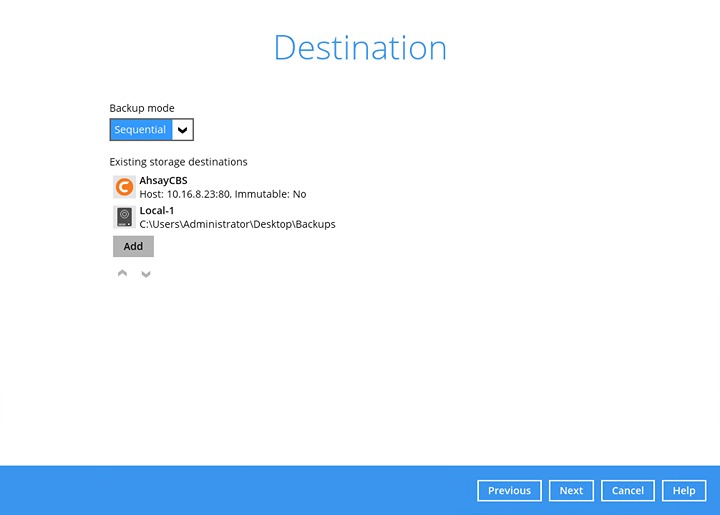
For more information regarding backing up to cloud storage destination, refer to Troubleshooting - Cloud Storage as Backup Destination.
Click Next on the "Destination" menu page to proceed.
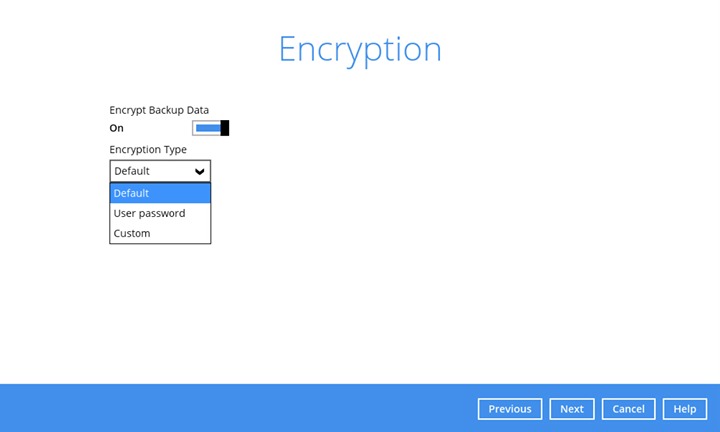
In the “Encryption” window, the default “Encrypt Backup Data” option is enabled with an encryption key preset by the system which provides the most secure protection. Click Next when you are done settings.
If you have enabled the Encryption Key feature in the previous step, the following pop-up window shows, no matter which encryption key you have selected.
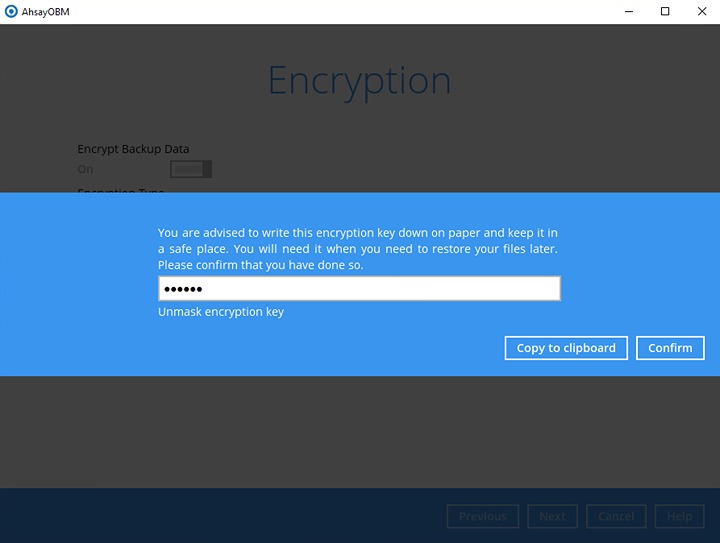
The pop-up window has the following three options to choose from:
- Unmask encryption key - The encryption key is masked by default. Click this option to show the encryption key.
- Copy to clipboard - Click to copy the encryption key, then you can paste it in another location of your choice.
- Confirm - Click to exit this pop-up window and proceed to the next step.
In the Windows User Authentication page, the switch for turning Windows Authentication on or off will only be accessible if users selected SQL Server Authentication in step 3.
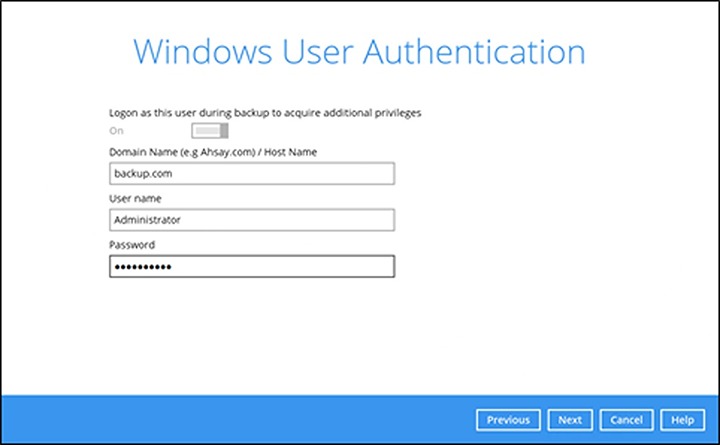
If this option is turned on, and the authentication type selected is SQL Server Authentication, the Windows credentials entered on this page will be the first used by AhsayOBM for authentication. Toggling this switch off will cause the fields for Domain Name, User name, and Password to be greyed out.
When attempting to switch the setting off, this message will be displayed:

If the user selects Yes, AhsayOBM will attempt to login to the SQL Server with SQL Server Authentication using the credentials that were specified in step 3. If the details are invalid, the user will be met with an error, prompting them to input a valid Login ID and Password.
The following screen shows when the new backup set is created successfully.
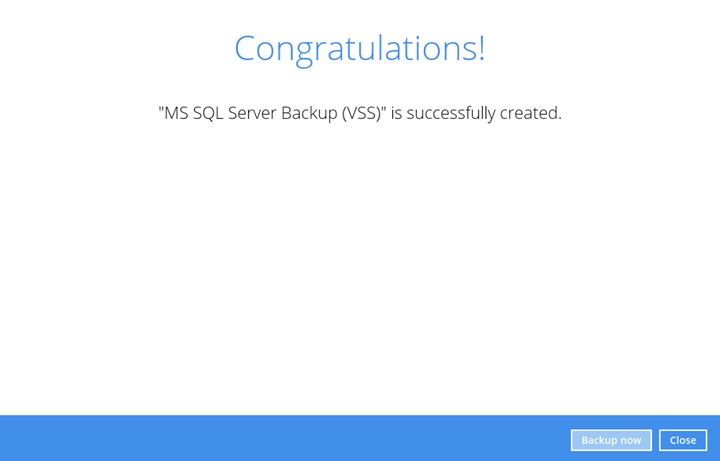
- Click Backup now to start a backup immediately, or you can run a backup job later by following the instructions in Run Backup Job for Microsoft SQL Server.
Based on Best Practices and Recommendations, it is highly recommended to set the “Temporary Directory” to another location other than Drive C: (e.g. Drive D:).
Go to Others>Temporary Directory and click the Change button to browse for another location.
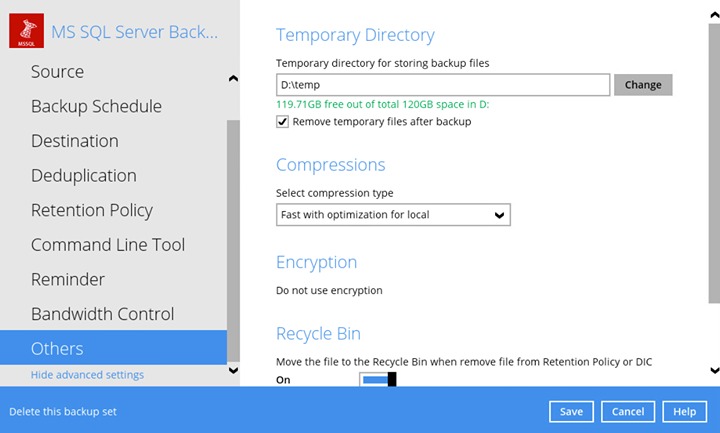
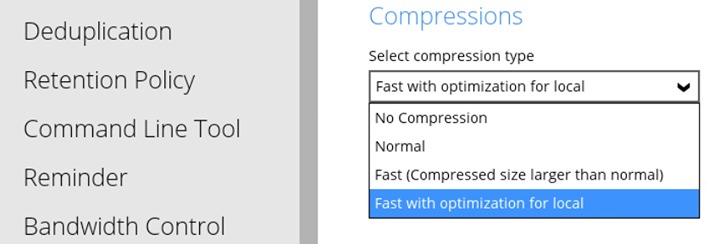
Optional: Select your preferred compression type. By default, the compression type is Fast with optimization for local.
Go to Others>Compressions, then select from the following:
- No Compression
- Normal
- Fast (Compressed size larger than normal)
- Fast with optimization for local

 Backup and Restore